Restored hope chest
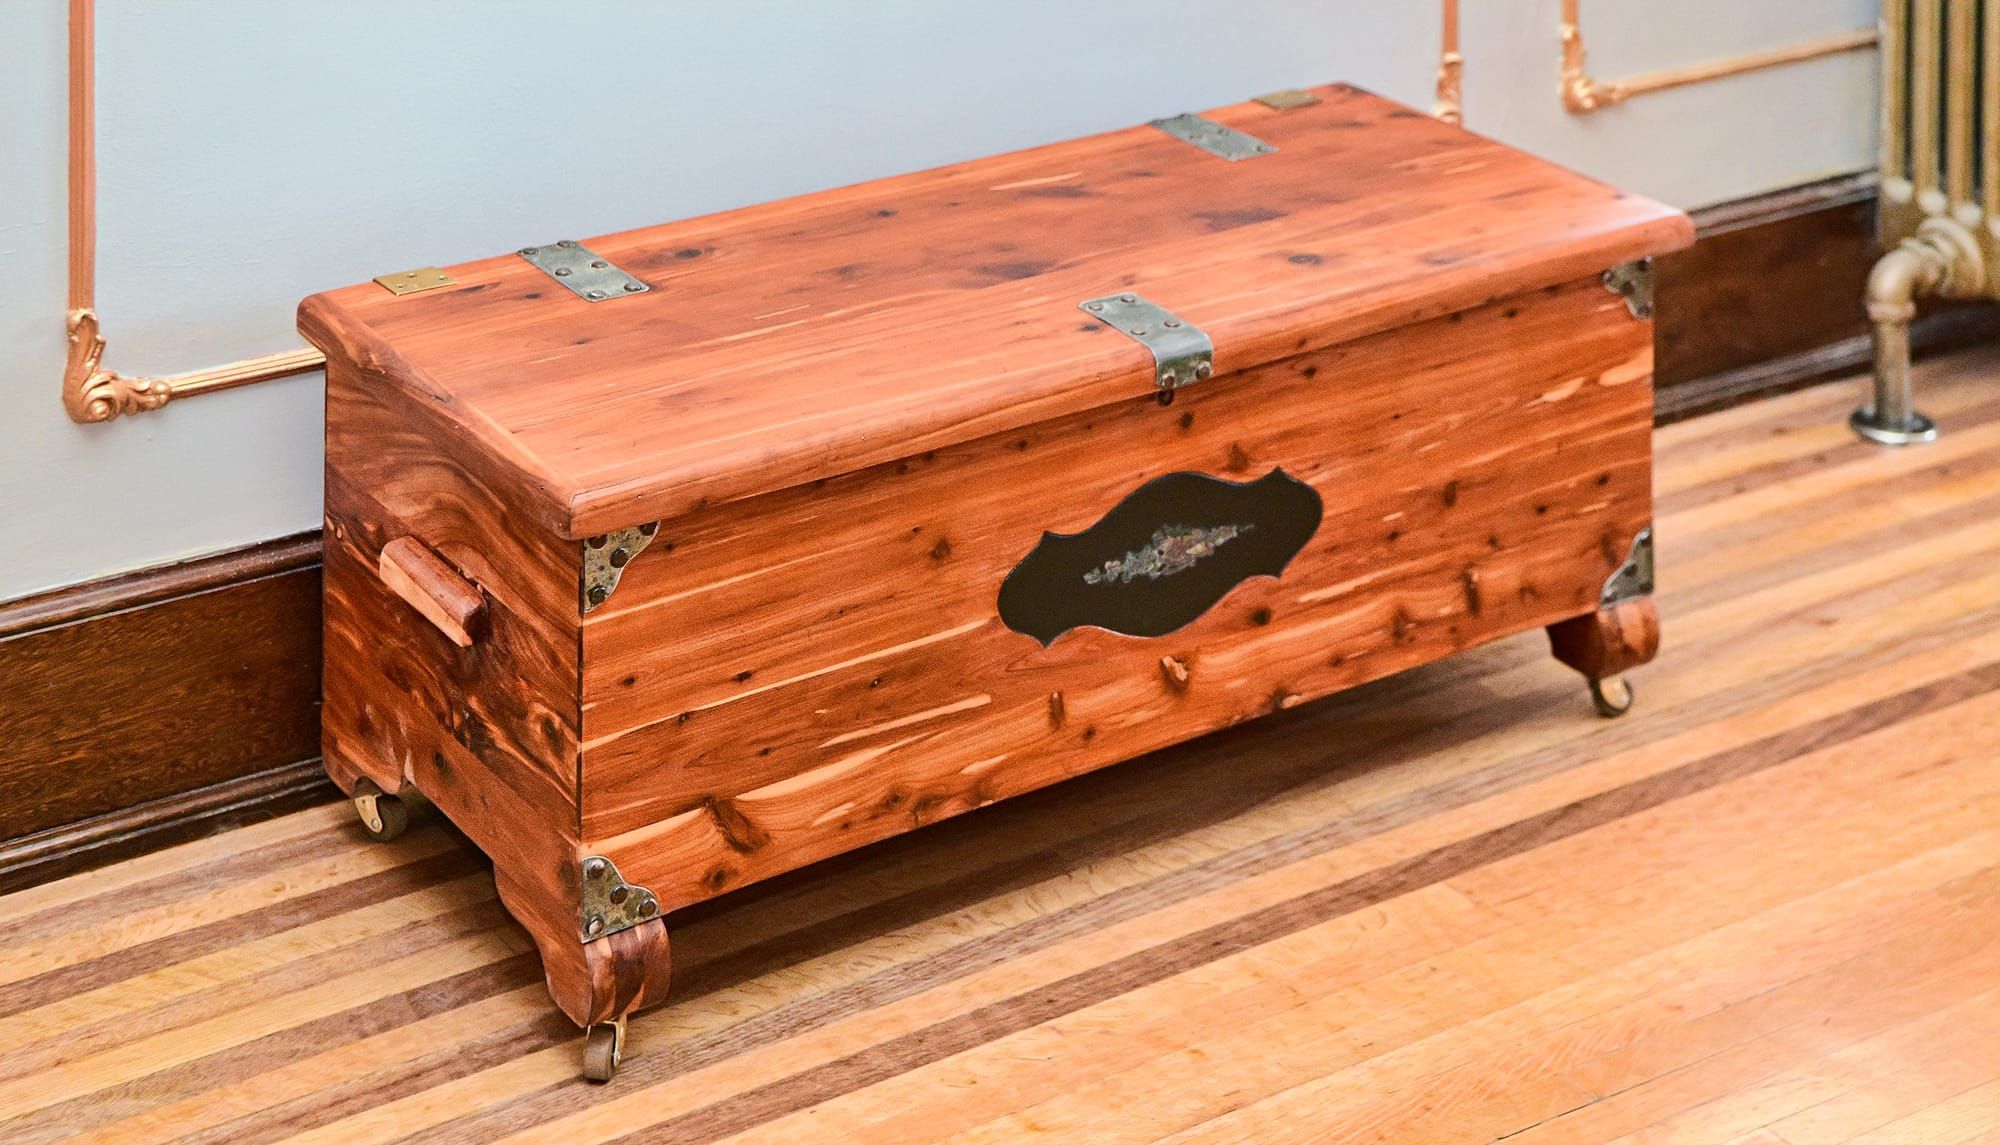
I finished today a project I've been planning for some time: setting up a cedar chest in the parlor for Megan to store quilts she's been making. Cedar is the wood of choice for that sort of thing, because its odor deters moths and other insects, while also giving fabrics a touch of nice woodsy smell. This post is about various options I've considered, and the things I learned in getting this done over the last week.
The steamer trunk
I started on a version of this project last fall, when I picked up an antique steamer trunk and and started restoring it. I had fun working on that for a few days (as I wrote up here), but then my world was turned upside-down by an unexpected knee infection, which led to cleanout surgery and a stay in the hospital followed by months of painful physical therapy to get back on my feet and walking without a walker or cane.
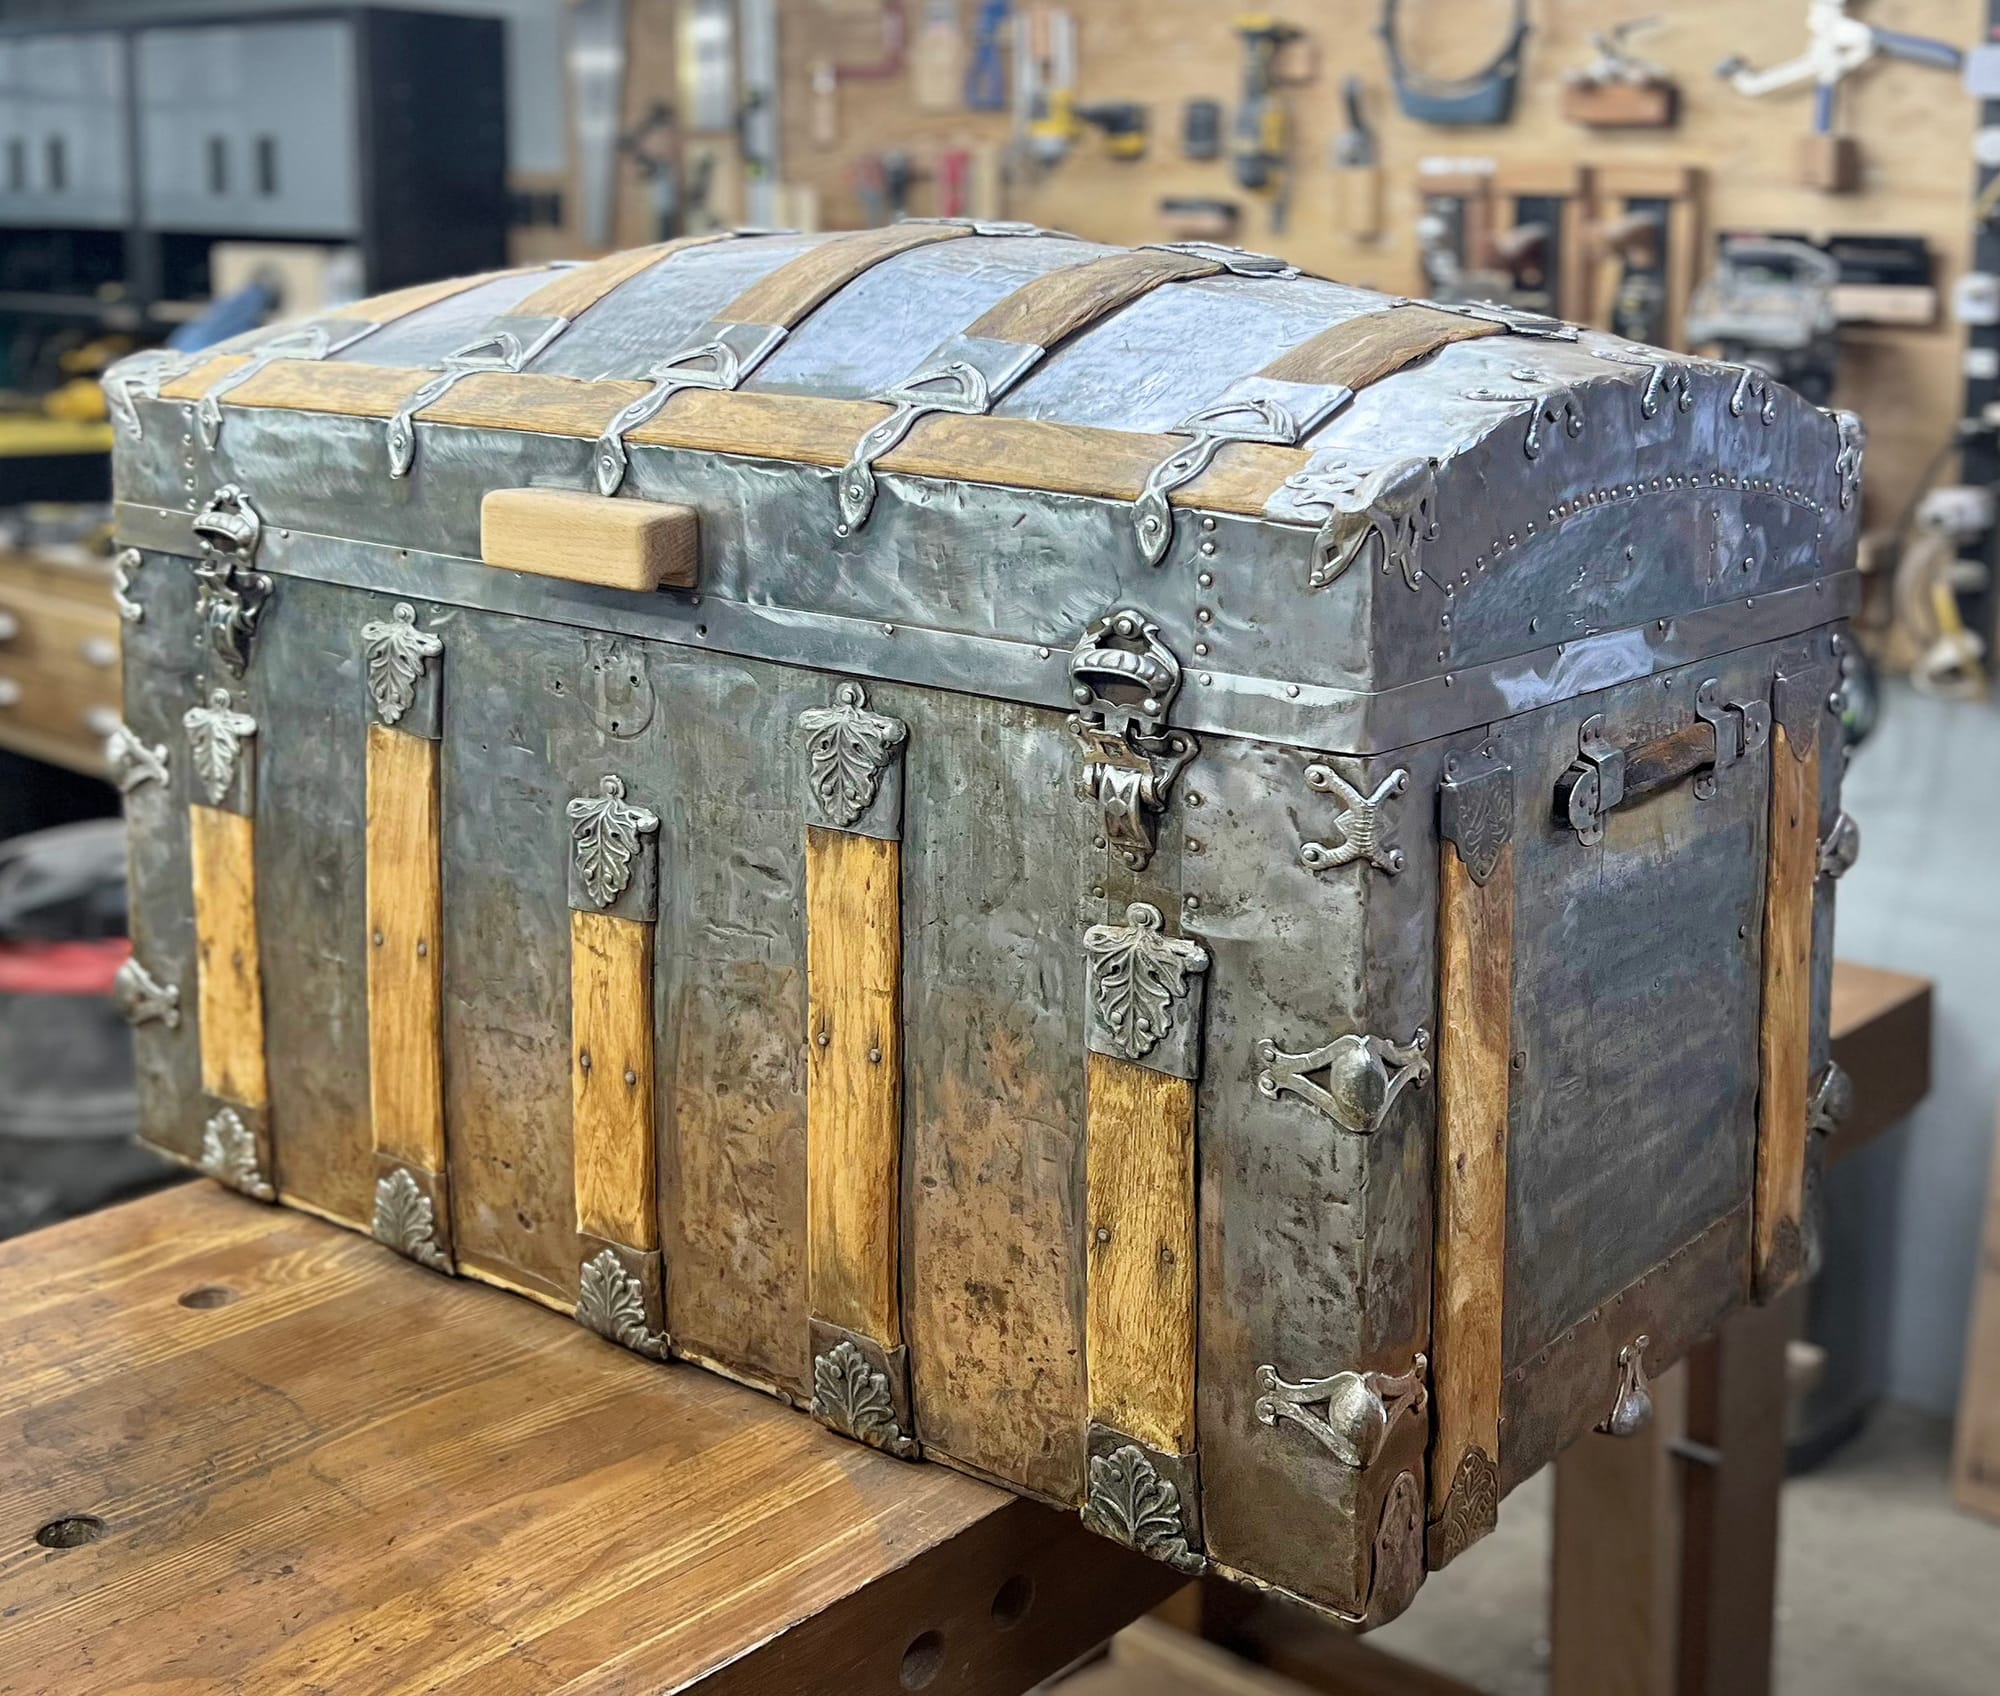
That steamer trunk has been on hold since then, but this summer, feeling fully recovered from my knee surgery, I decided to get back to solving the problem of storing Megan's quilts. And after looking at that steamer trunk with fresh eyes, I decided it's not the right solution. I could make it into a cedar-lined blanket chest, but that would be a lot of work, perhaps more work than just making a nice cedar chest from scratch. And although the steamer trunk is a cool piece of furniture in its own right, it doesn't look like a blanket chest, and definitely doesn't match the handcrafted woodworking decor of our parlor.
So I decided to make a cedar chest from scratch. We'll figure out another use for that steamer trunk eventually, but for now it's going to stay on hold.
I looked at a variety of designs and plans for cedar chests, and picked out one that Megan and I like. I've been busy with a bunch of other projects that we want to get done this summer, and I decided to build the chest while Megan's in the UK on a trekking vacation September 1-19. I didn't tell her about this plan, because I thought it would be fun to surprise her.
New plan: the hope chest
But then I mentioned this plan to Mom in June and she had an interesting suggestion. She has a cedar "hope chest" that she's had since she was a teenager, and she suggested I could take it and repair it and Megan could use it for her quilts. I loved this idea! It's essentially a family heirloom, and it needed various repairs and restoration, but nothing I couldn't figure out how to do.
The term hope chest was commonly used in the late 1800s and early 1900s in the Midwest and Great Plains states. It referred to a wooden chest that was given to a young unmarried young women to collect items such as clothing and household linen, in anticipation of married life. They called it a "hope chest" because it symbolized a young woman's hopes and dreams for her future marriage, home, and family.
Mom grew up in the small town of Forbes, North Dakota, and as a young girl she had been given this hope chest by another family in town. That happened in the 1940s, and the chest was probably built in the 1920s or earlier, so it's likely over 100 years old.
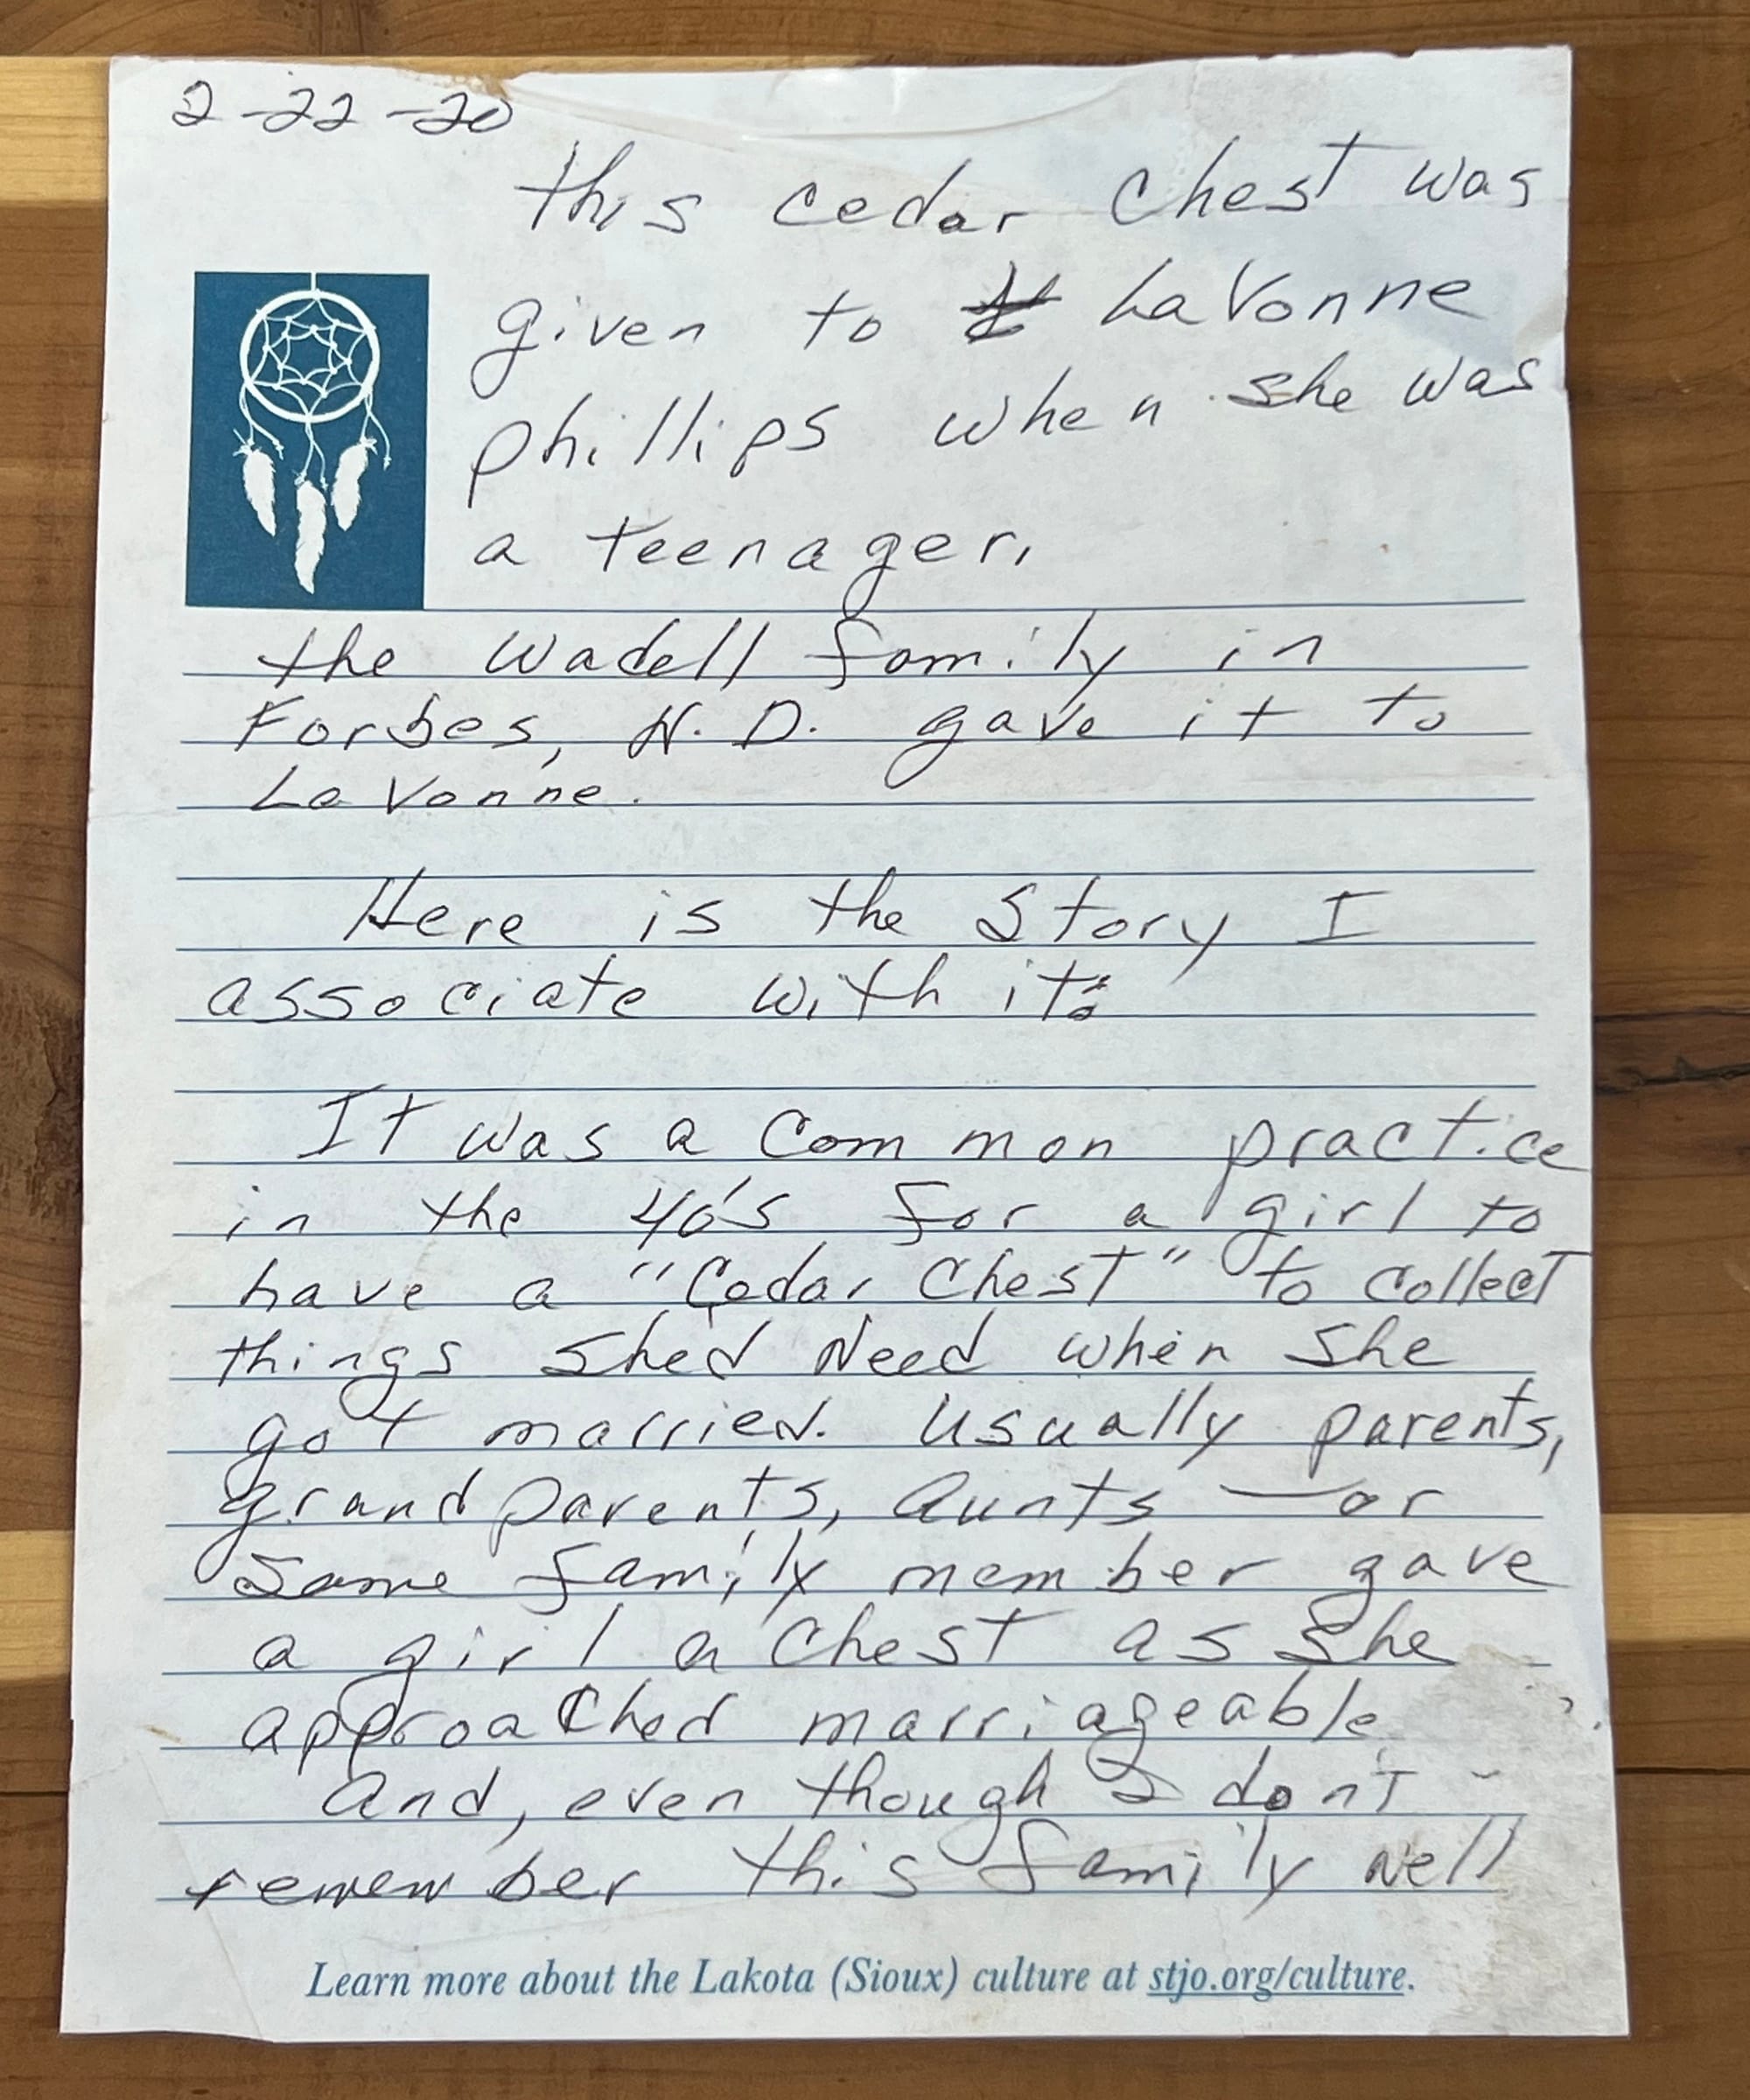
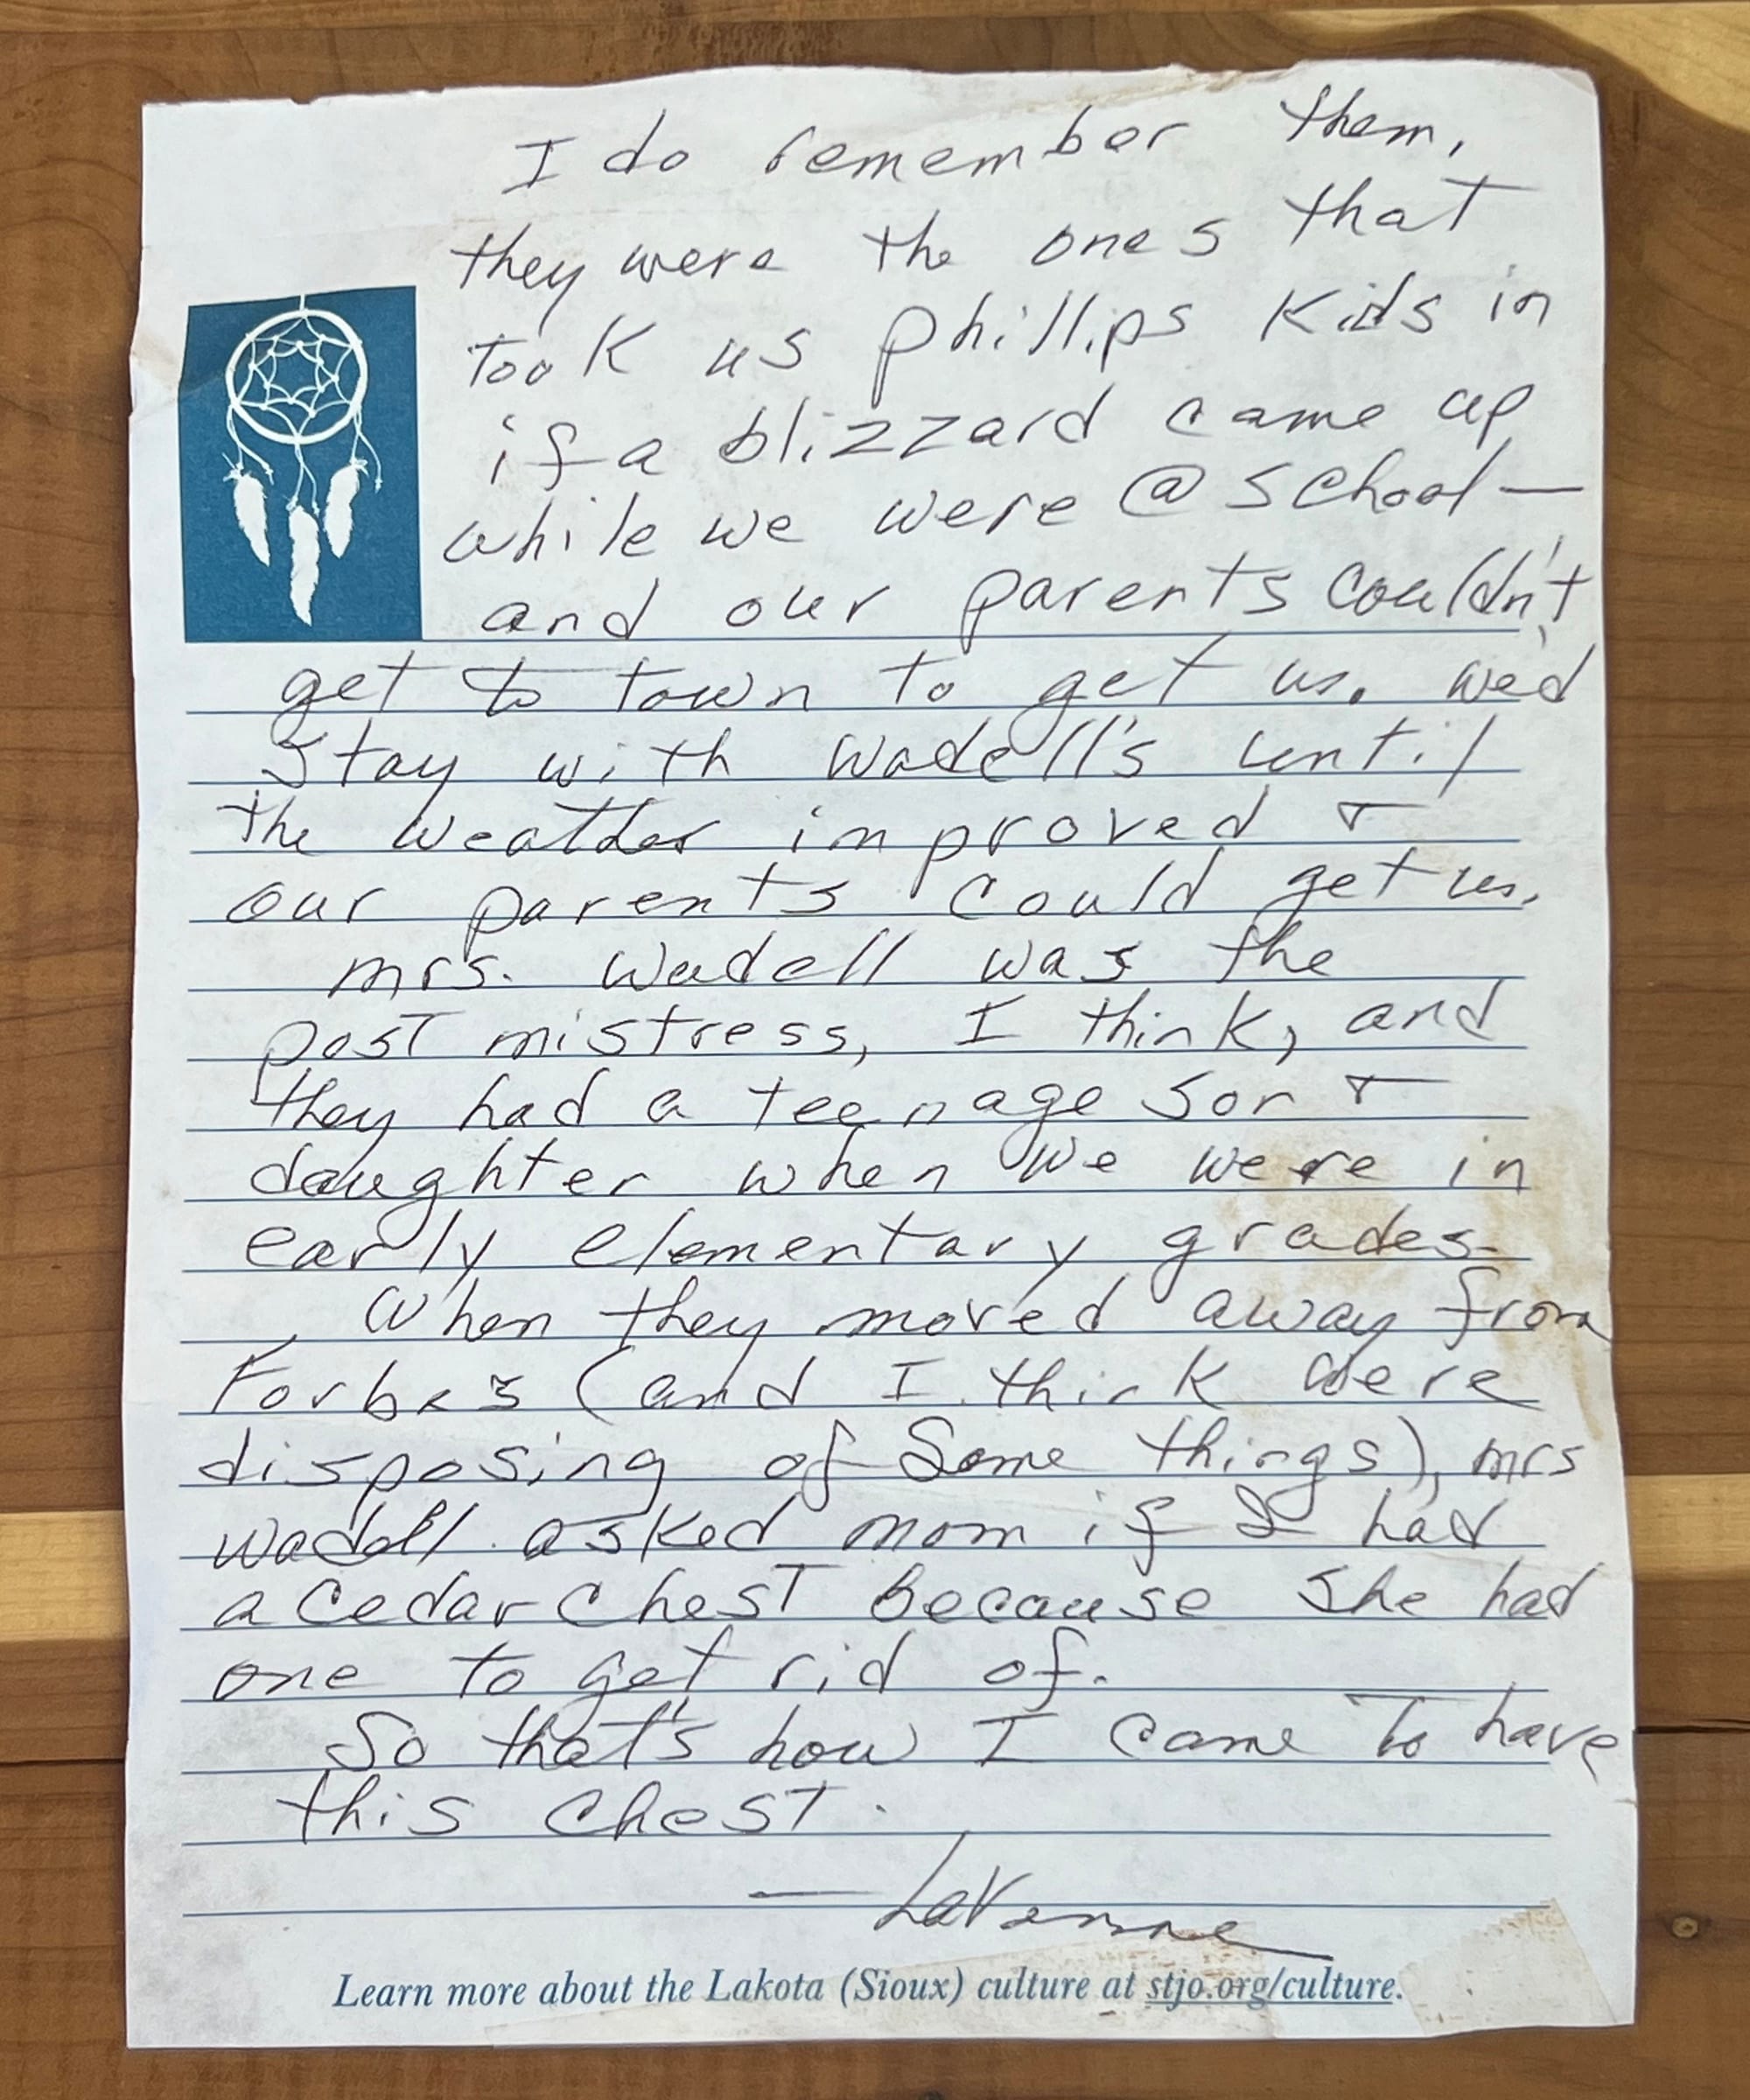
I found this handwritten note taped inside the chest. It's Mom's explanation of how she got it.
Getting sneaky
I decided to restore the hope chest while Megan's in the UK, and I wanted to keep it a surprise for her. So I had to do a bit of sneaking around.
On a trip to Seattle to visit Mom in early August, I wrapped the hope chest in a moving blanket and put it in the back of my truck to haul it back to Butte. I arrived home just before dinner time, and while Megan was making dinner I took the chest out of the truck and hid it in the old coal room downstairs, behind a bunch of lumber I store there.
It's been hidden there for the last month, until I pulled it out last Wednesday 9/2, the day after Megan left for the UK.
Getting to work
I've worked on the restoration most of the last six days. I'd say it took about twice as long as I was expecting, which seems to be typical with these sorts of projects. The following are the steps I took to get it done, and a few phone photos I snapped along the way.
Replacing the hardware
One of the hinges was broken, and the lid support bar was broken, so the first step was to replace those items. I searched online back when I first brought the chest home from Seattle, and found some options that I thought would work, so I had replacement hardware in hand.
The hinges I found were sturdy antique brass hinges. They didn't have hinge pins, so I also ordered a few different sizes of brass rods, and I made pins for the hinges. I started with a rod slightly thicker than needed, then chucked it up on my drill press and used a hand file while it was spinning to reduce the diameter to the size I needed. It took a few attempts to get the diameter to a perfect fit, and then I cut down two pieces to the right length.
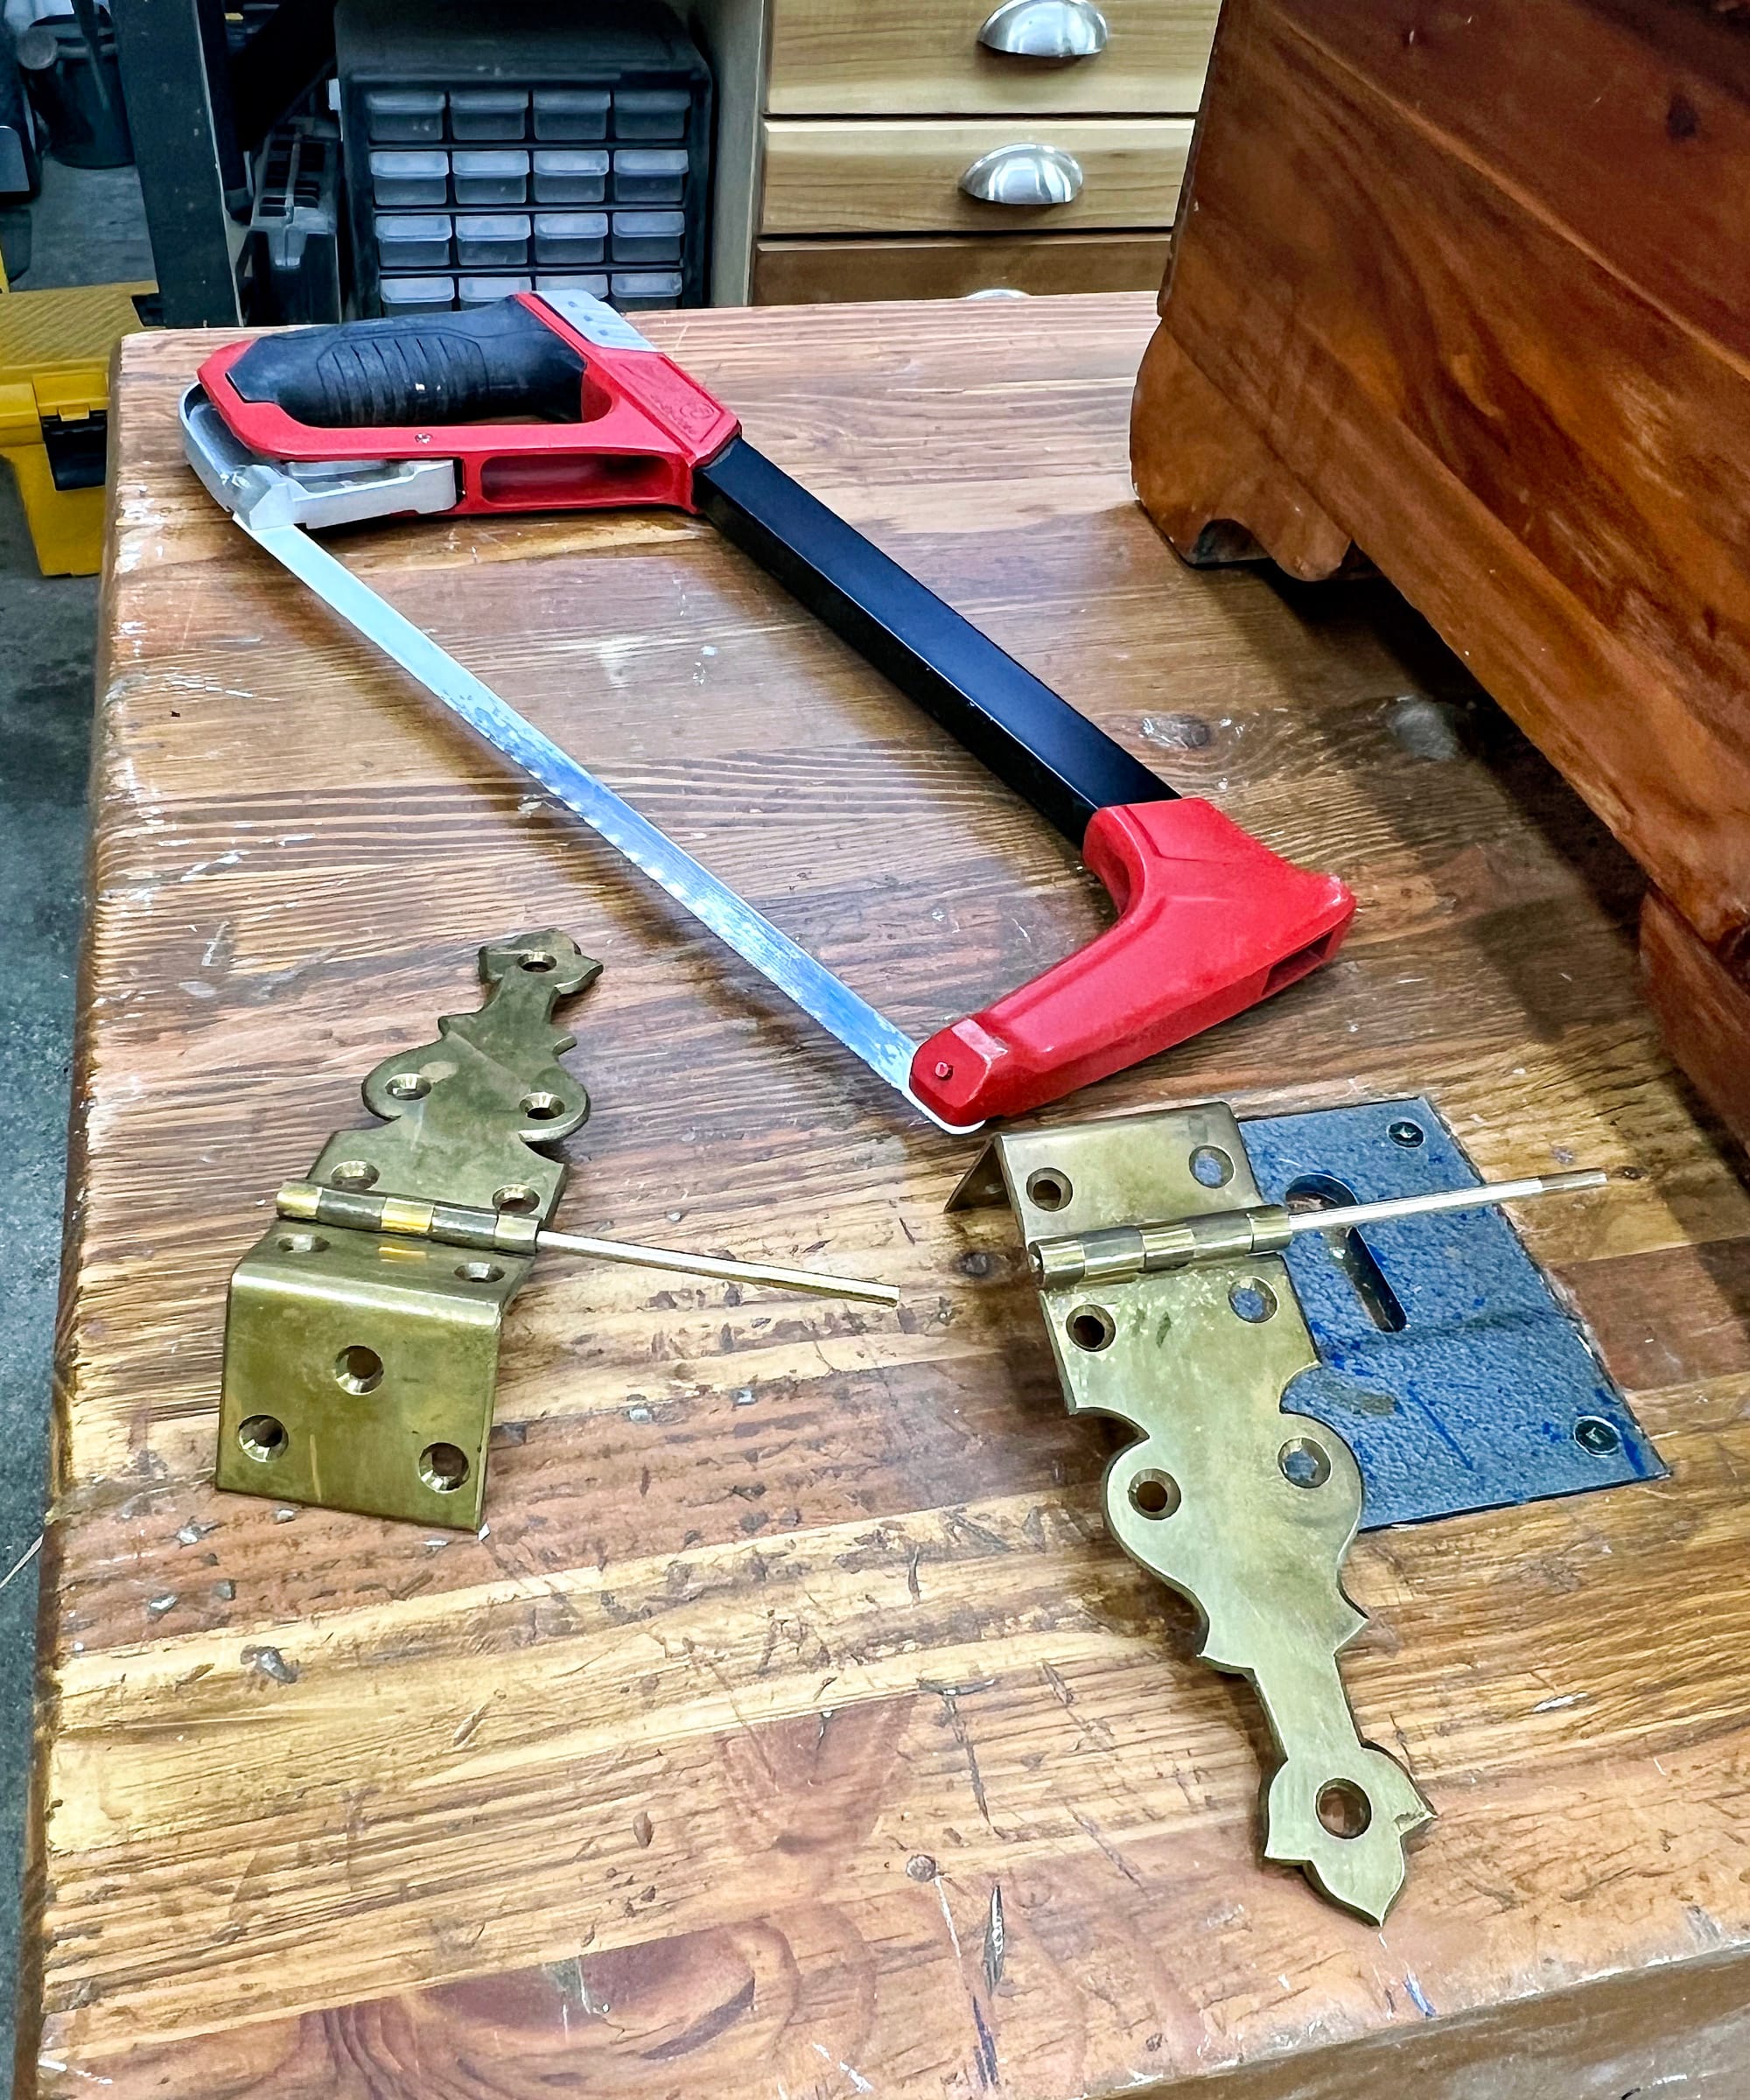
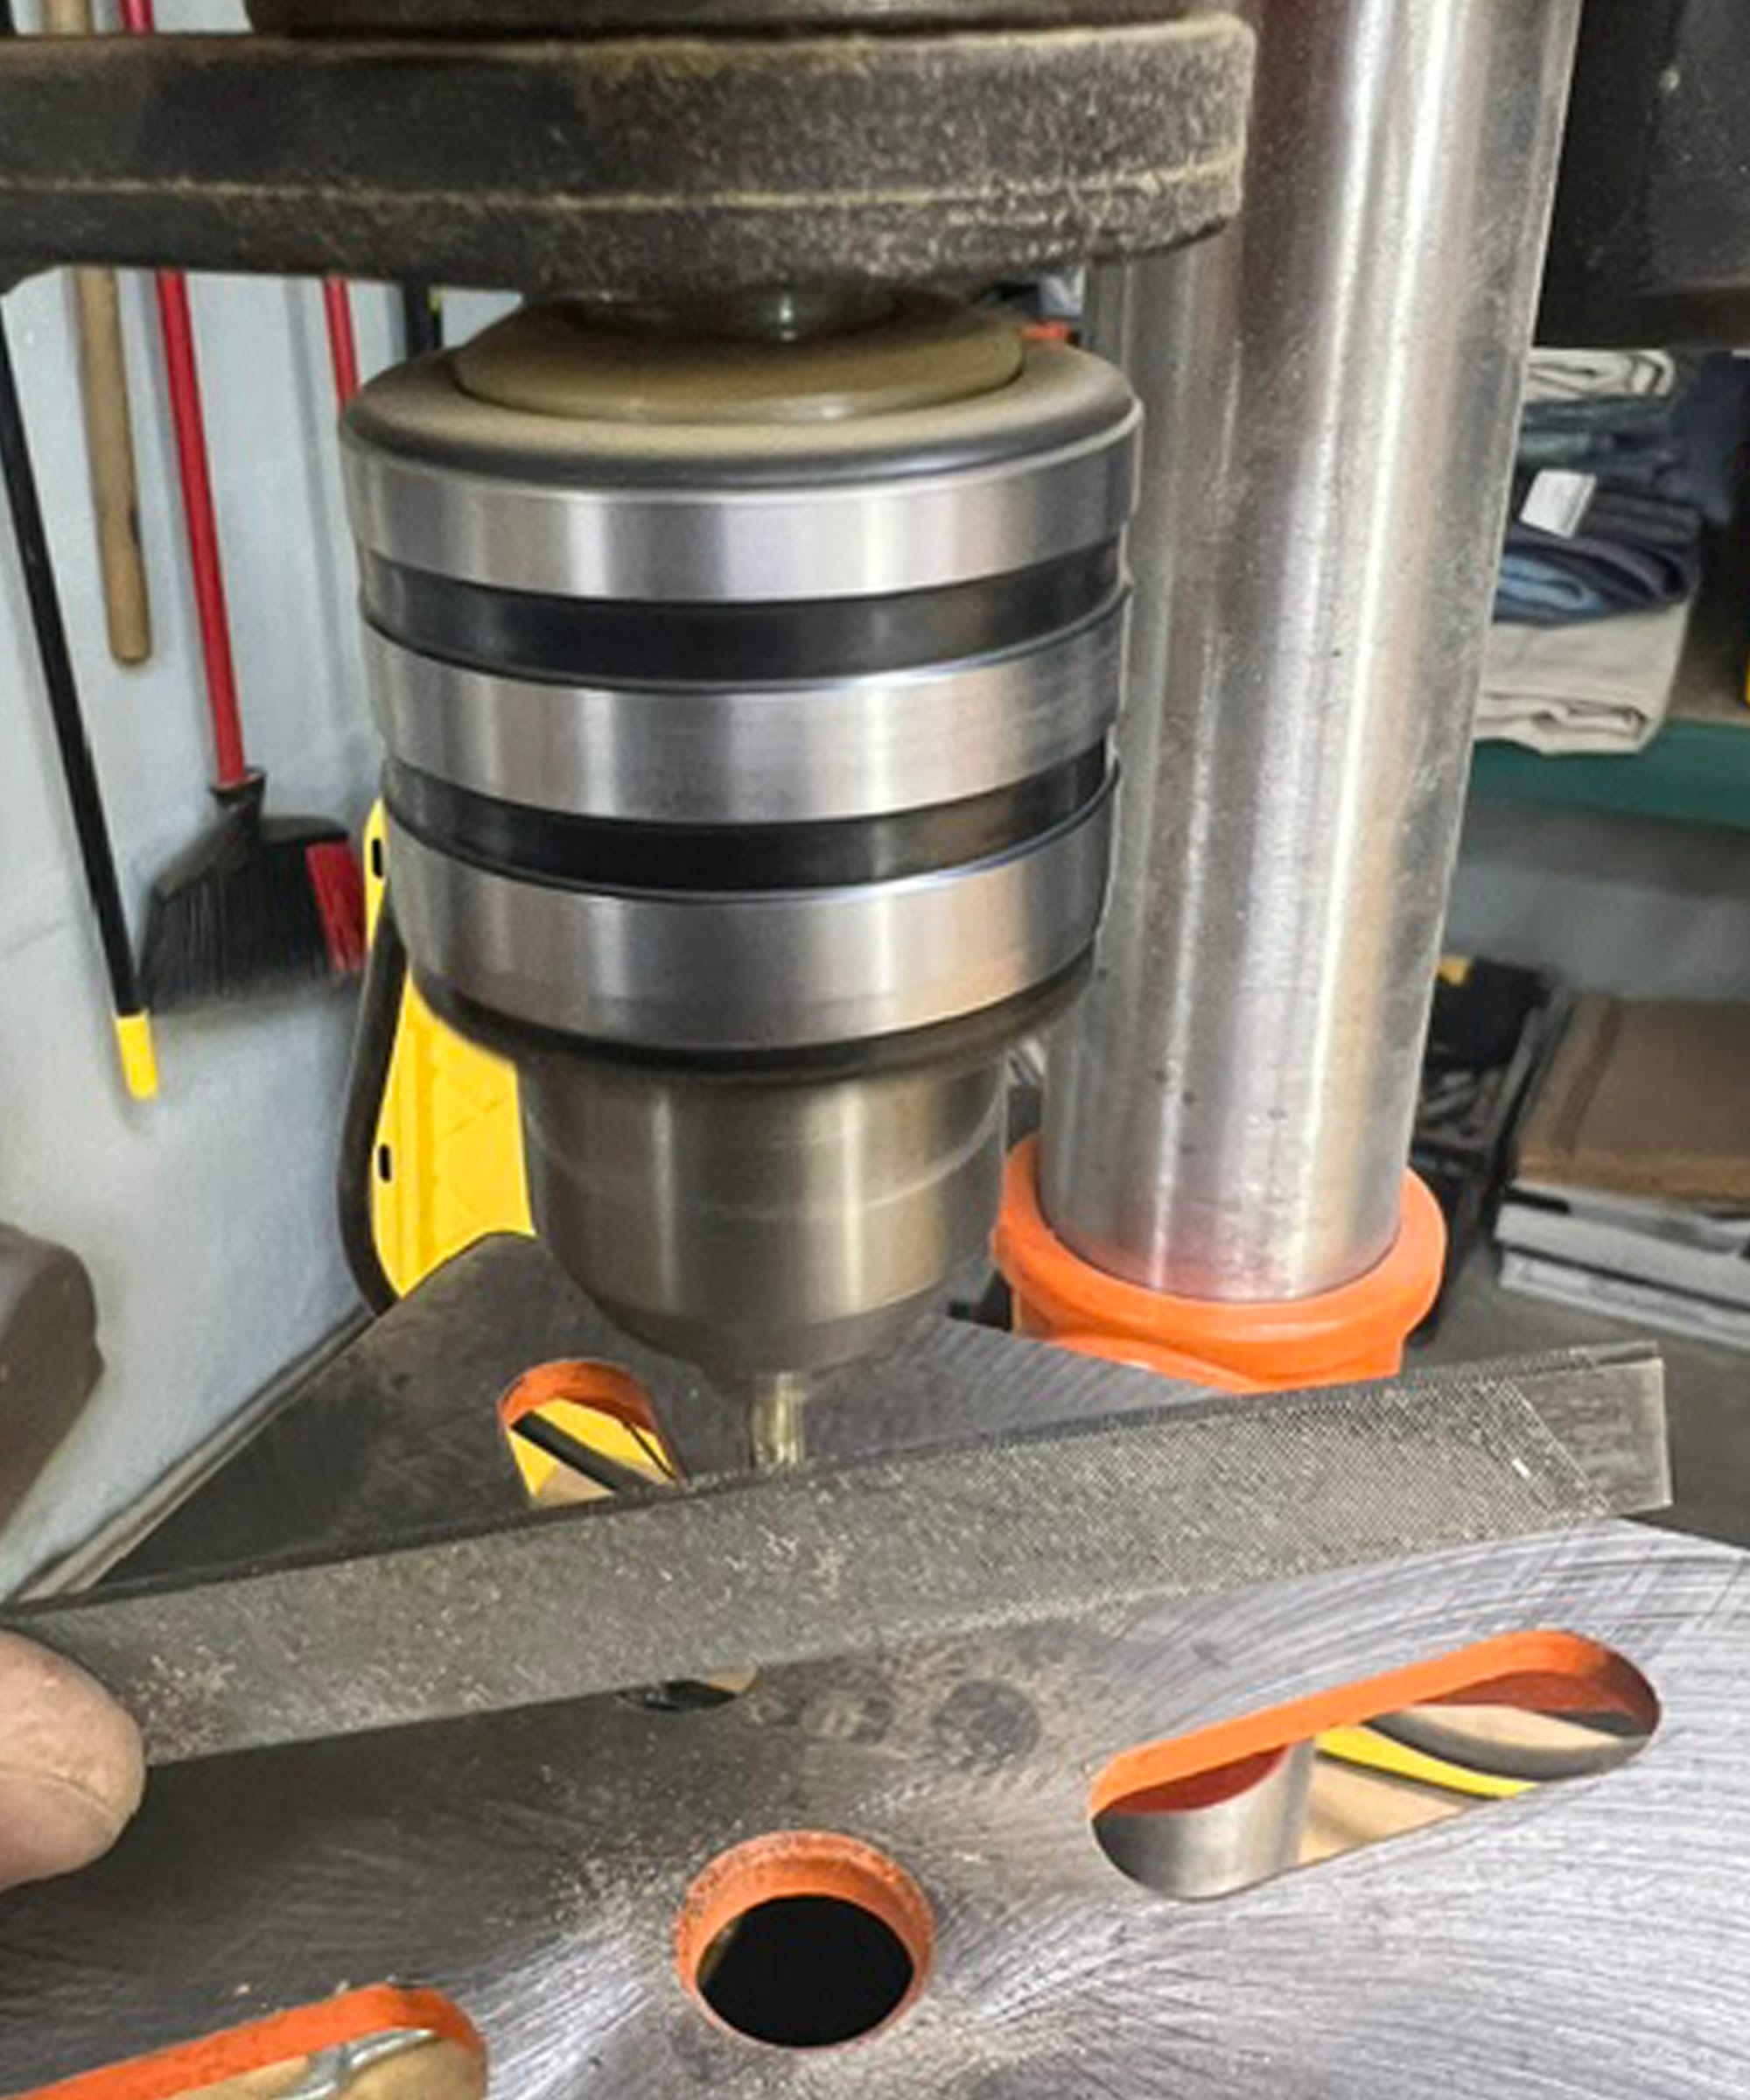
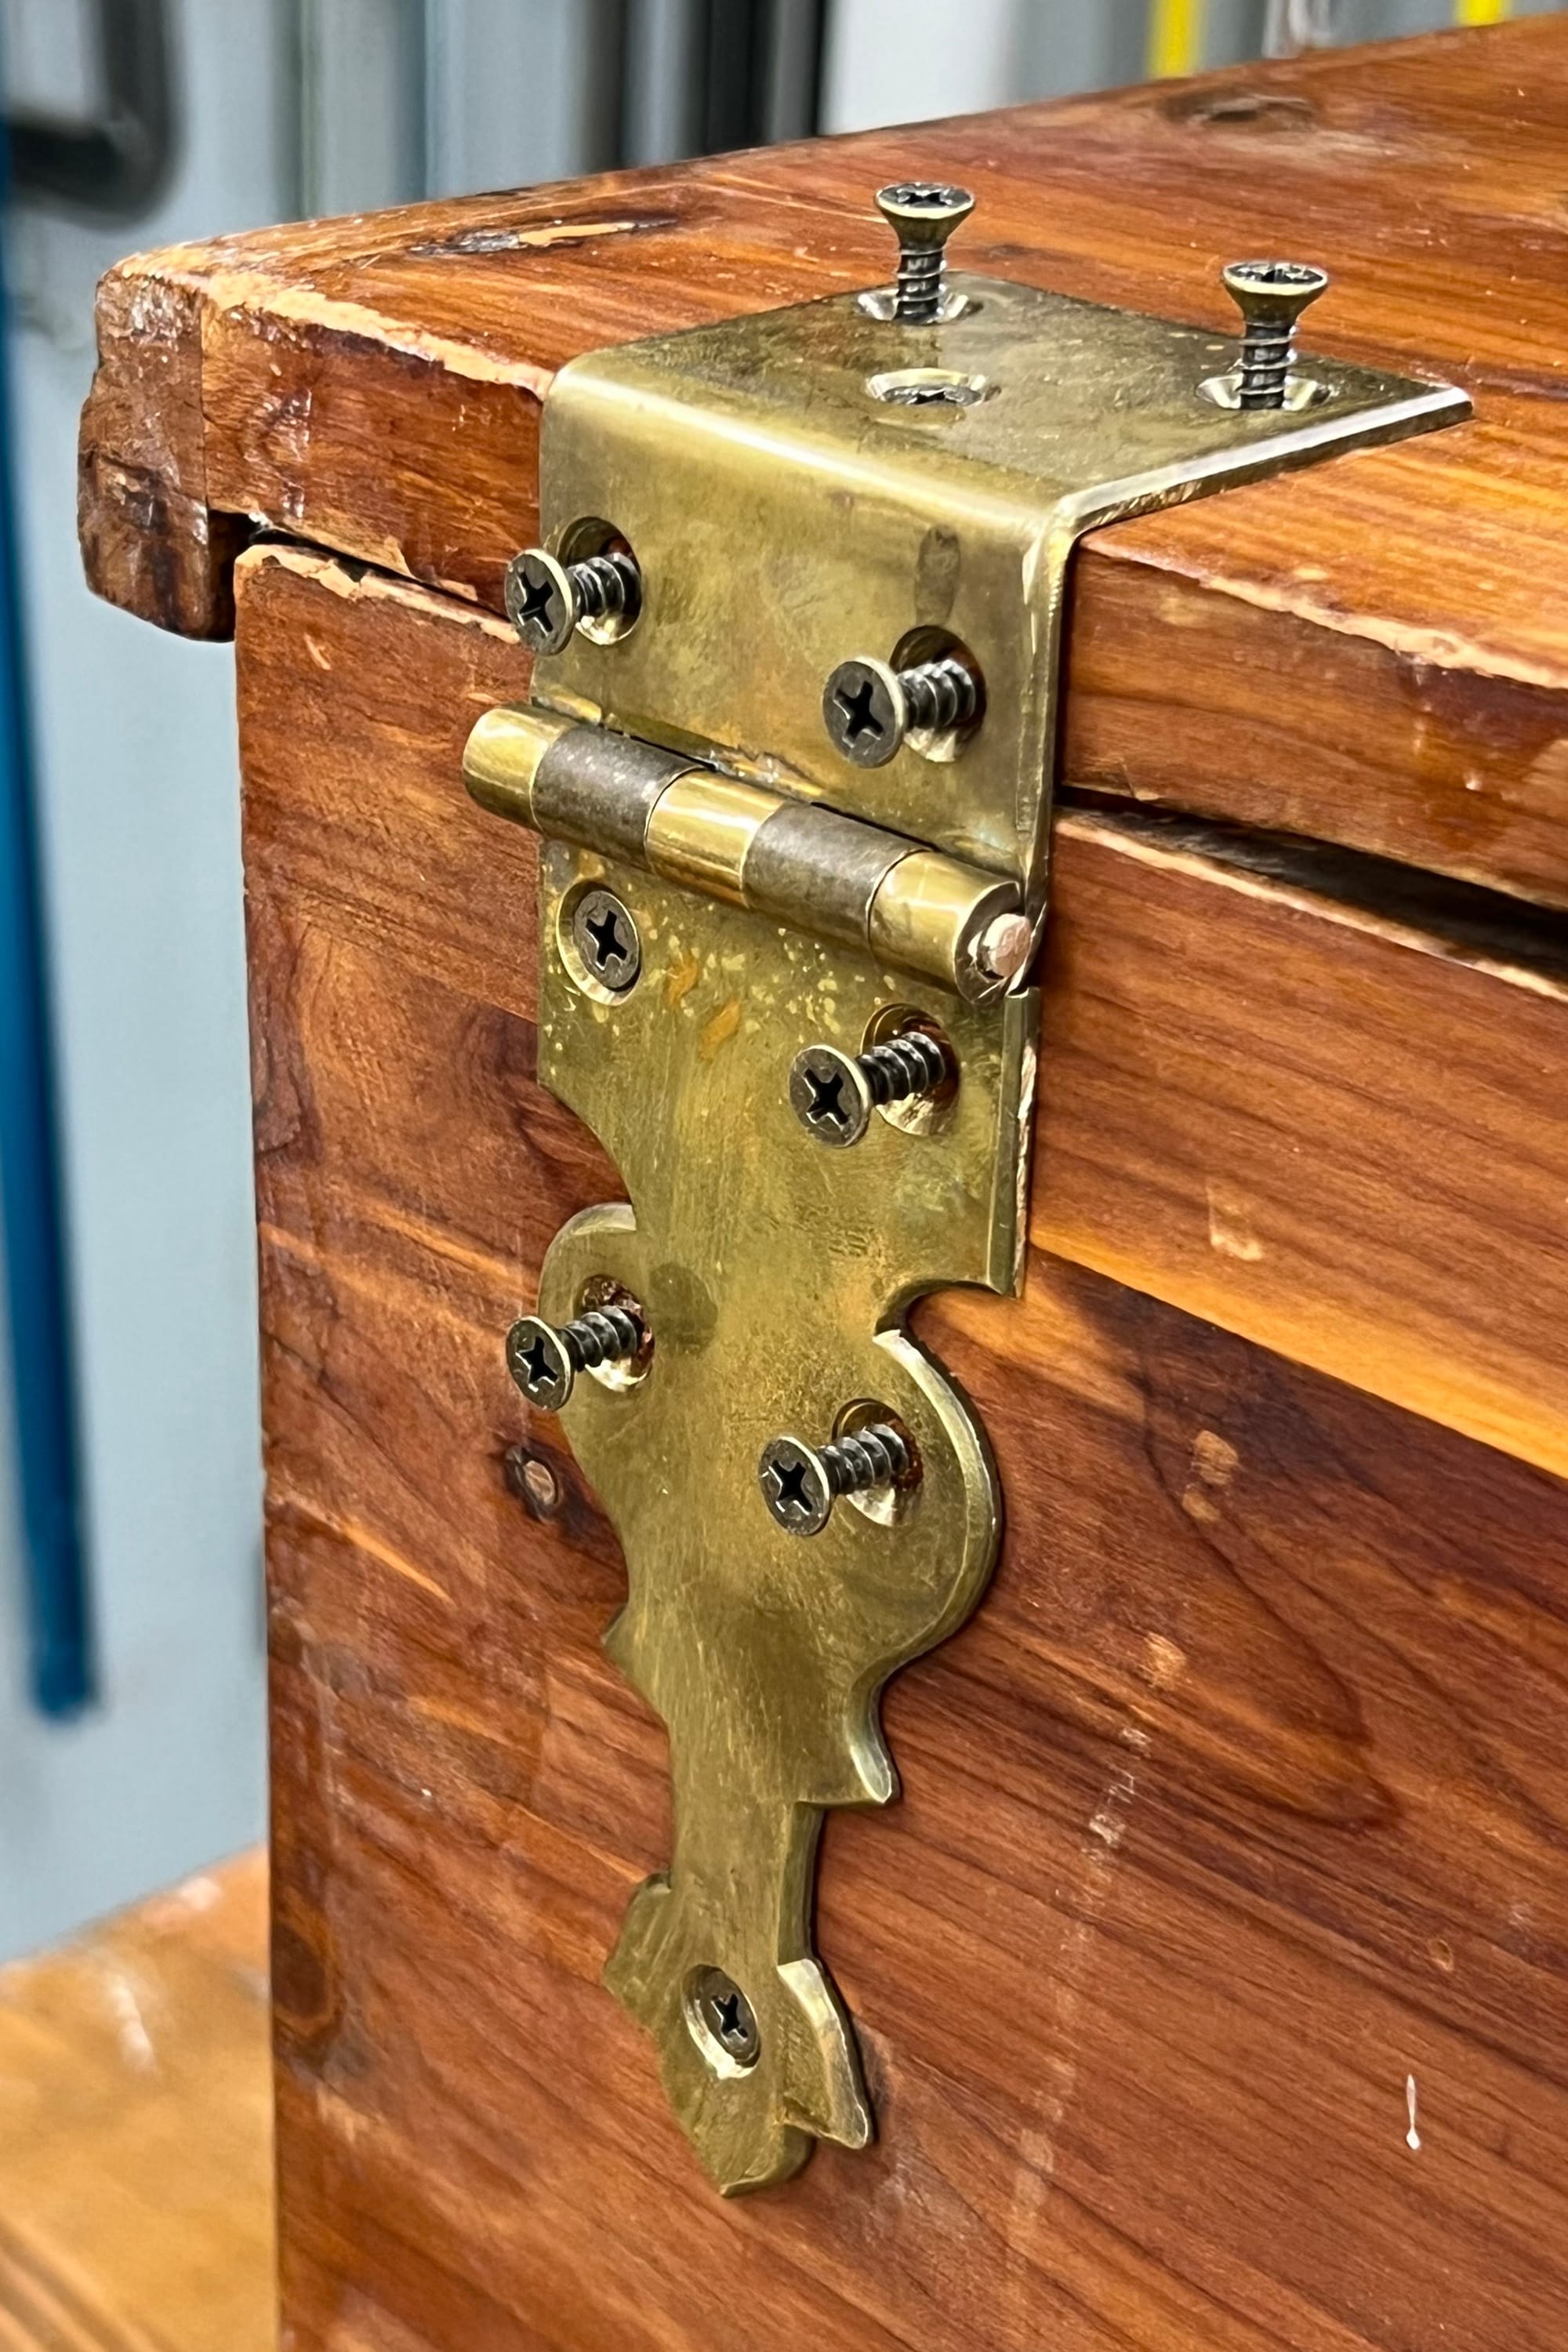
Making pins for the hinges and then installing them.
I had ordered a nice soft-close lid support, but when I tried to install it, I found that it wouldn't work due to a subtle detail of the hinges (explained later below). So I found a simple brass lid support online that I could get in two days, and ordered that one.
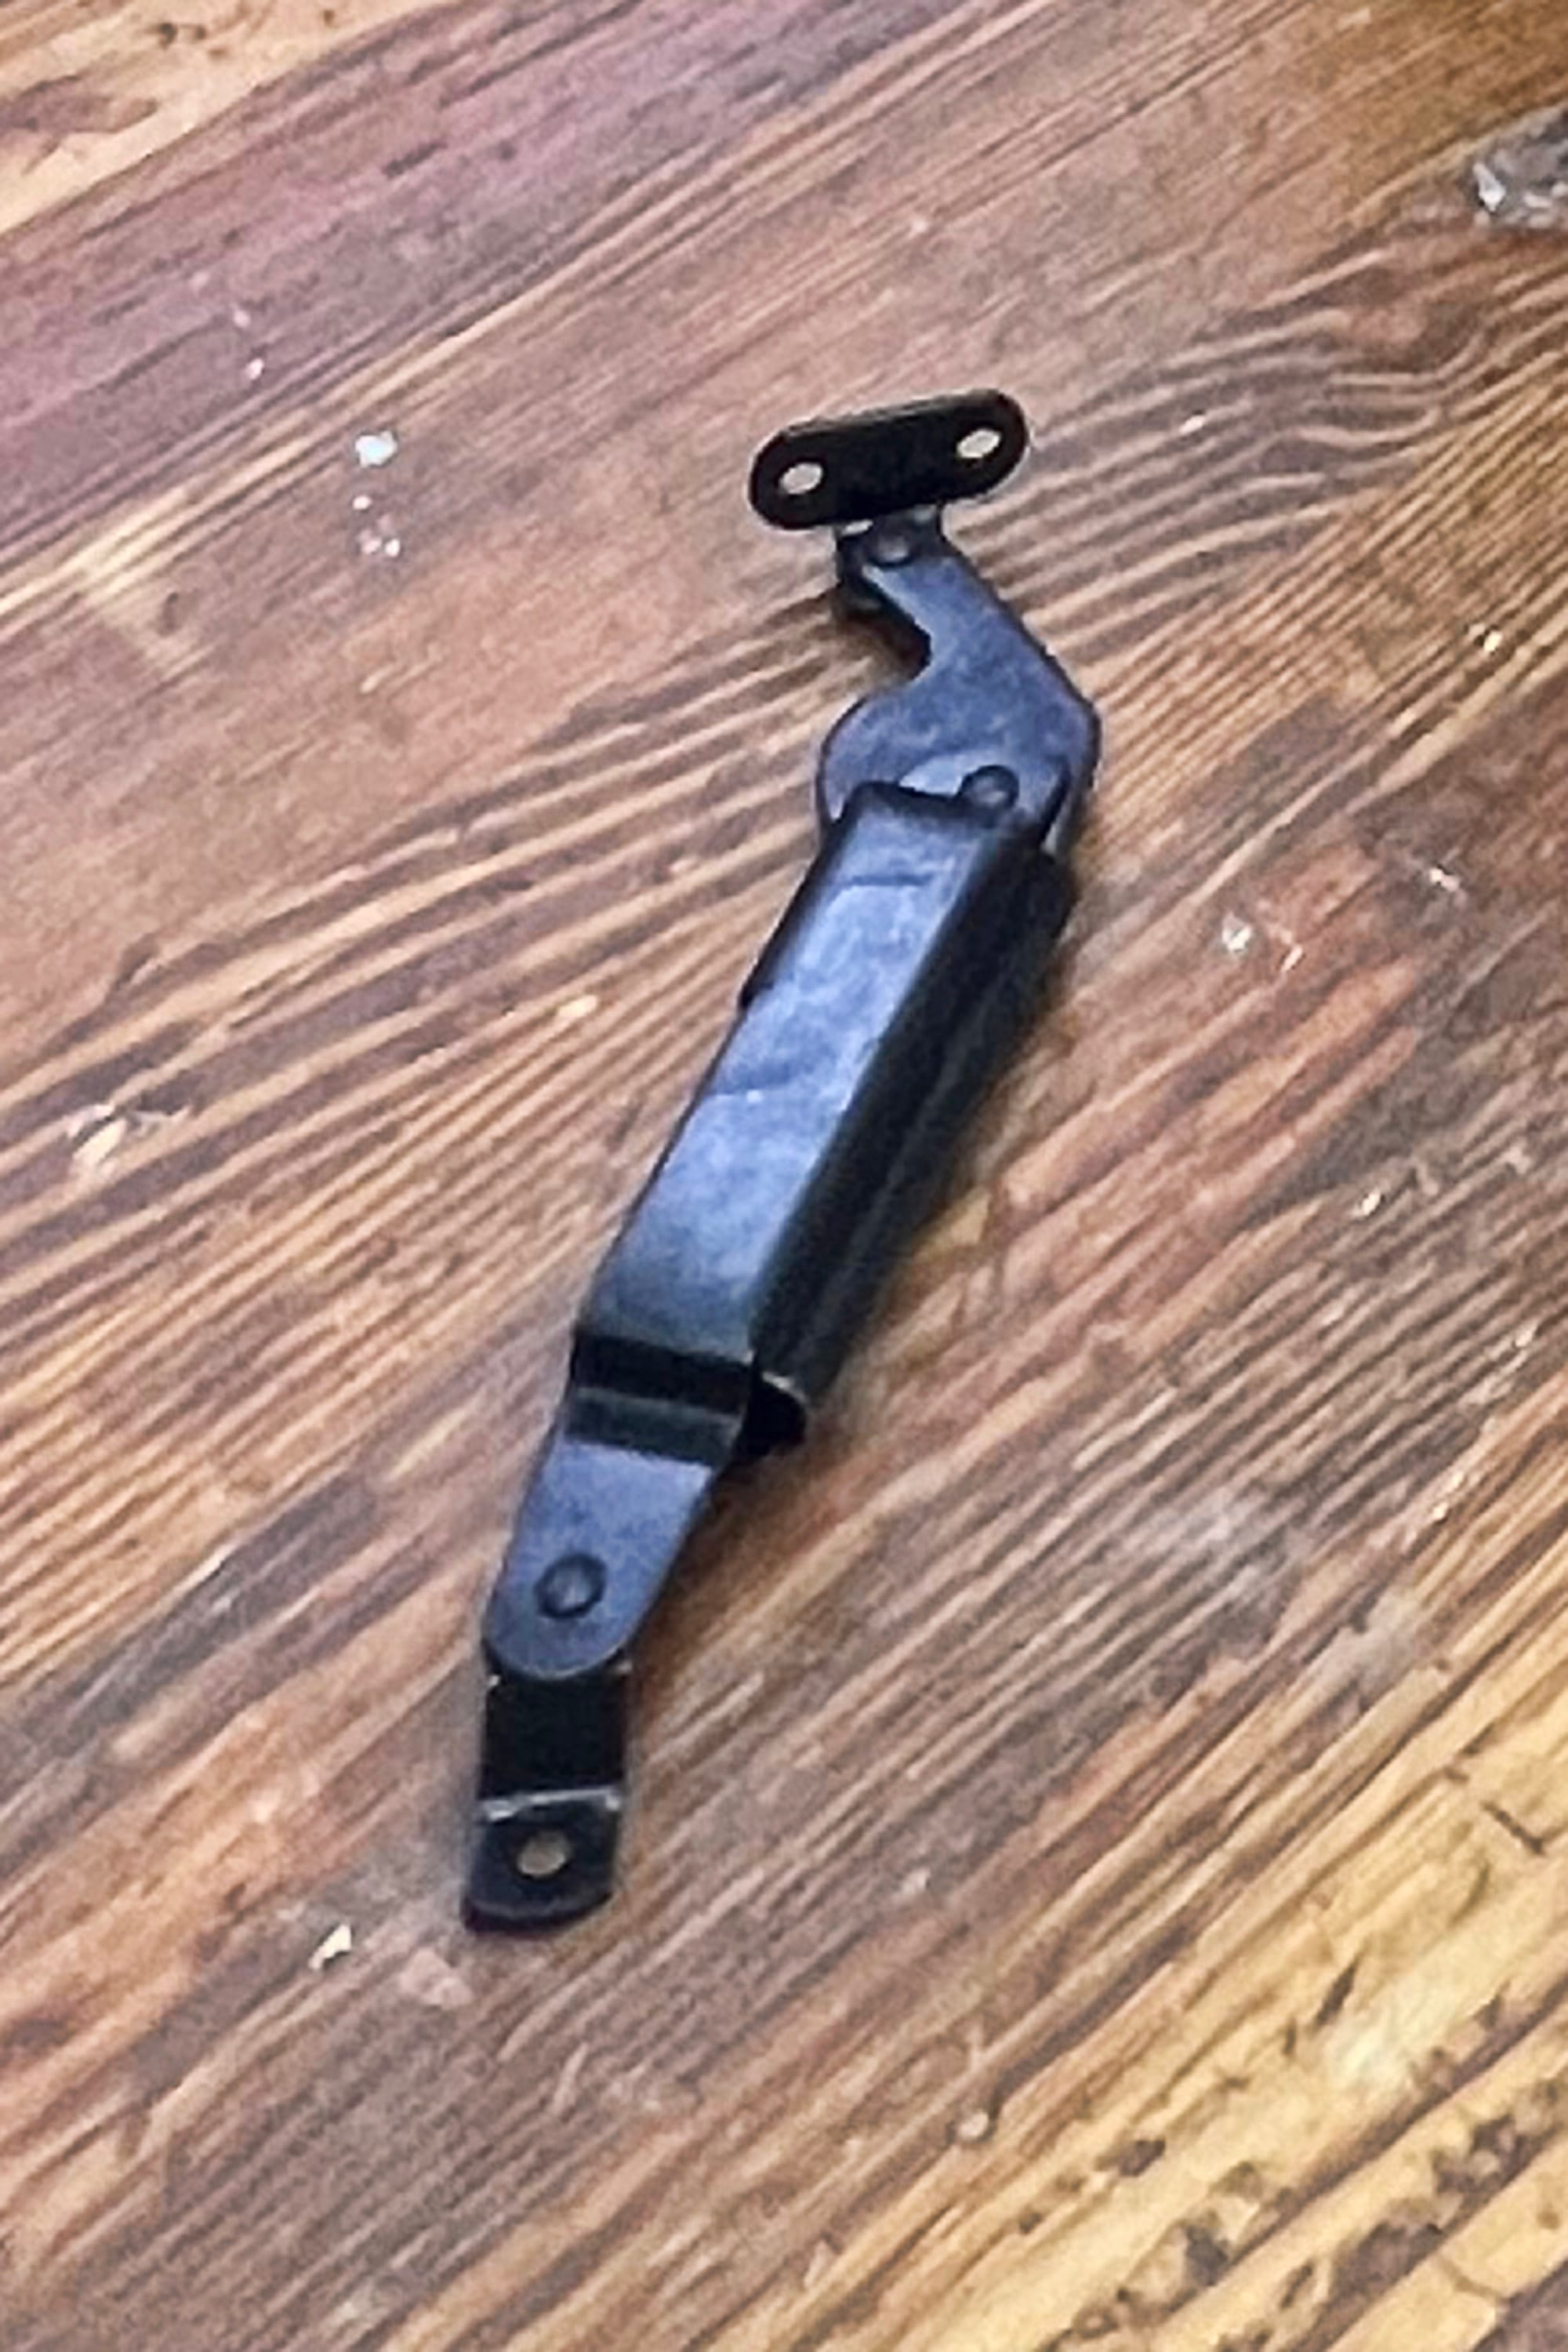
Left: the soft-close lid support that I thought I was going to install. Right: the lid support I went with after I realized the other one wouldn't work.
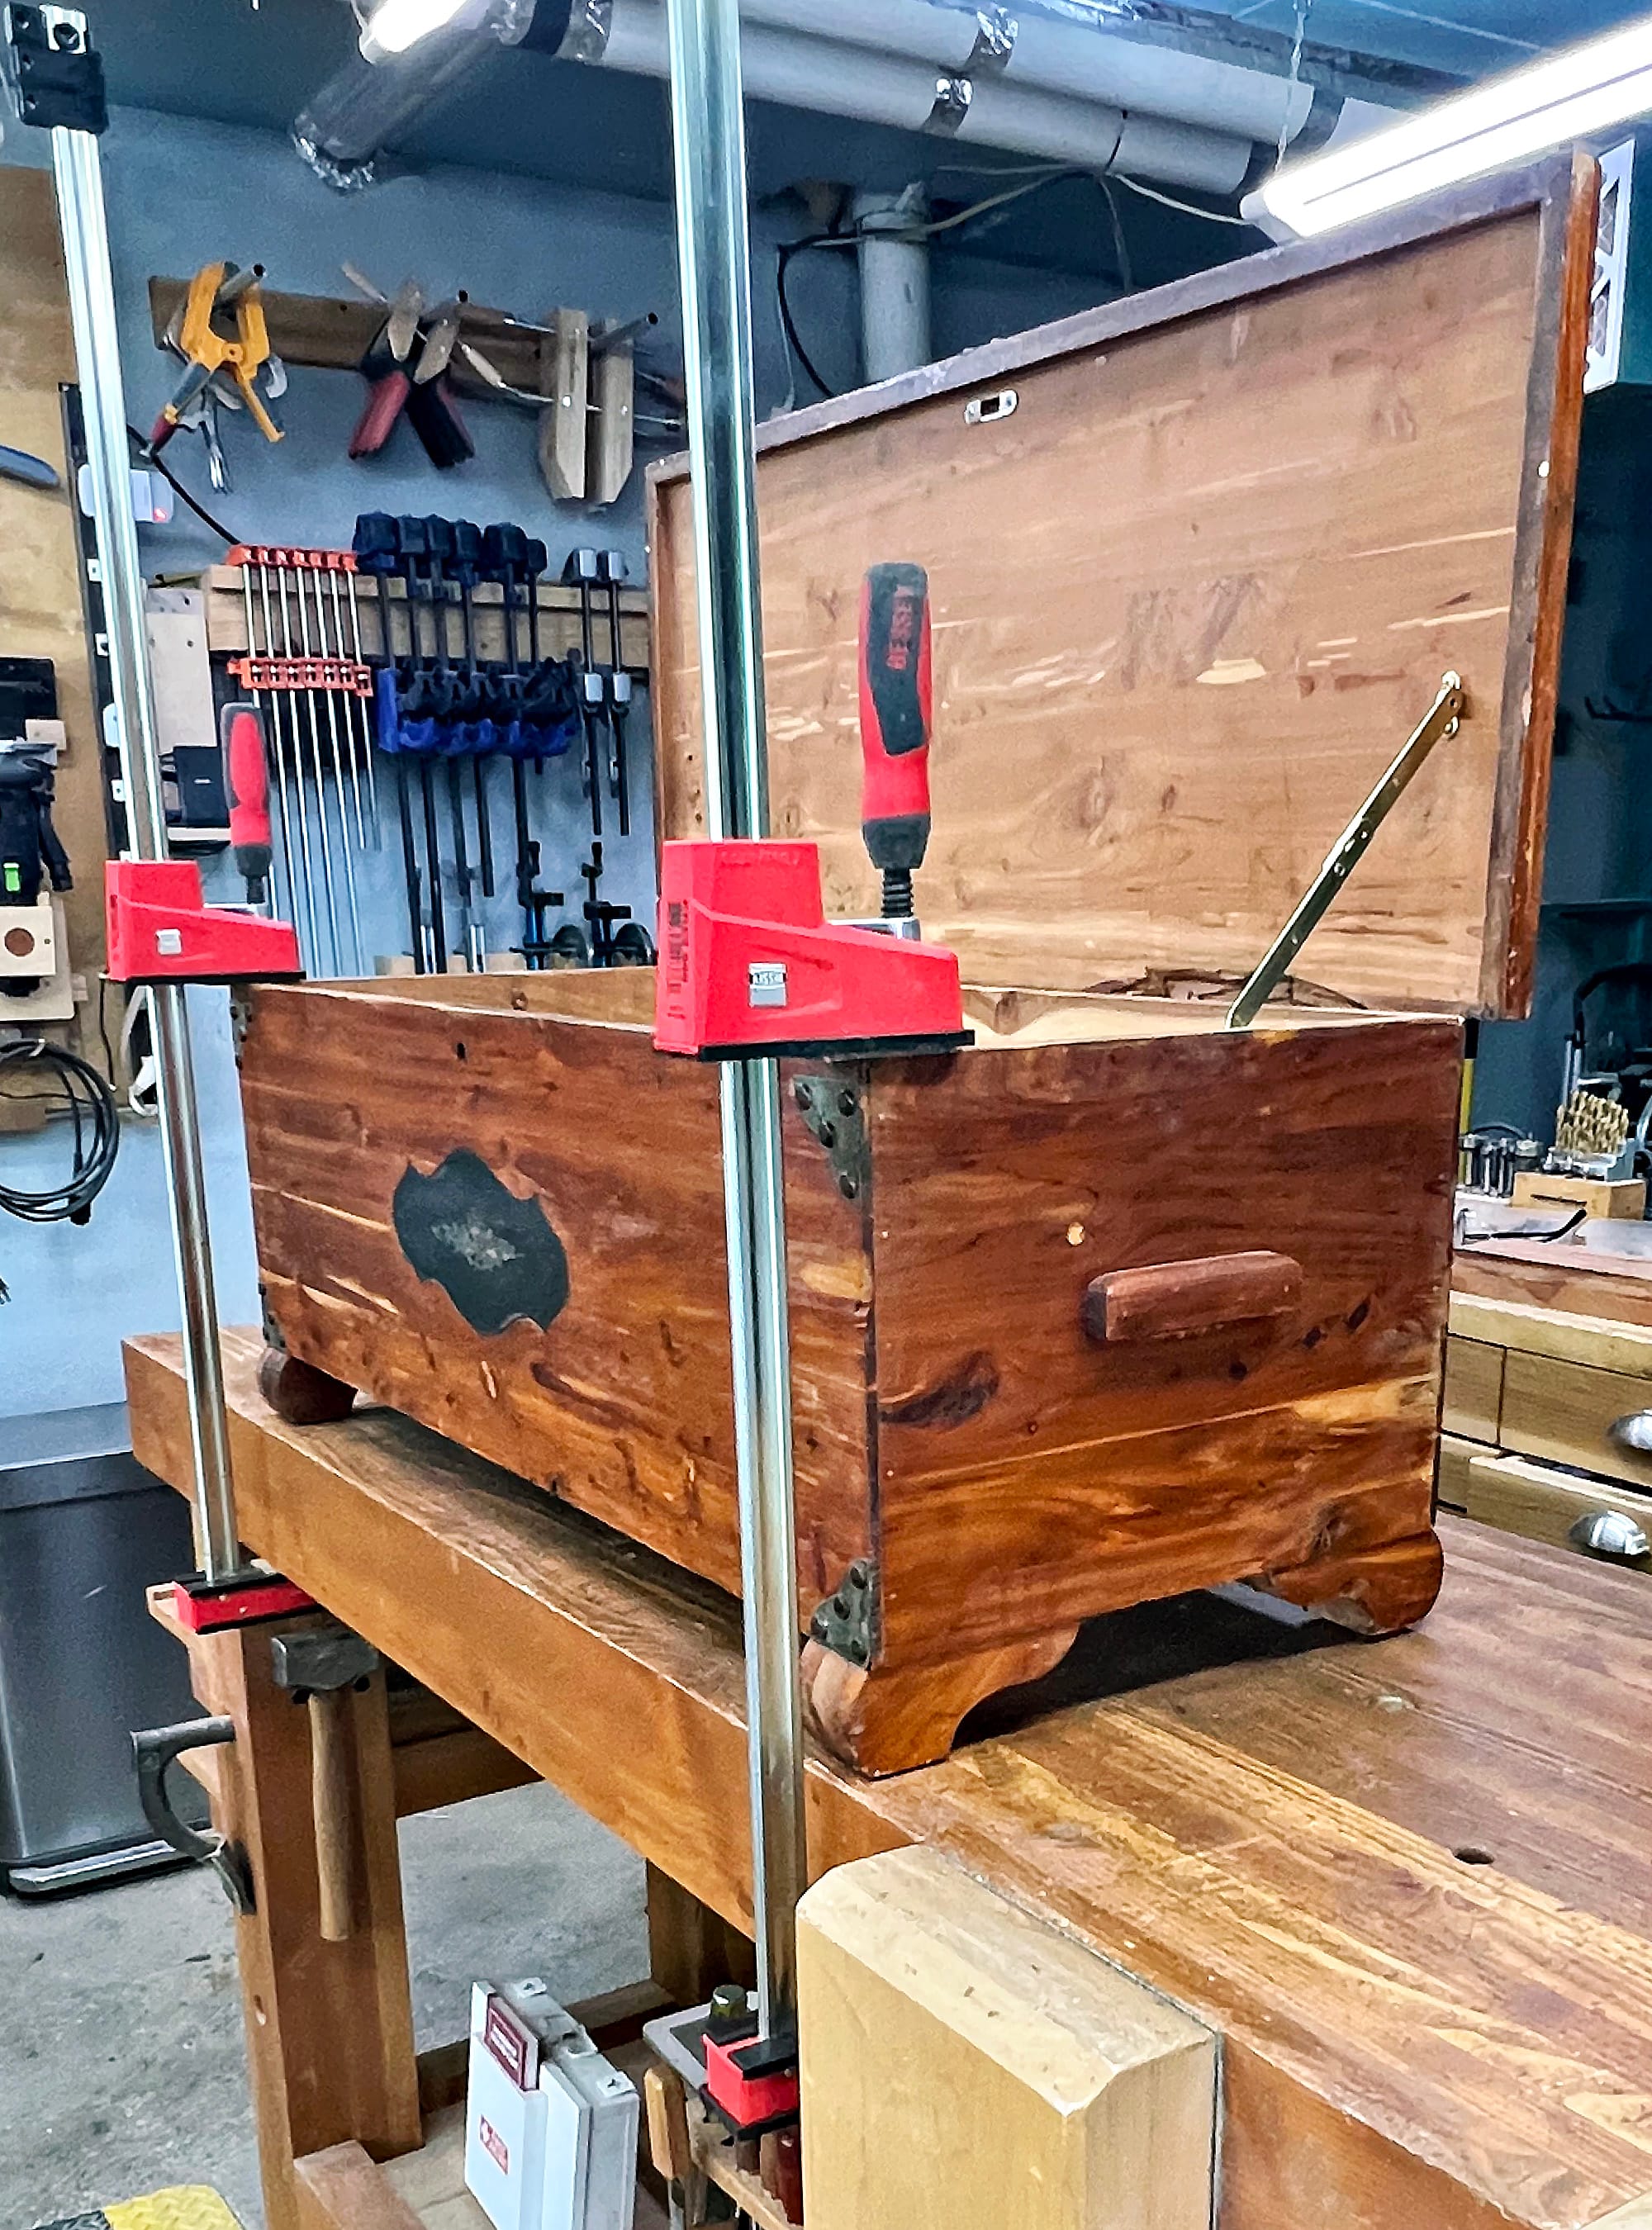
I love the sturdy, simple, massive and heavy workbench that I built three years ago, and it came in handy for this project.
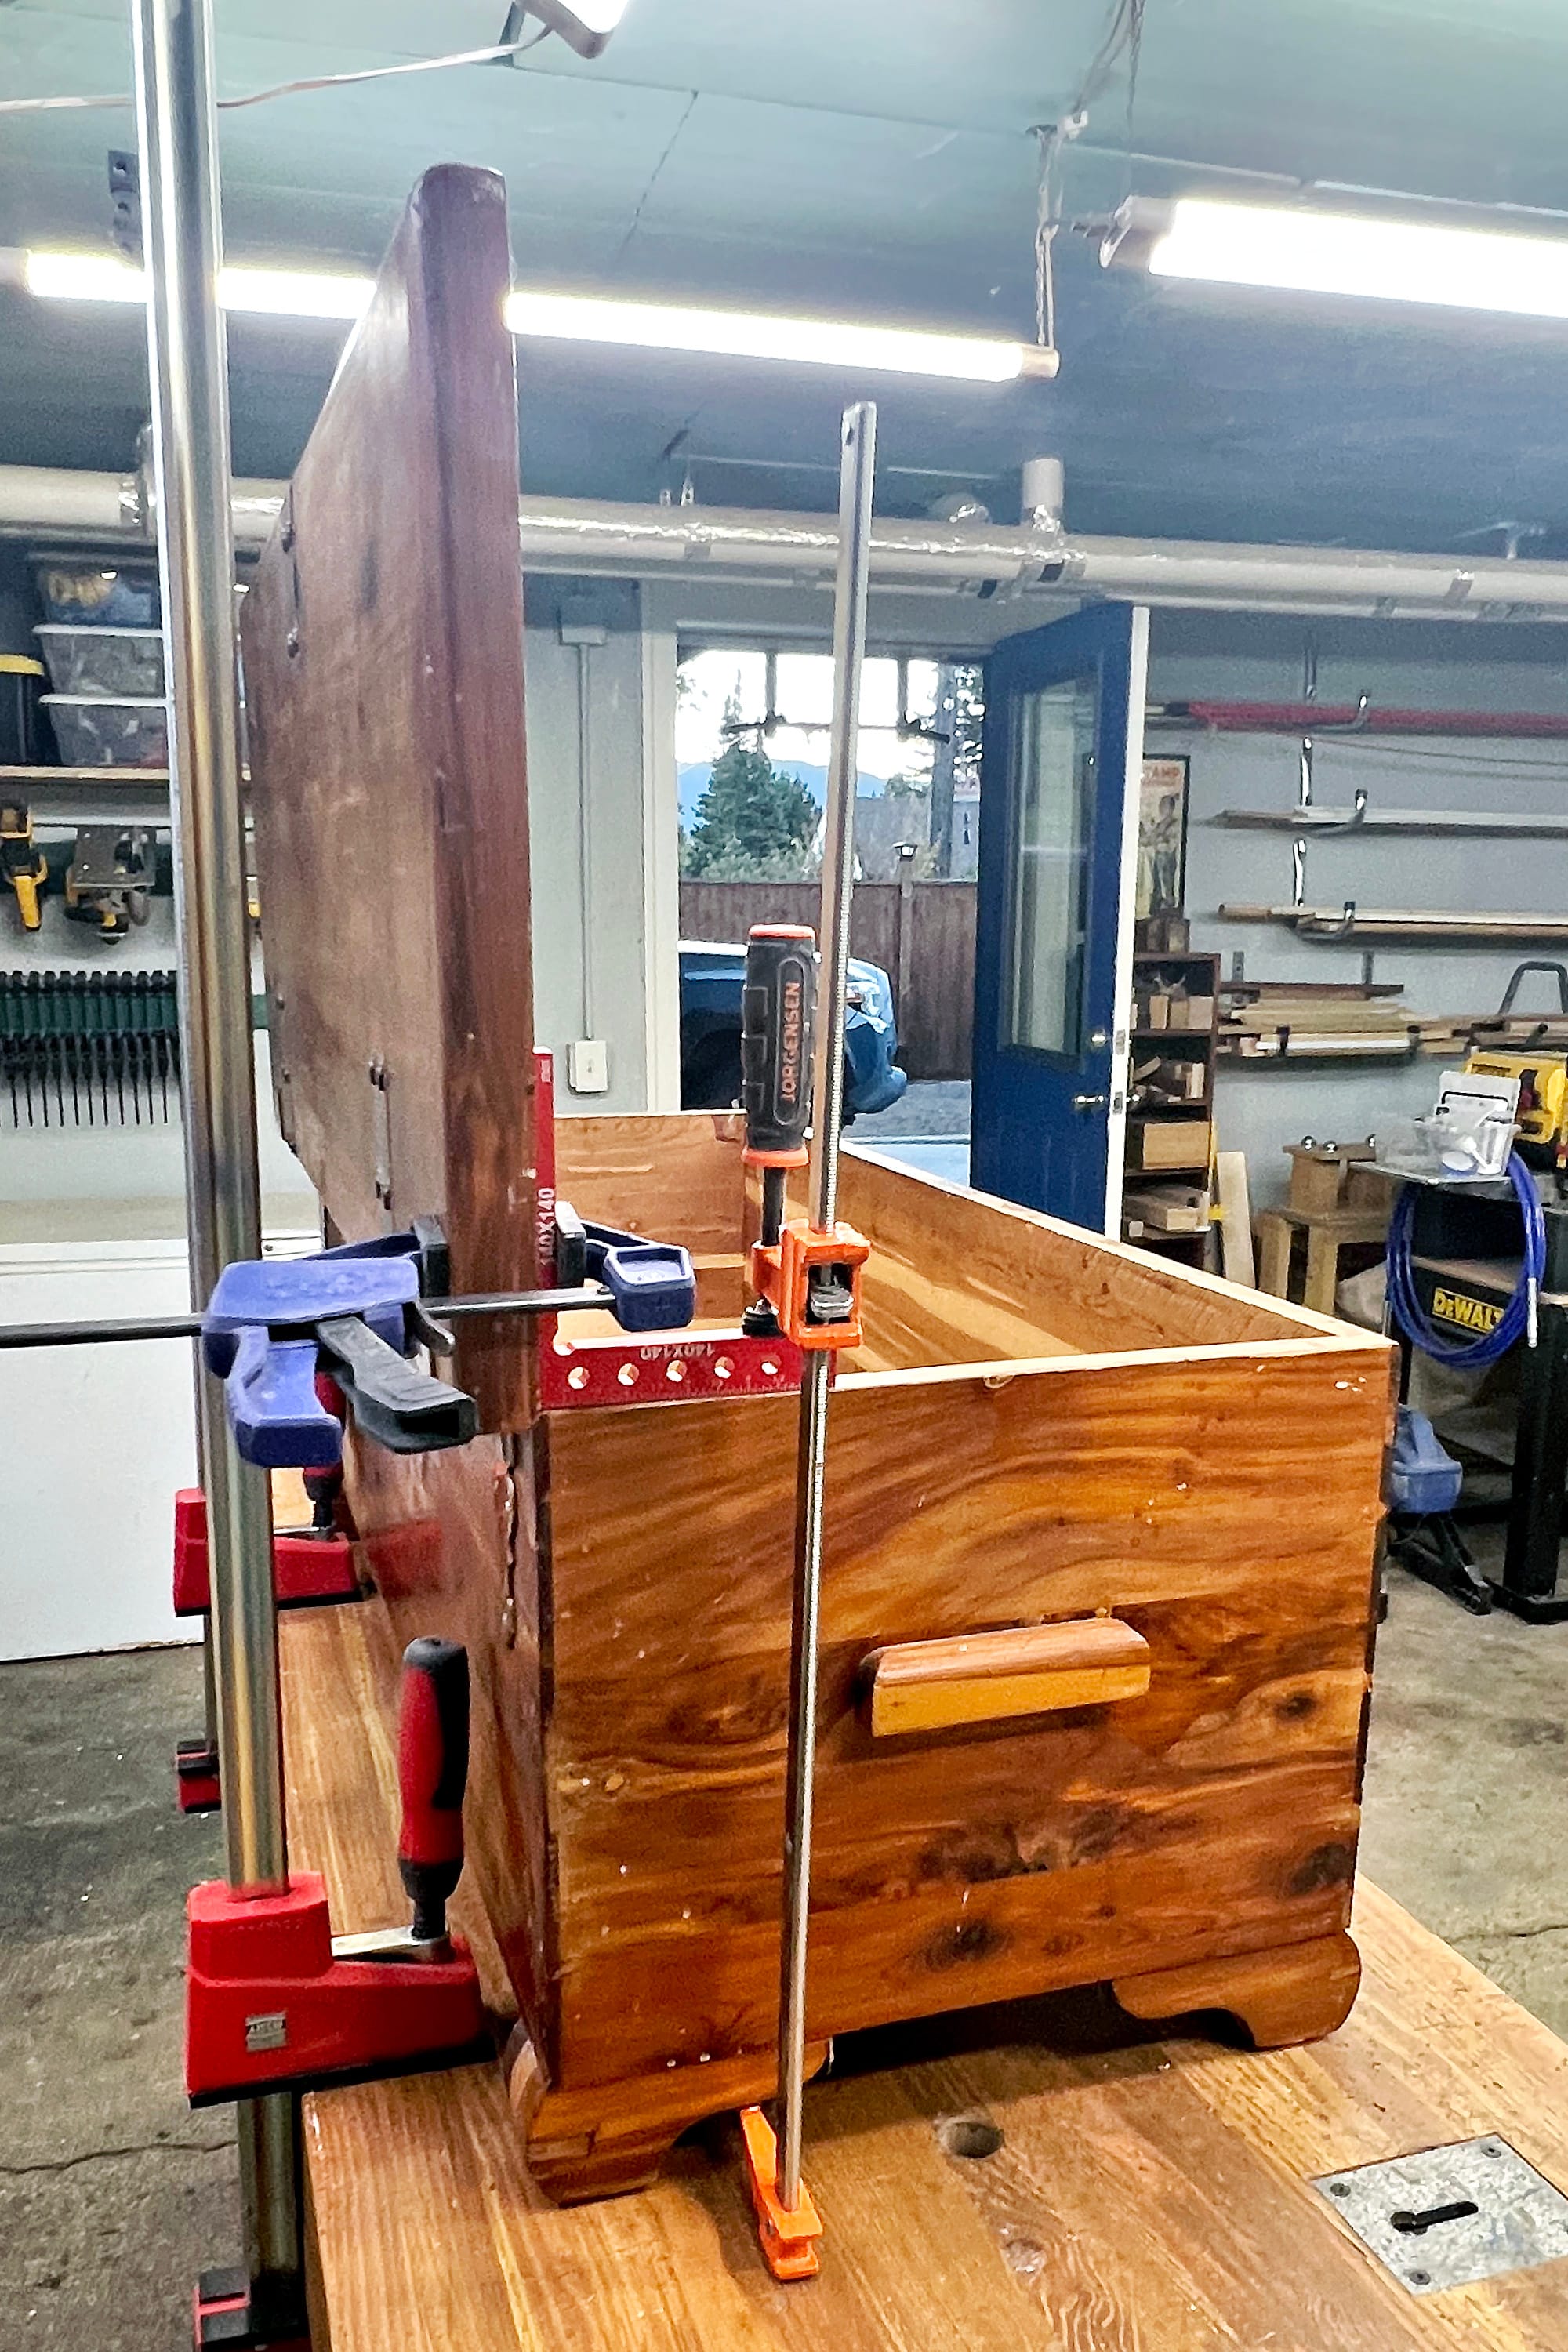
Chris Schwartz, the designer of the workbench I built, advises aspiring woodworkers to "build a bench capable of doing things you might not be ready to do yet, and when you are ready, your bench will be willing and waiting." This project was one of many times I've been reminded of that quote.
Patching holes
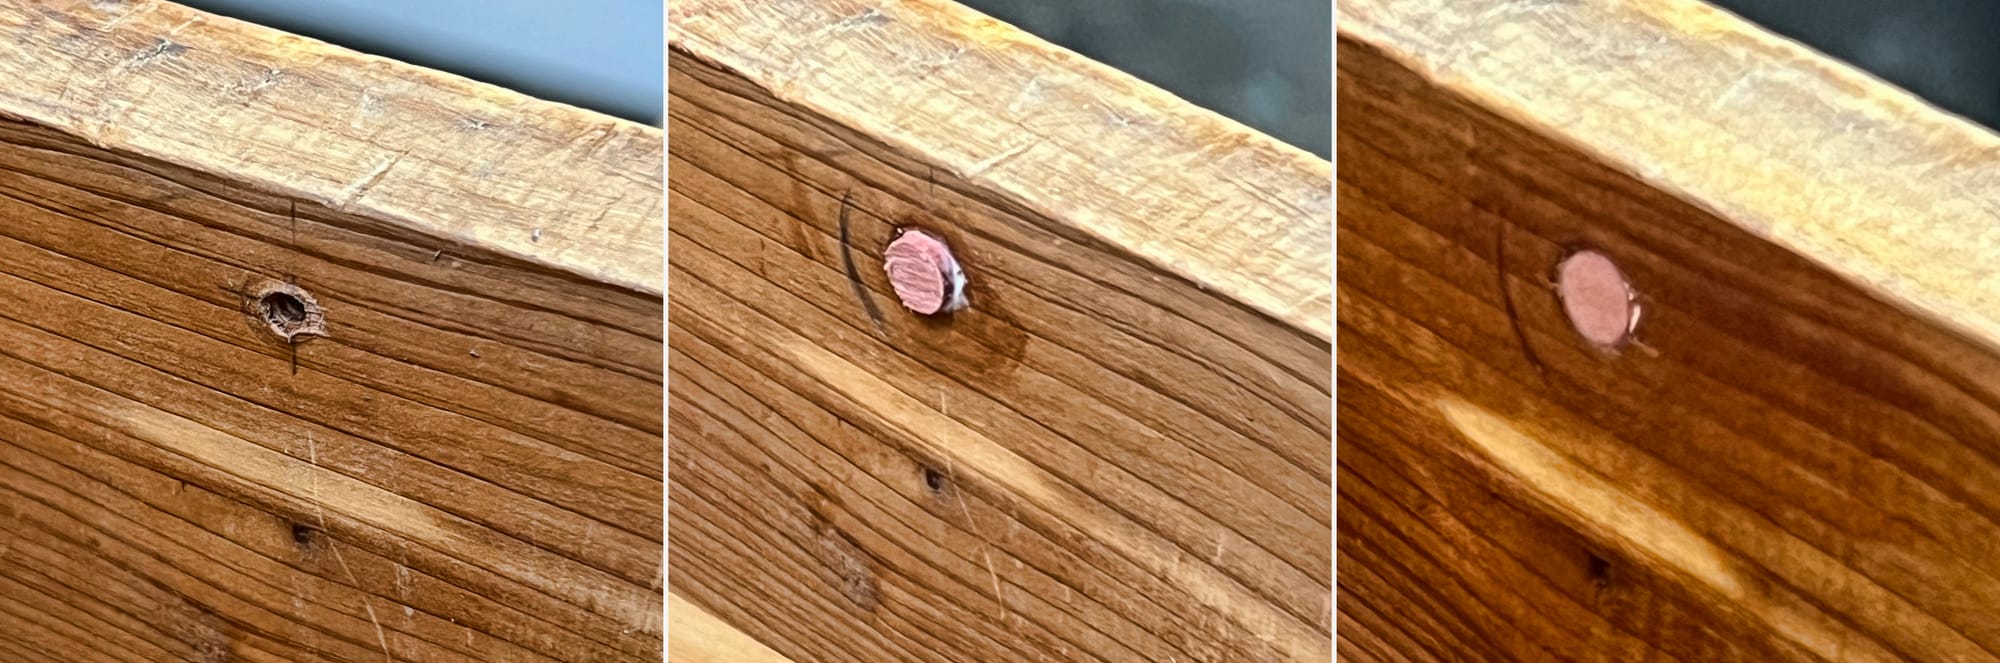
The chest had a bunch of holes in it – holes from the broken hinge and broken lid support, and also a couple of other holes that appeared to be places where screws had been used to hold other things long gone. I decided to patch all of these holes with cedar plugs.
I picked up some scraps of cedar at Helena Hardwoods, and then I used a plug cutter bit to cut a bunch of cylindrical cedar plugs 1/4" in diameter and about 1/2" long. Then I drilled 1/4" holes in all the places where screw-holes needed to be filled, glued the plugs into the holes, then trimmed then off flush and sanded everything down to be flat and smooth.
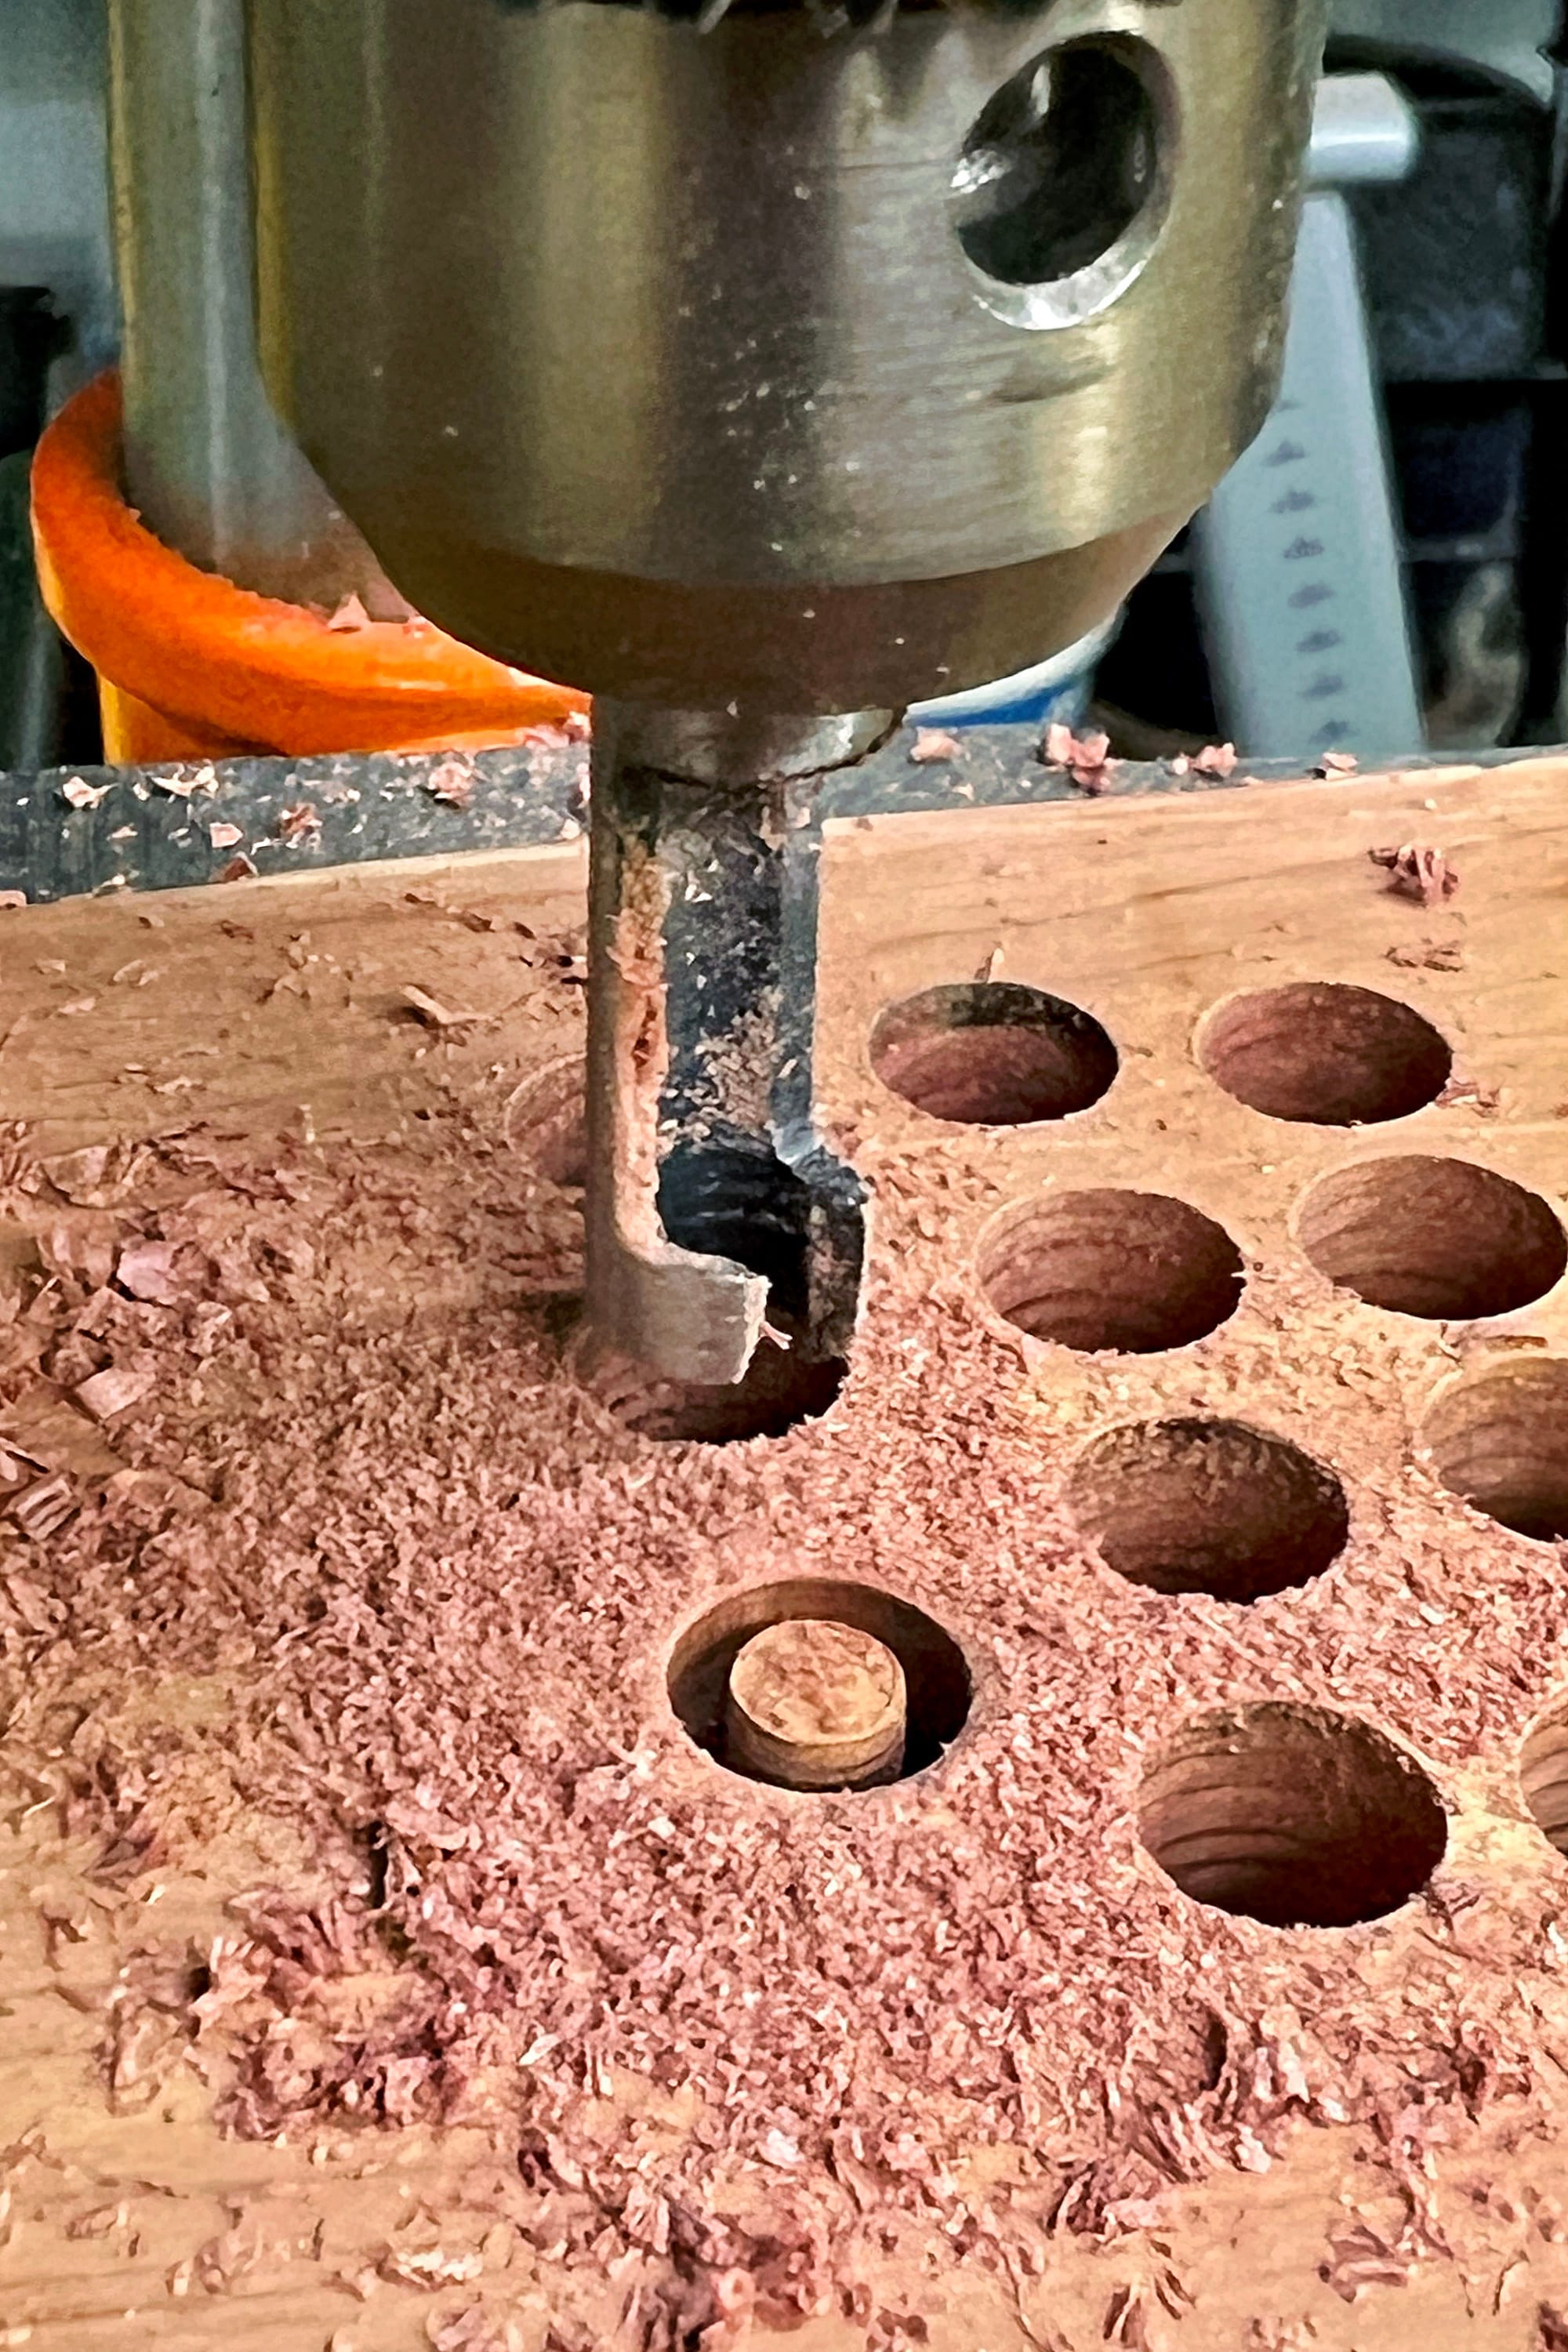
I knew the holes would still be visible after this type of repair, but I didn't care about that. I just wanted to clean things up and make the inside of the chest nice smooth cedar everywhere. I was surprised, however, at how pink the ends of the plugs were after I sanded them down. Some combination of the fact that the plugs are from a different batch of cedar and the grain is going in a different direction.
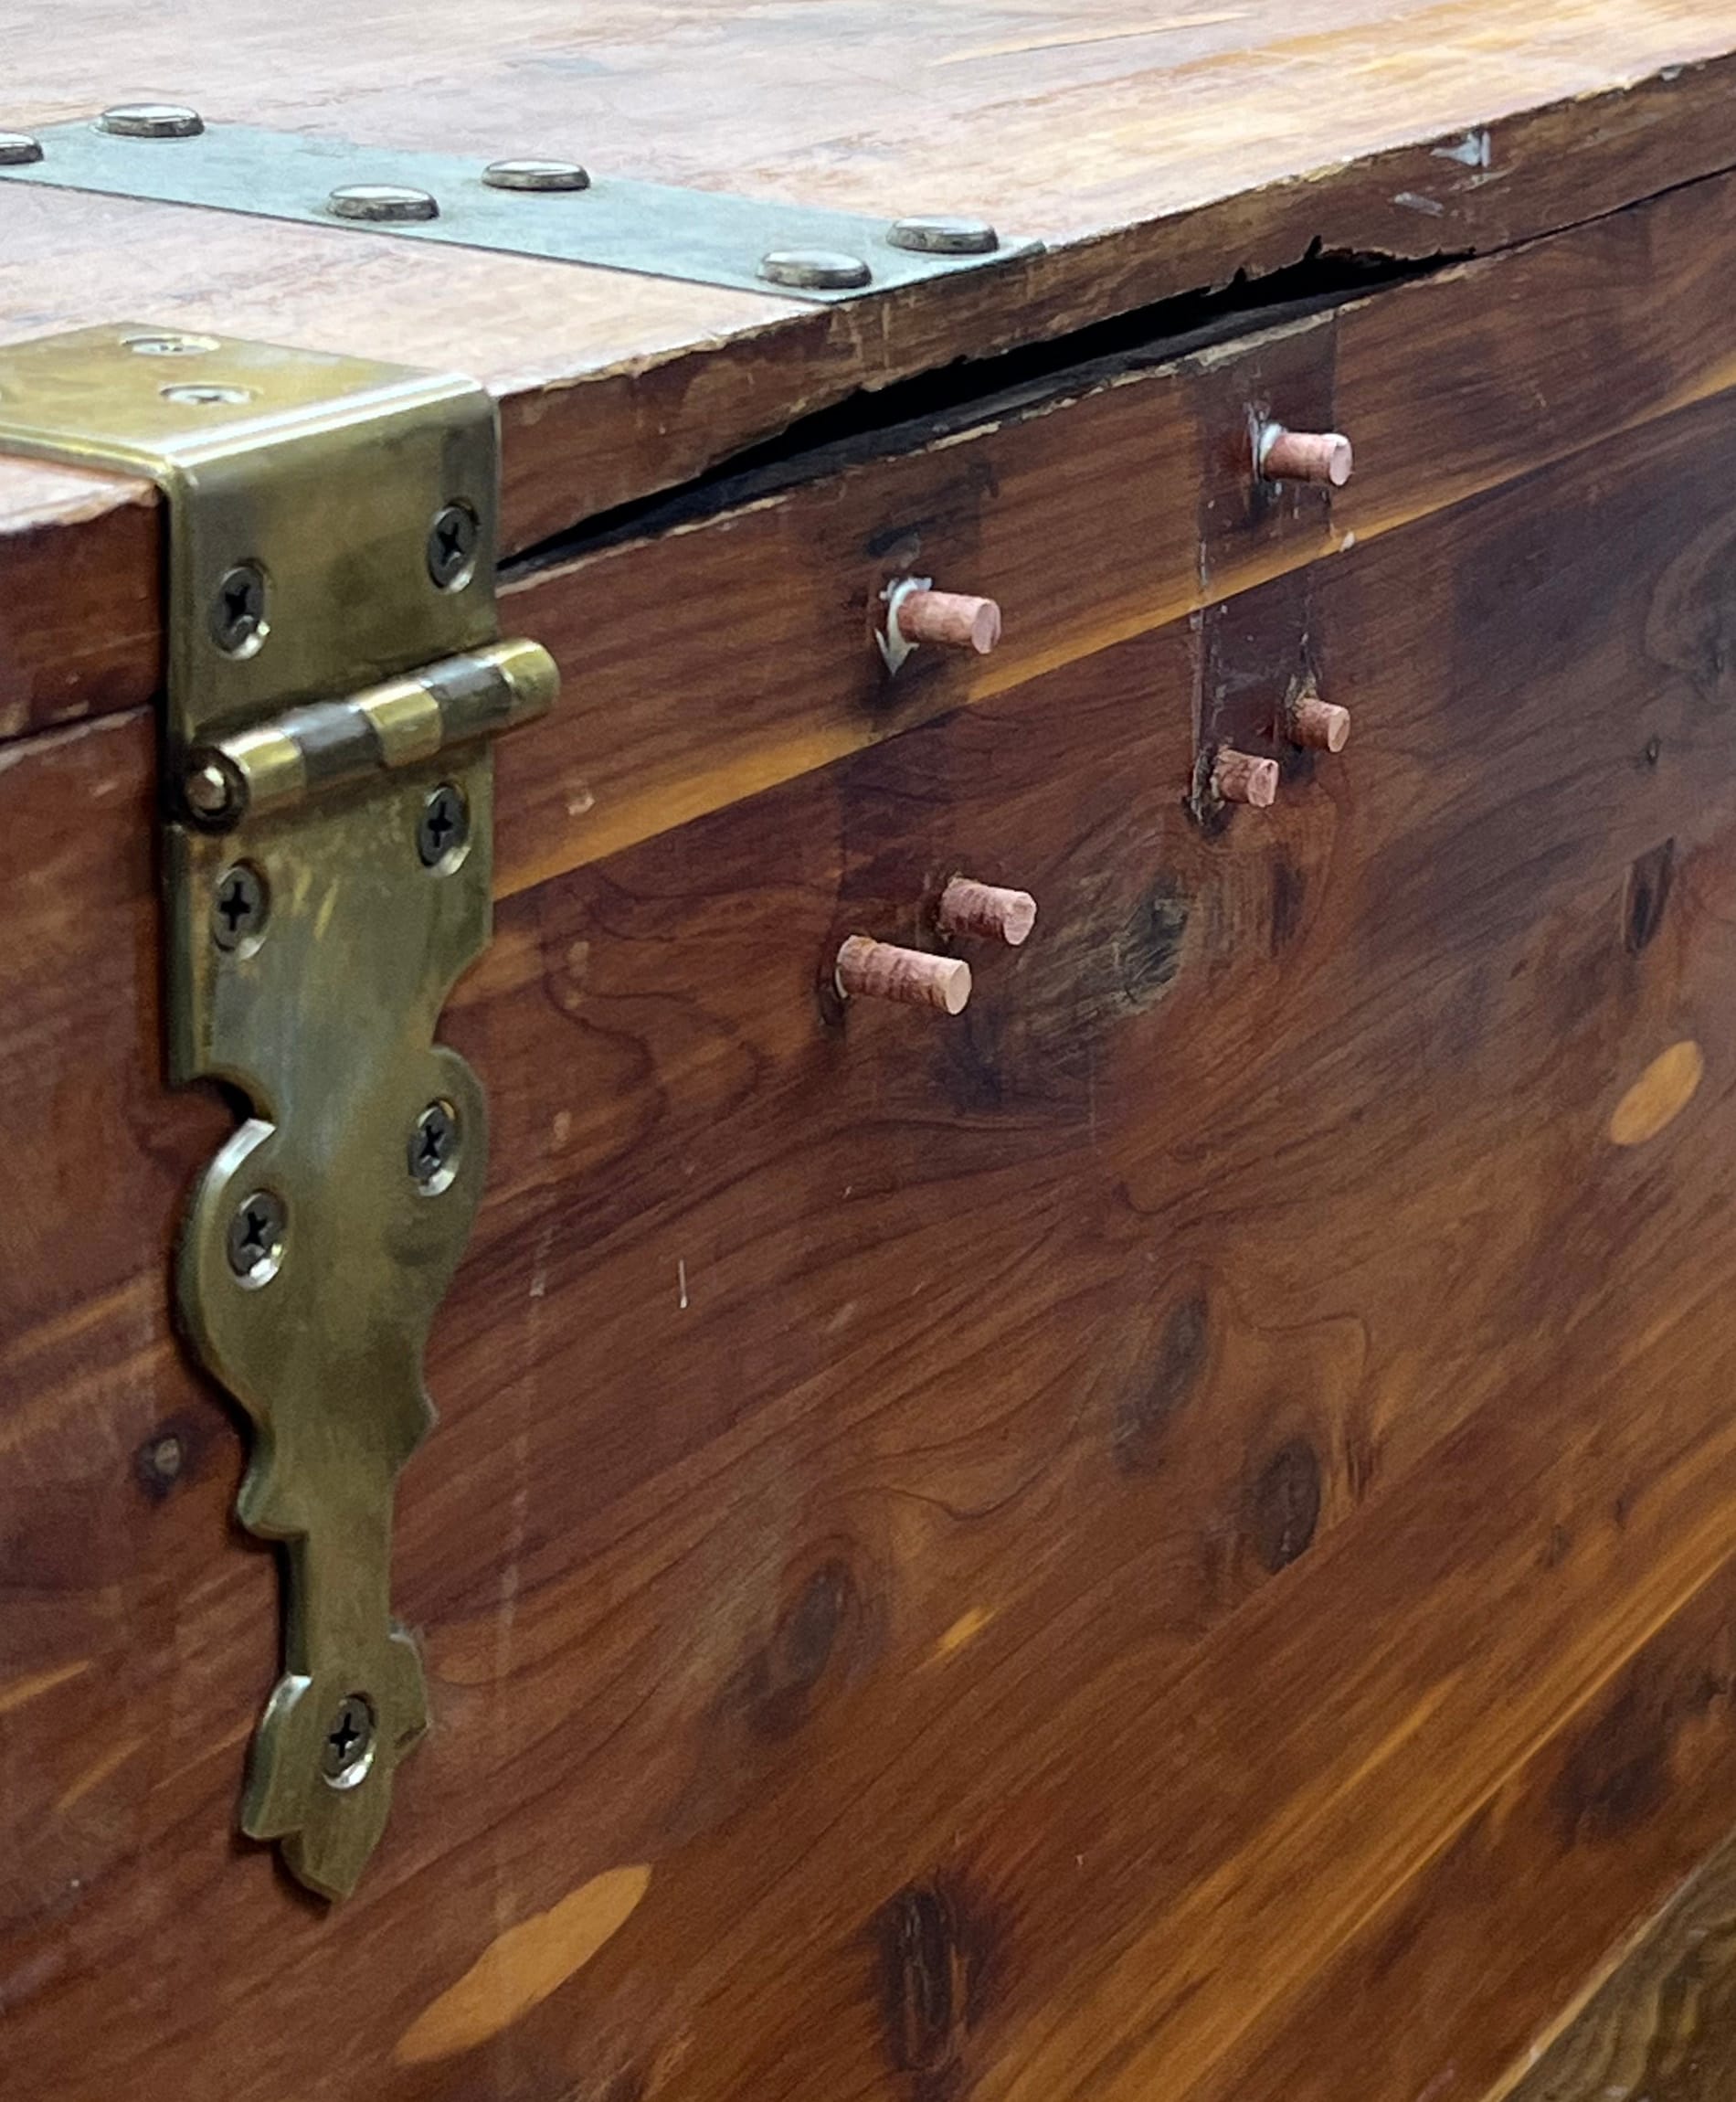
In the photo above, you can see that part of the lid had broken off in the past. There was one hinge on the other side of the lid that was still working when I got the chest, but on this side there was only a broken hinge, and it was mounted at the set of holes on the right, which don't line up with the decorative plate on the top of the lid.
After looking closely at the broken area, I think this is what had happened: the original hinge (lined up with the decorative plate) broke off a piece of the lid, then somebody moved the hinge over to the right, but then that spot broke as well.
I thought of patching this spot with a scrap of cedar, but decided that a repair job would probably be more visible than this damage. And it's a bit of the character that makes it clearly an old and heavily used piece – there are also dings and dents on the sides that I didn't bother repairing.
With the new hinges, I wanted to make sure that they won't ever split the lid like had happened with the old hinges, so I got some that have mounting screws on the top as well as on the back. These hinges are ultra-sturdy, with 10 total screws holding each hinge in place (twice as many as the 5 screws in the old hinges).
One detail that caused an issue with these hinges is that they were designed for a thicker lid. Note how the line of the hinge pin is slightly below the seam between the lid and the back of the case. This is the reason why the first lid support that I intended to use wouldn't work – it's designed for hinges that align with the bottom of the lid. The other lid support that I used instead is fully adjustable so that I could compensate for this little offset.
Sanding
After replacing all the hardware and patching all the holes, it was time for the most time-consuming and messy part of the process: thoroughly sanding everything inside and out. I went through about 30-40 sanding discs and several sheets of sandpaper getting it done.
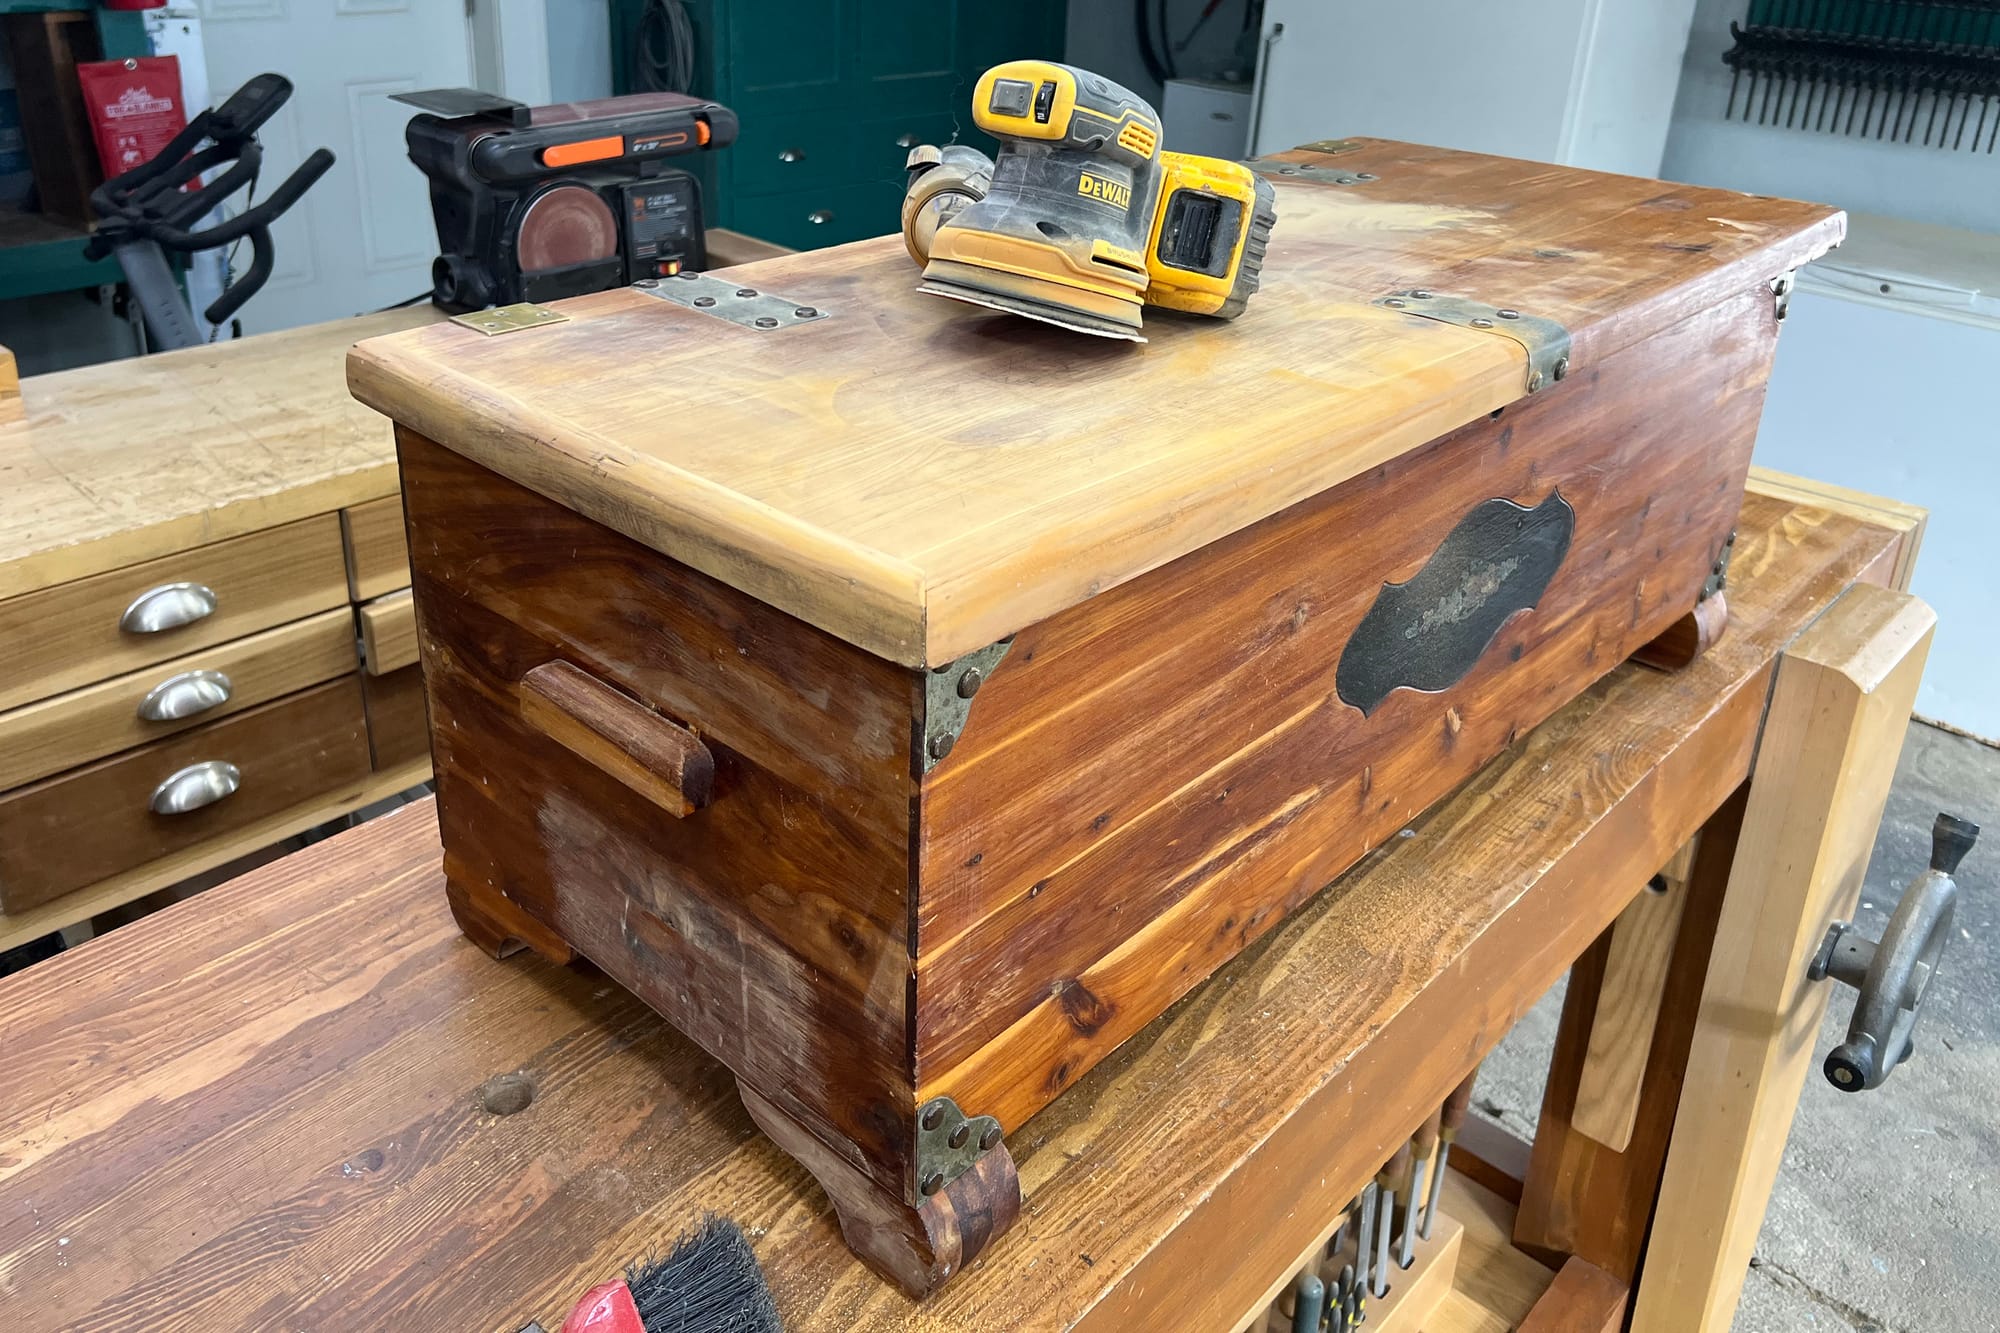
Sanding everything.
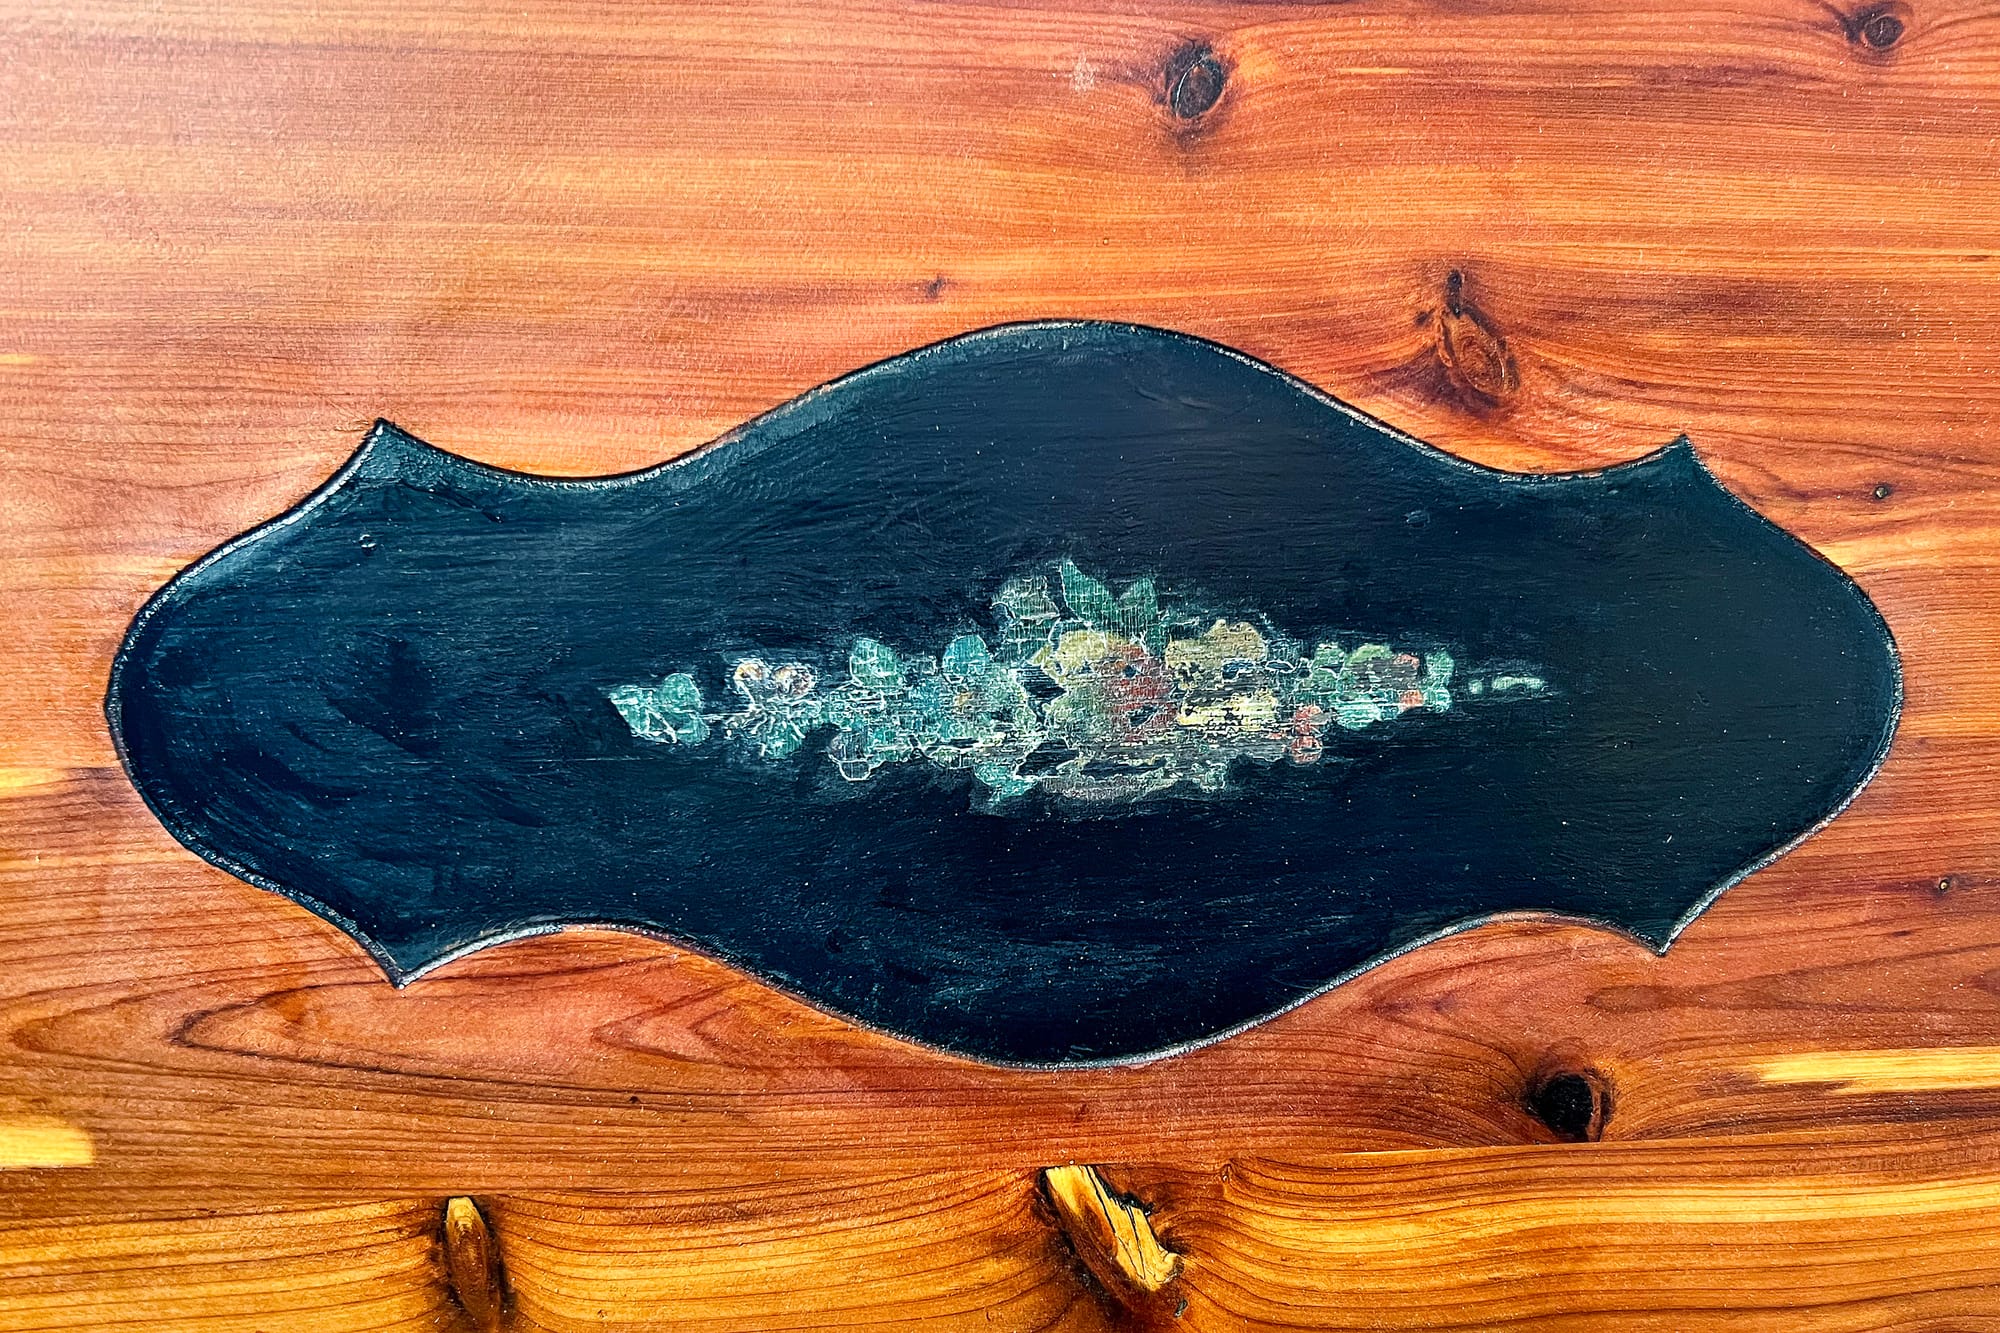
There's a black inlay on the front of the chest, and it's not in great shape but I decided to keep it.
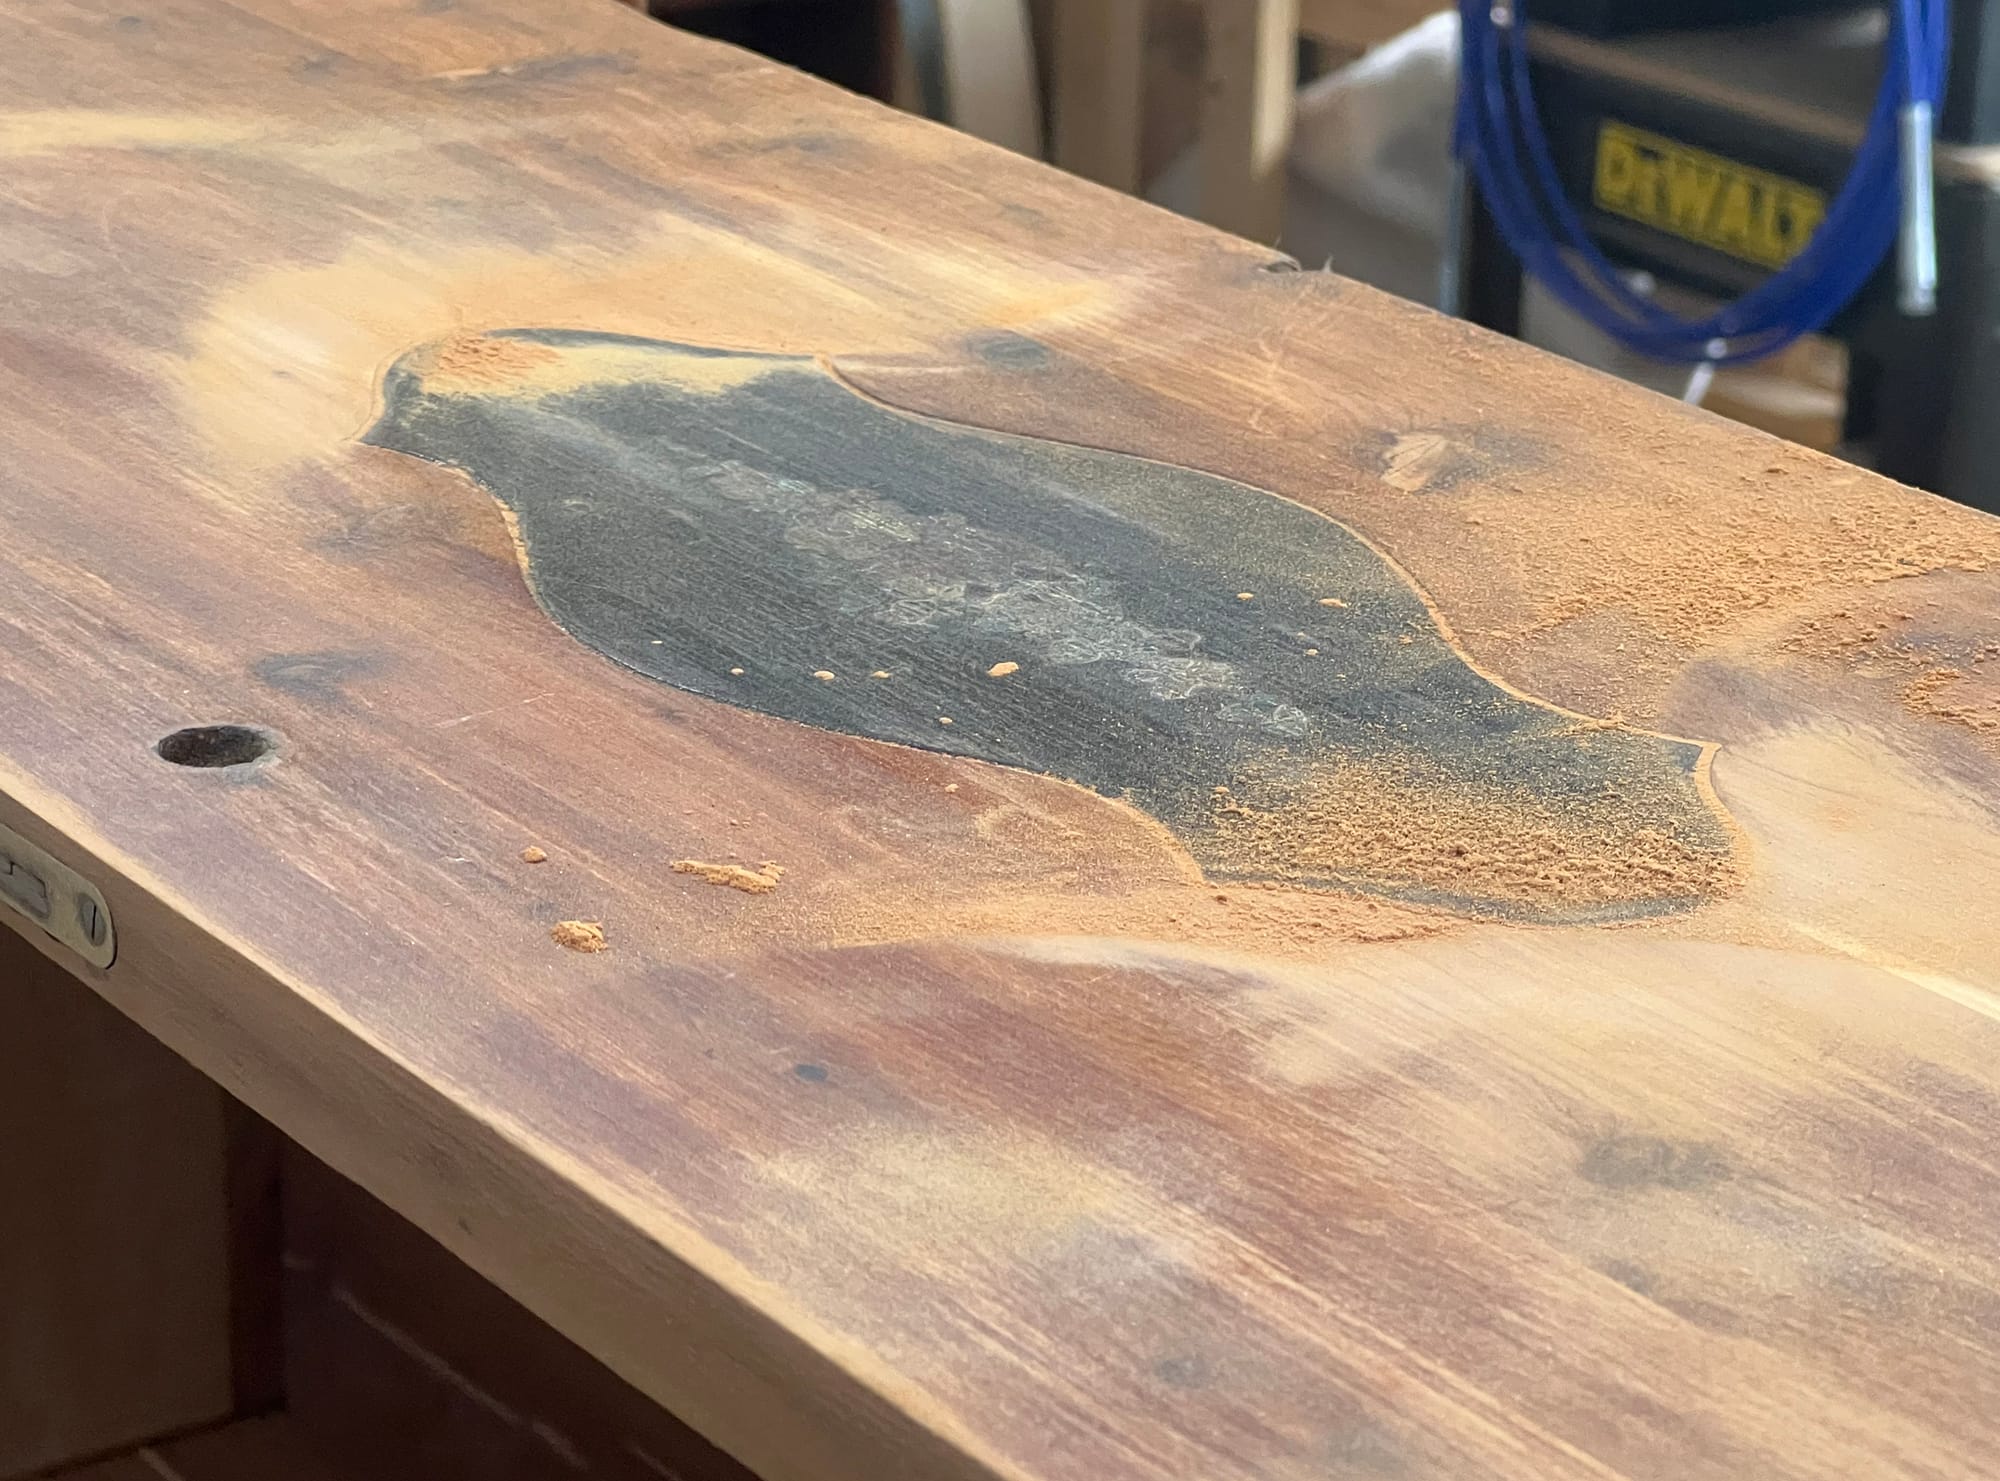
In addition to sanding all the exterior surfaces so that I could refinish them, I sanded all the interior surfaces. I'm leaving the interior as bare cedar, but it was nice to remove all the stains and scratches and make the interior super smooth so that you can drag fabric across it with no snagging or resistance.
Applying the finish
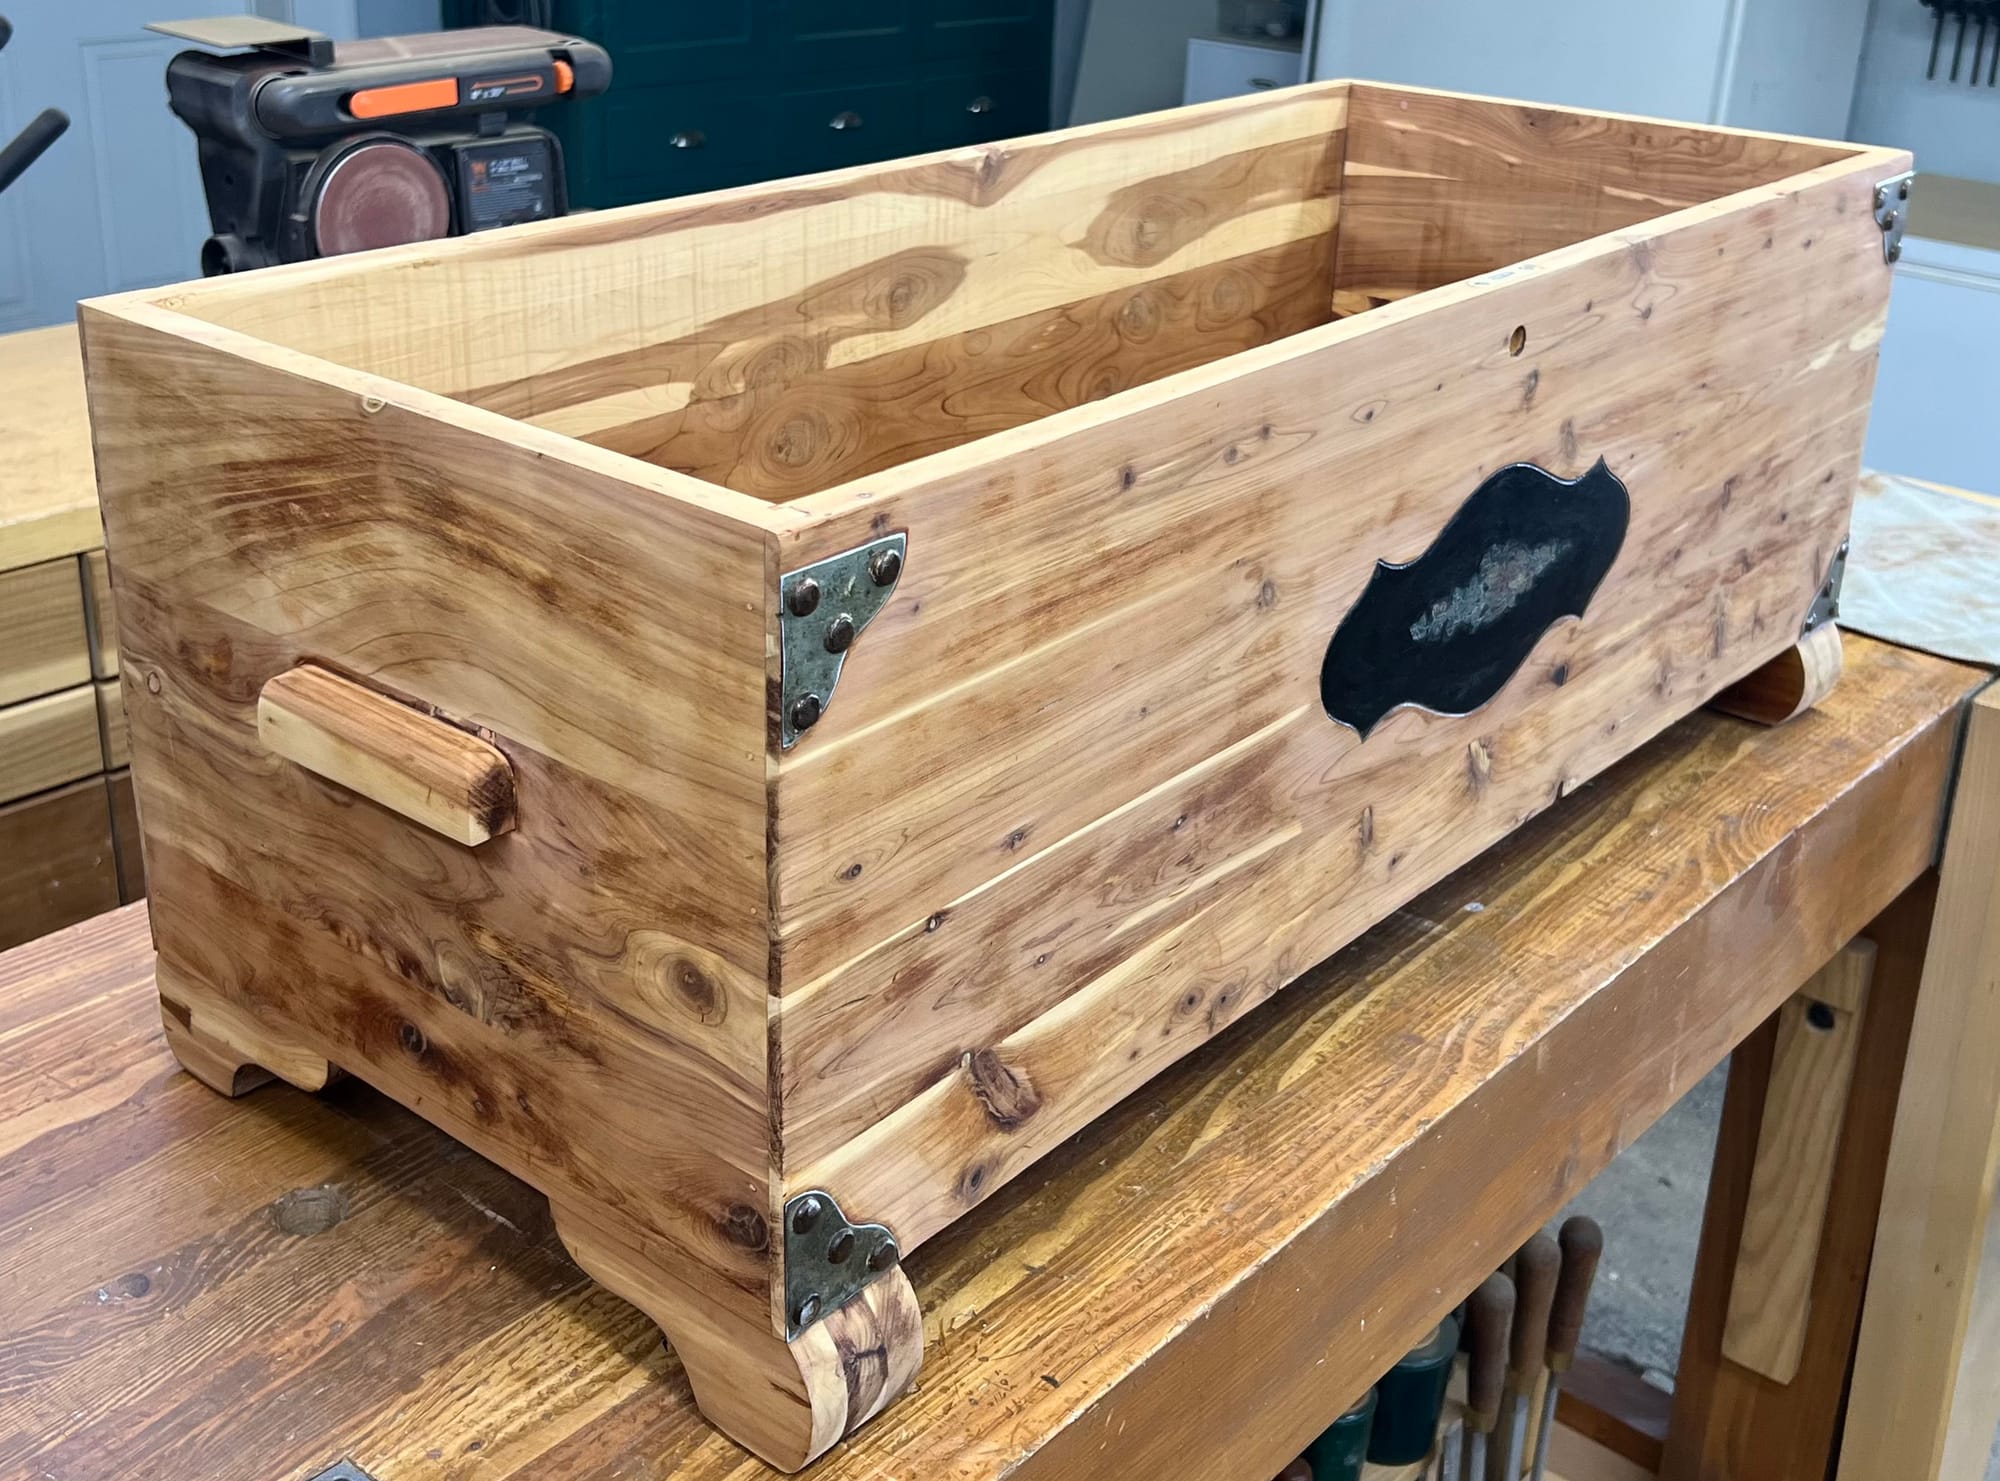
I wasn't certain of what type of finish I wanted to apply, so I used my cedar scraps to test a few options.
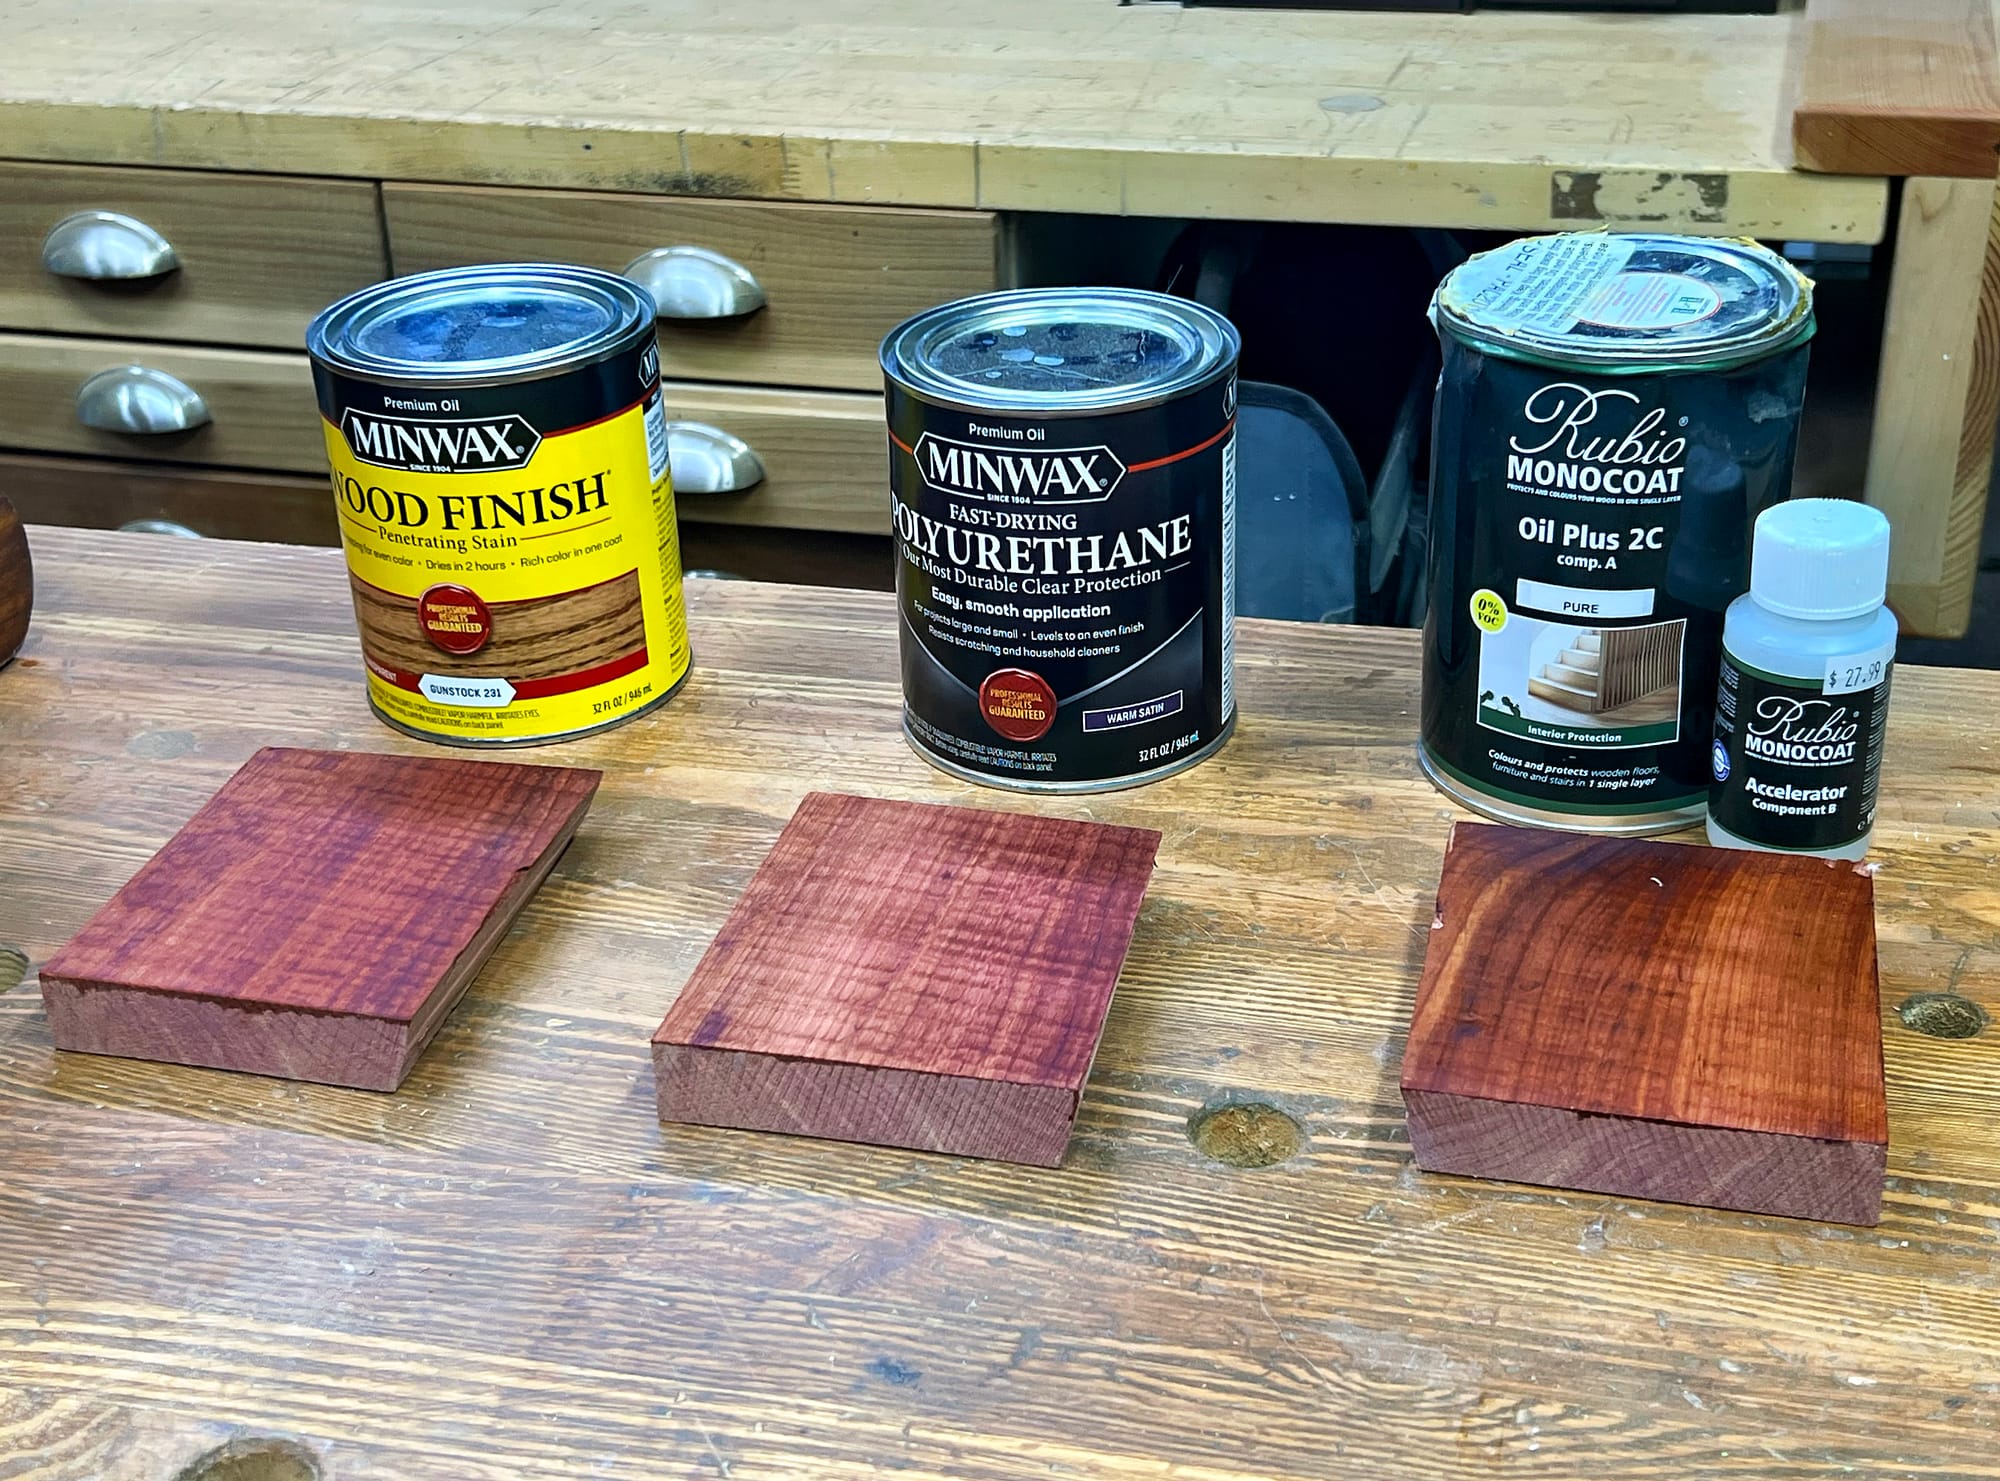
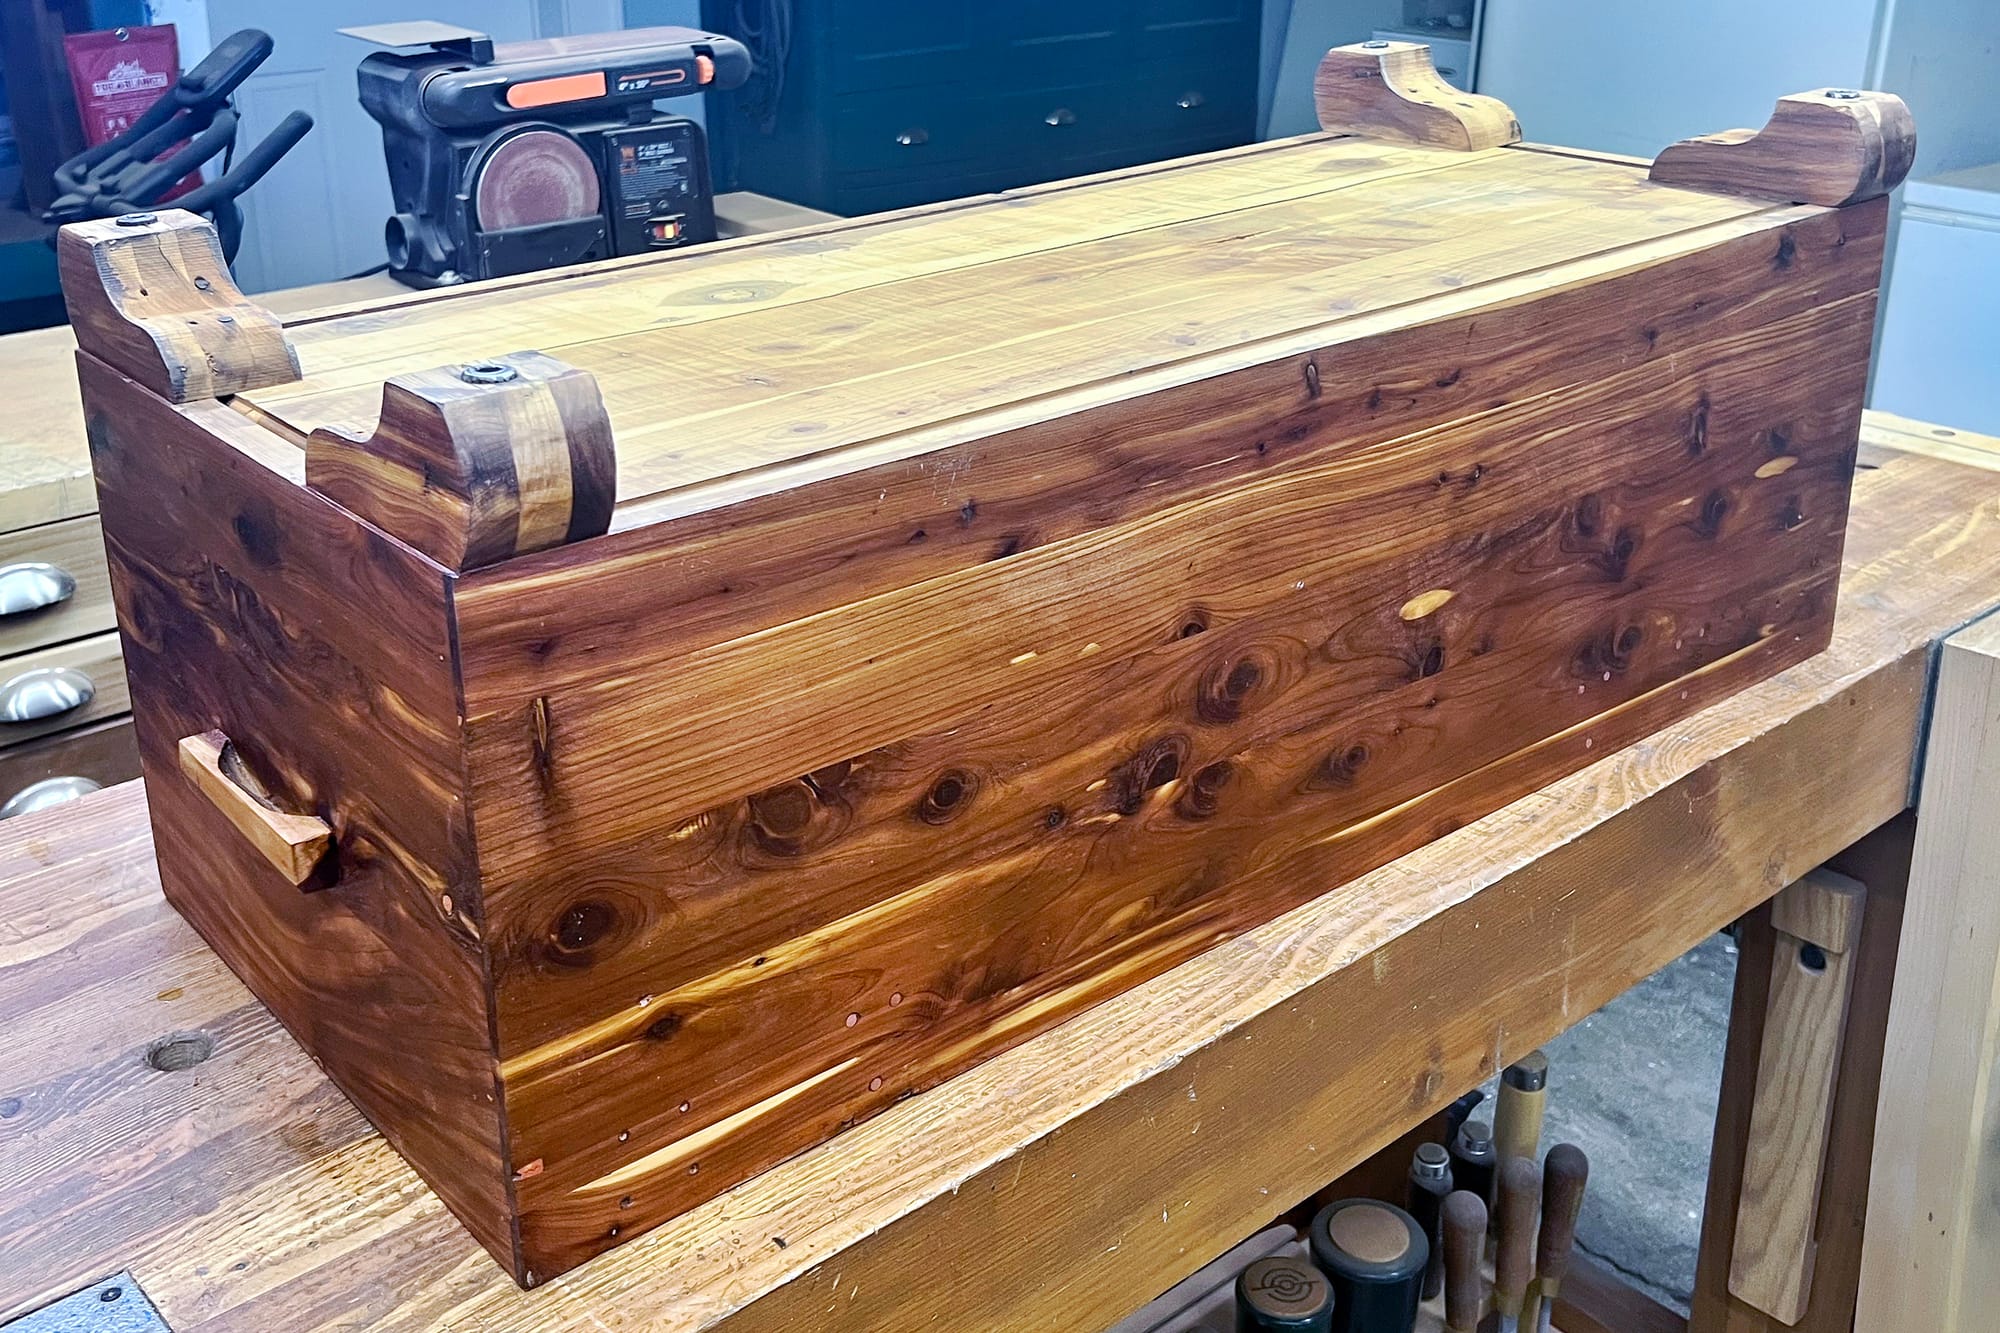
For the warm satin polyurethane finish I used, I applied a light coat with a brush, waited 4 hours, then lightly sanded it and applied a second coat, then wiped down the second coat with a microfiber cloth. This really brought out the cedar grain and color, but the finish isn't super glossy (which I don't care for).
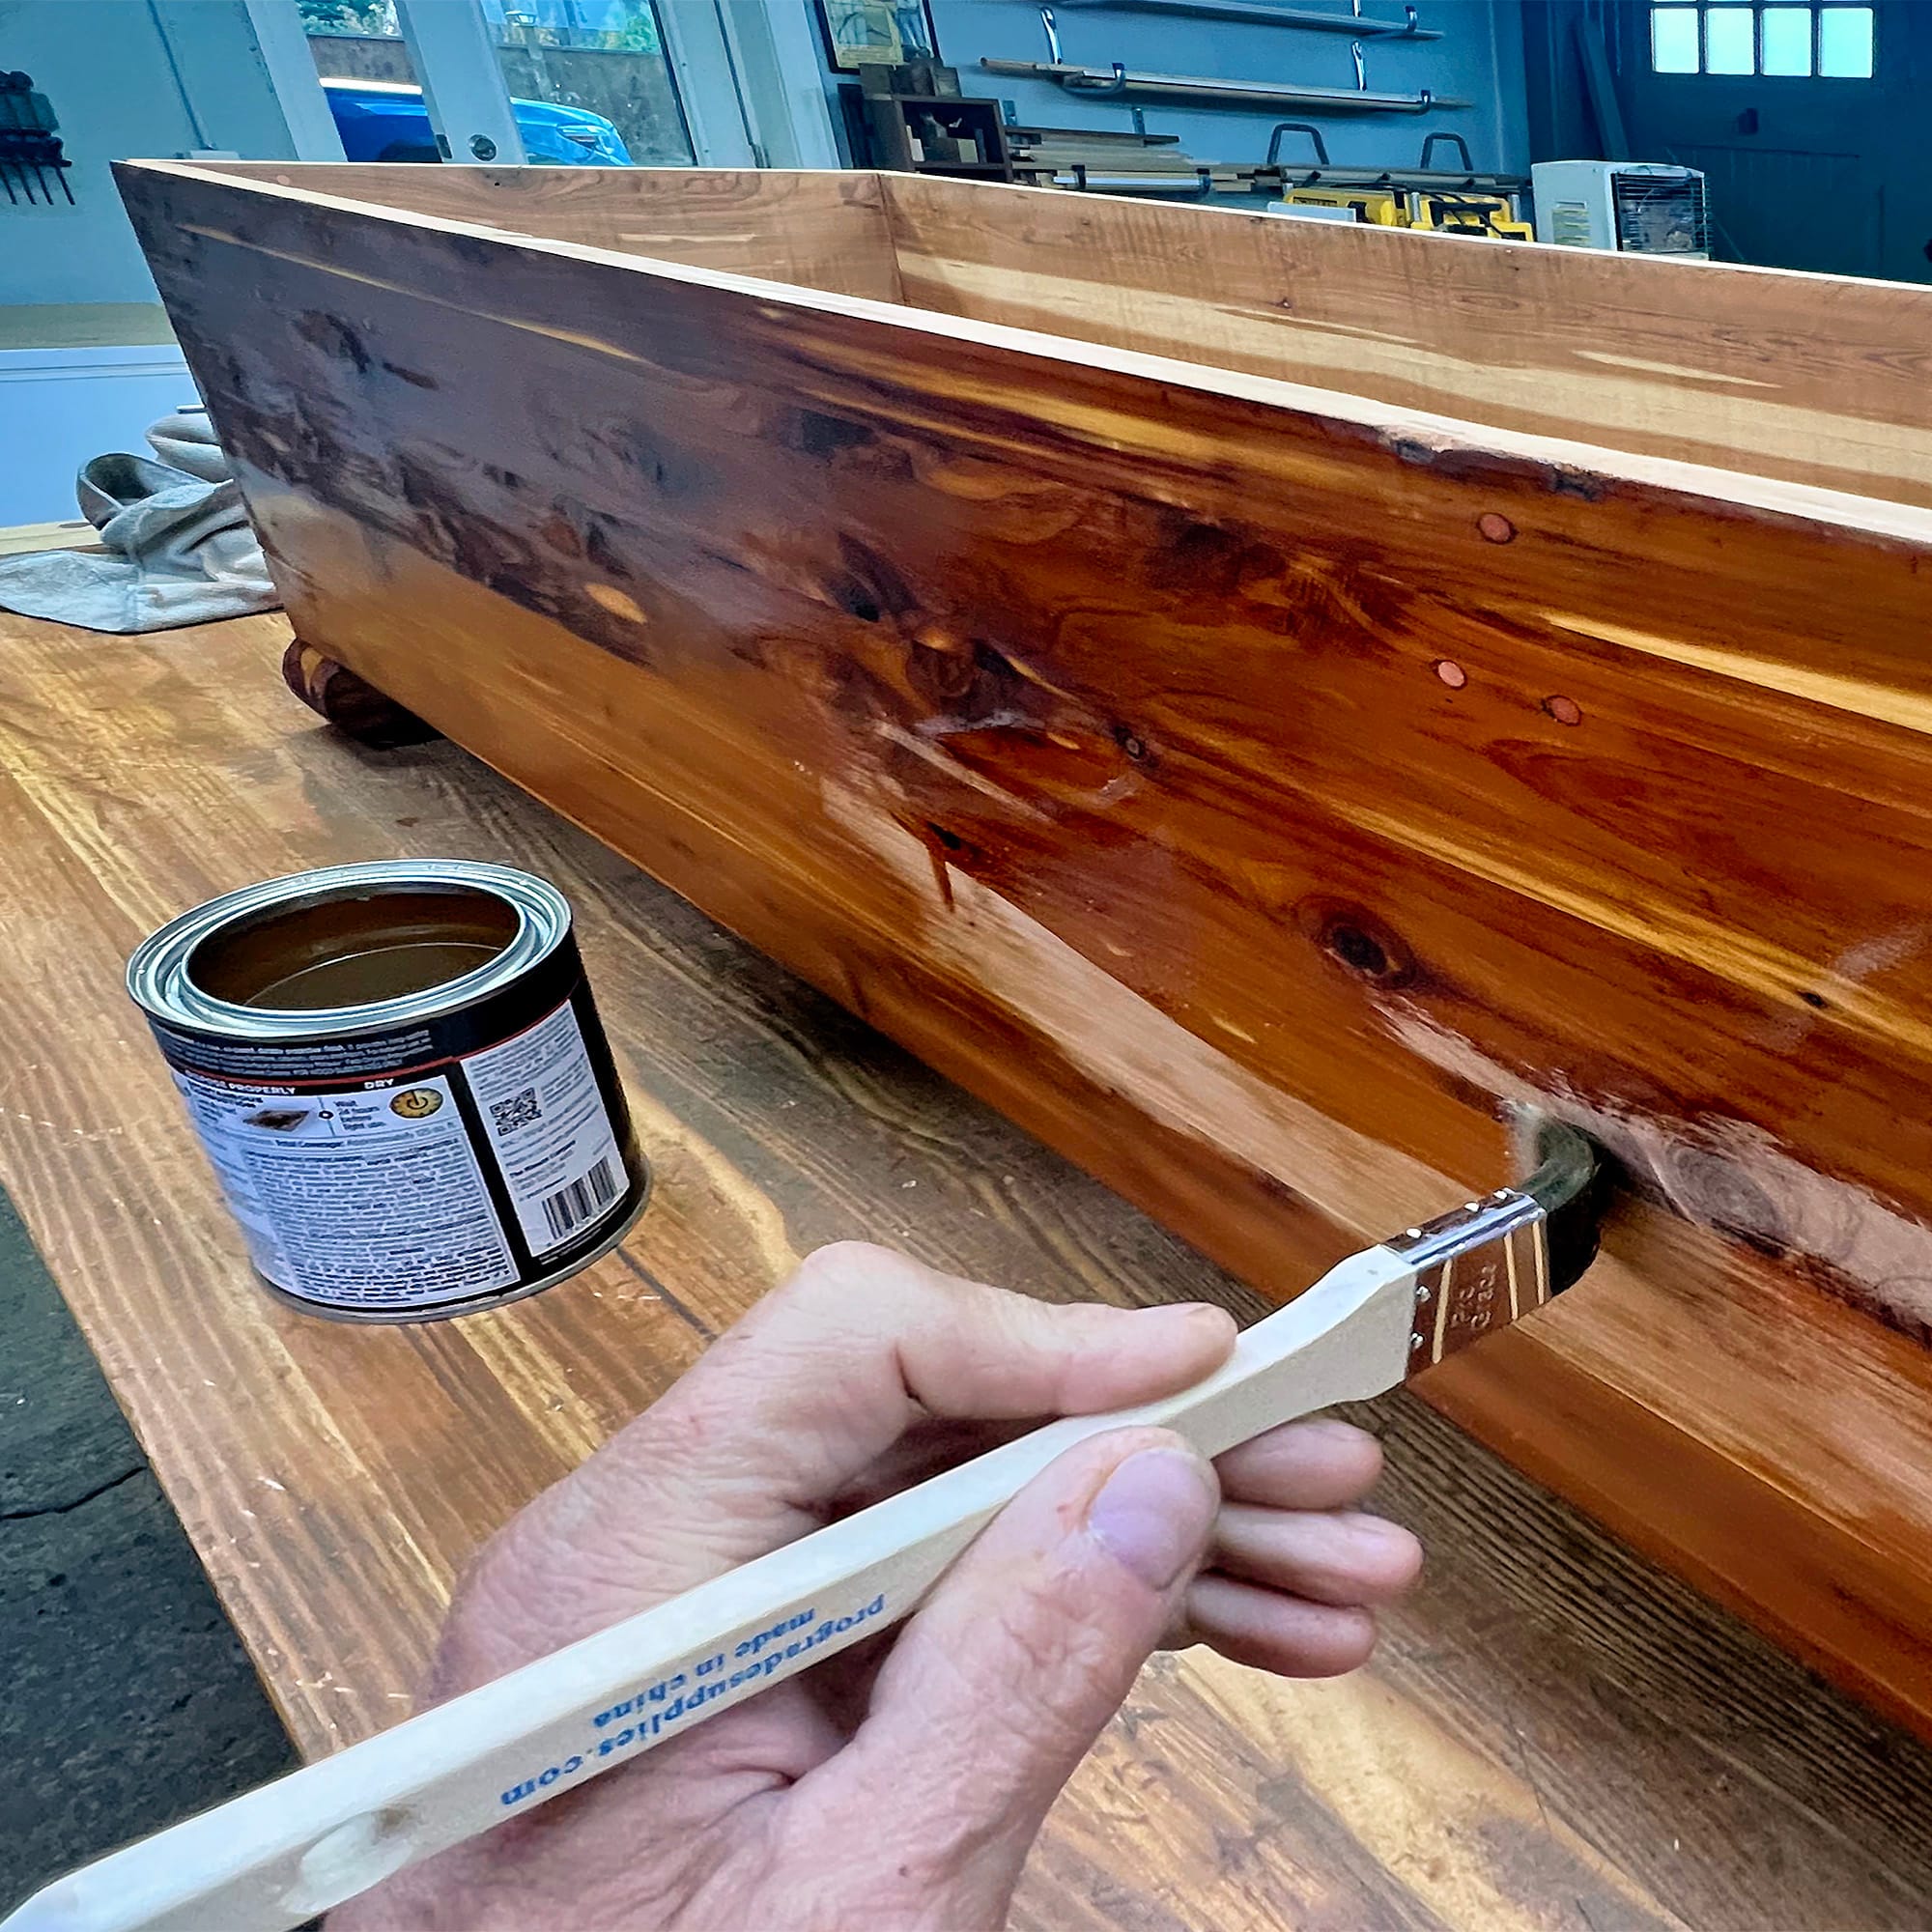
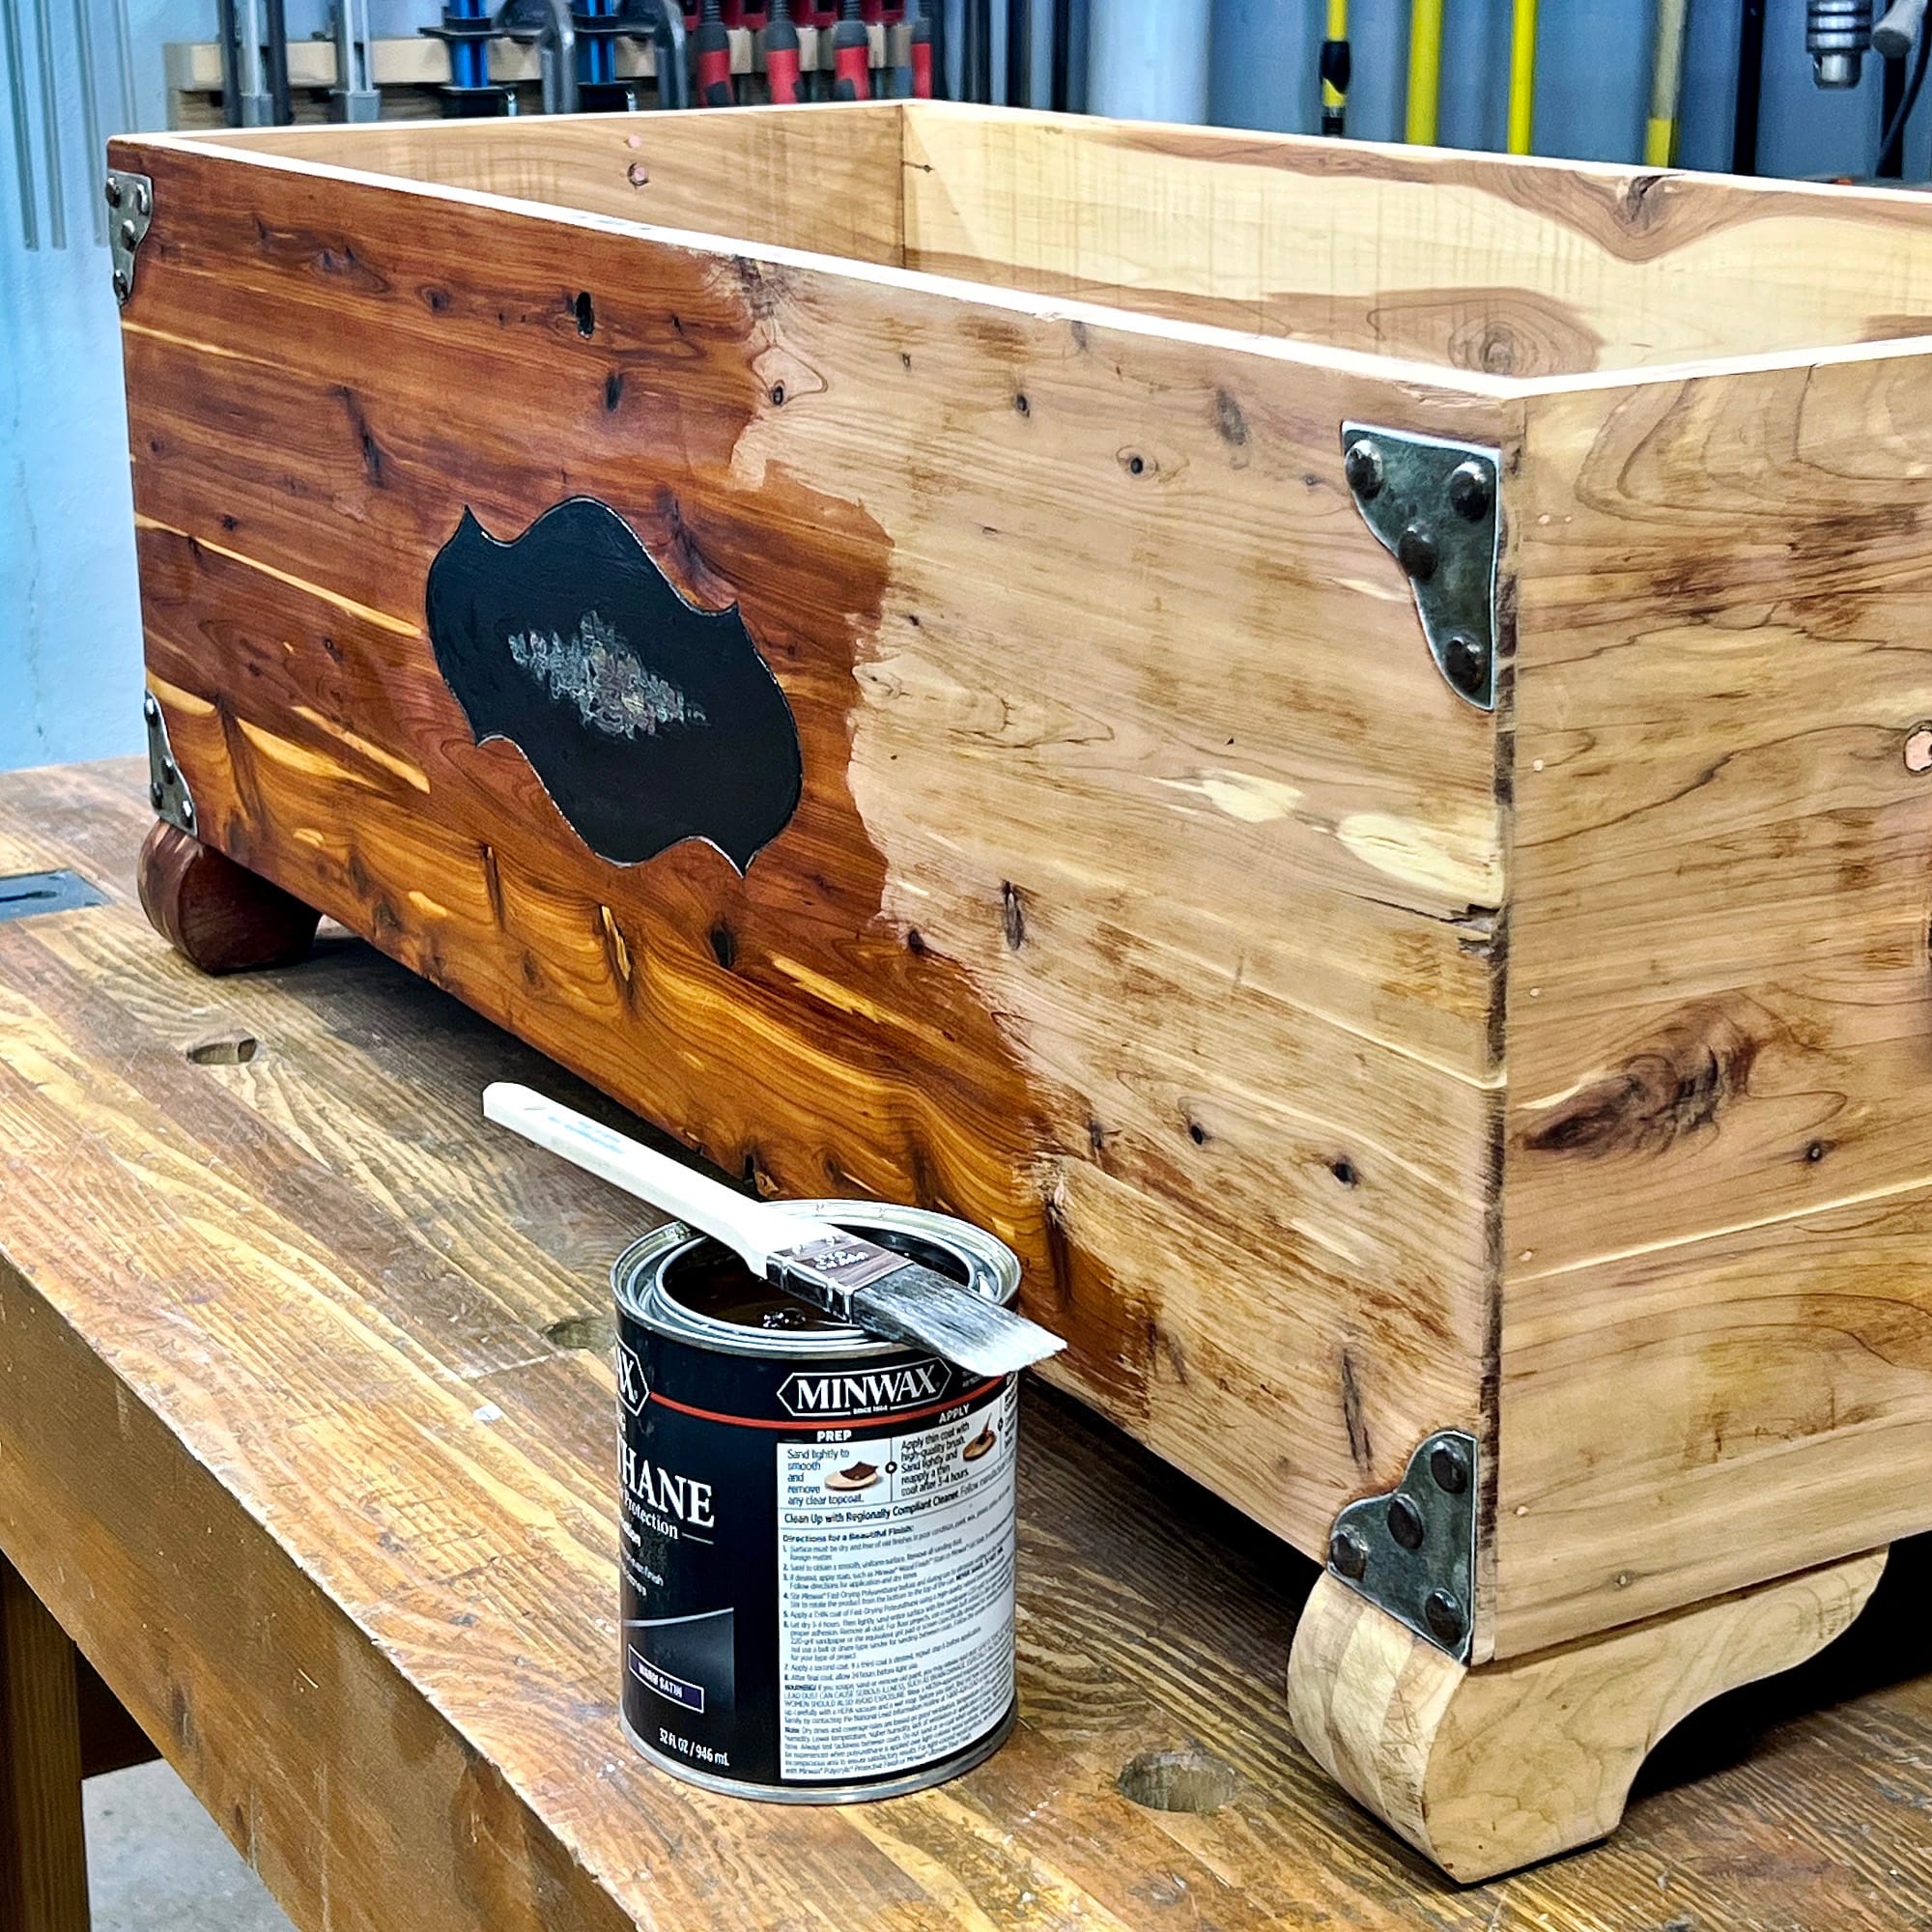
Applying the finish. I decided to not put finish on the black inlay on the front, so that it keeps its non-glossy weathered look.
Re-assembly and final adjustments
After the second coat dried it was time to re-assemble everything.
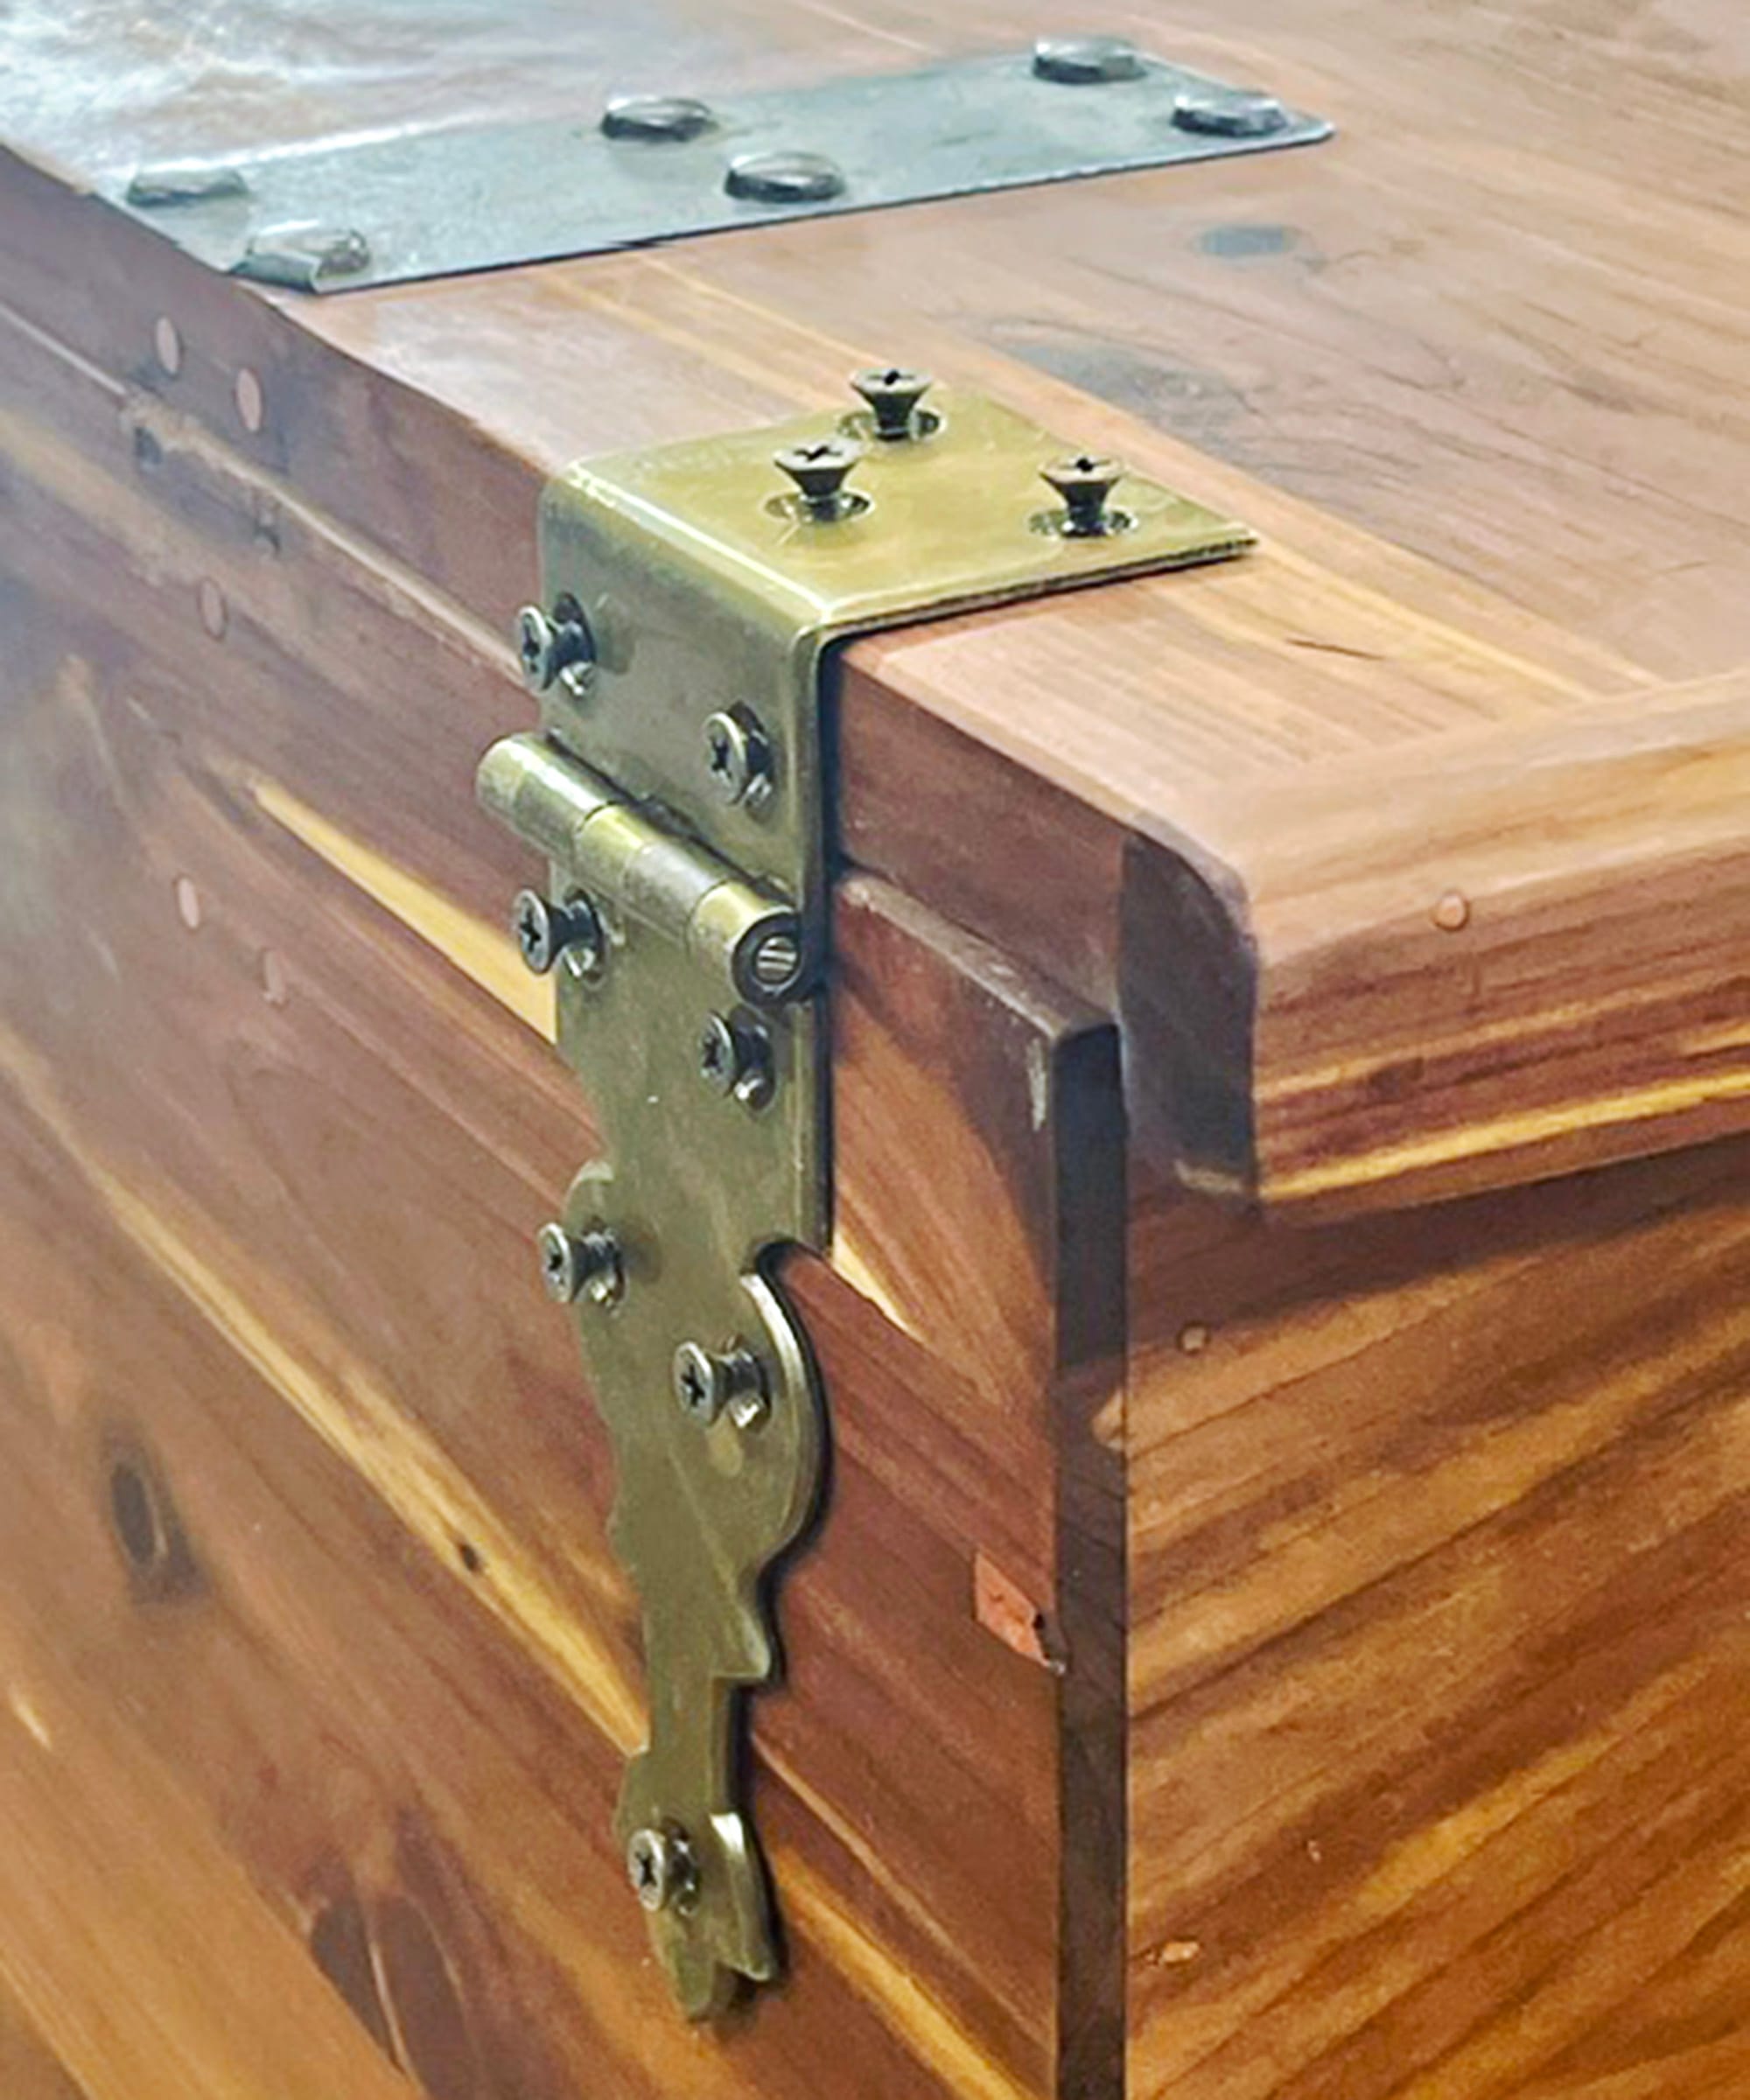
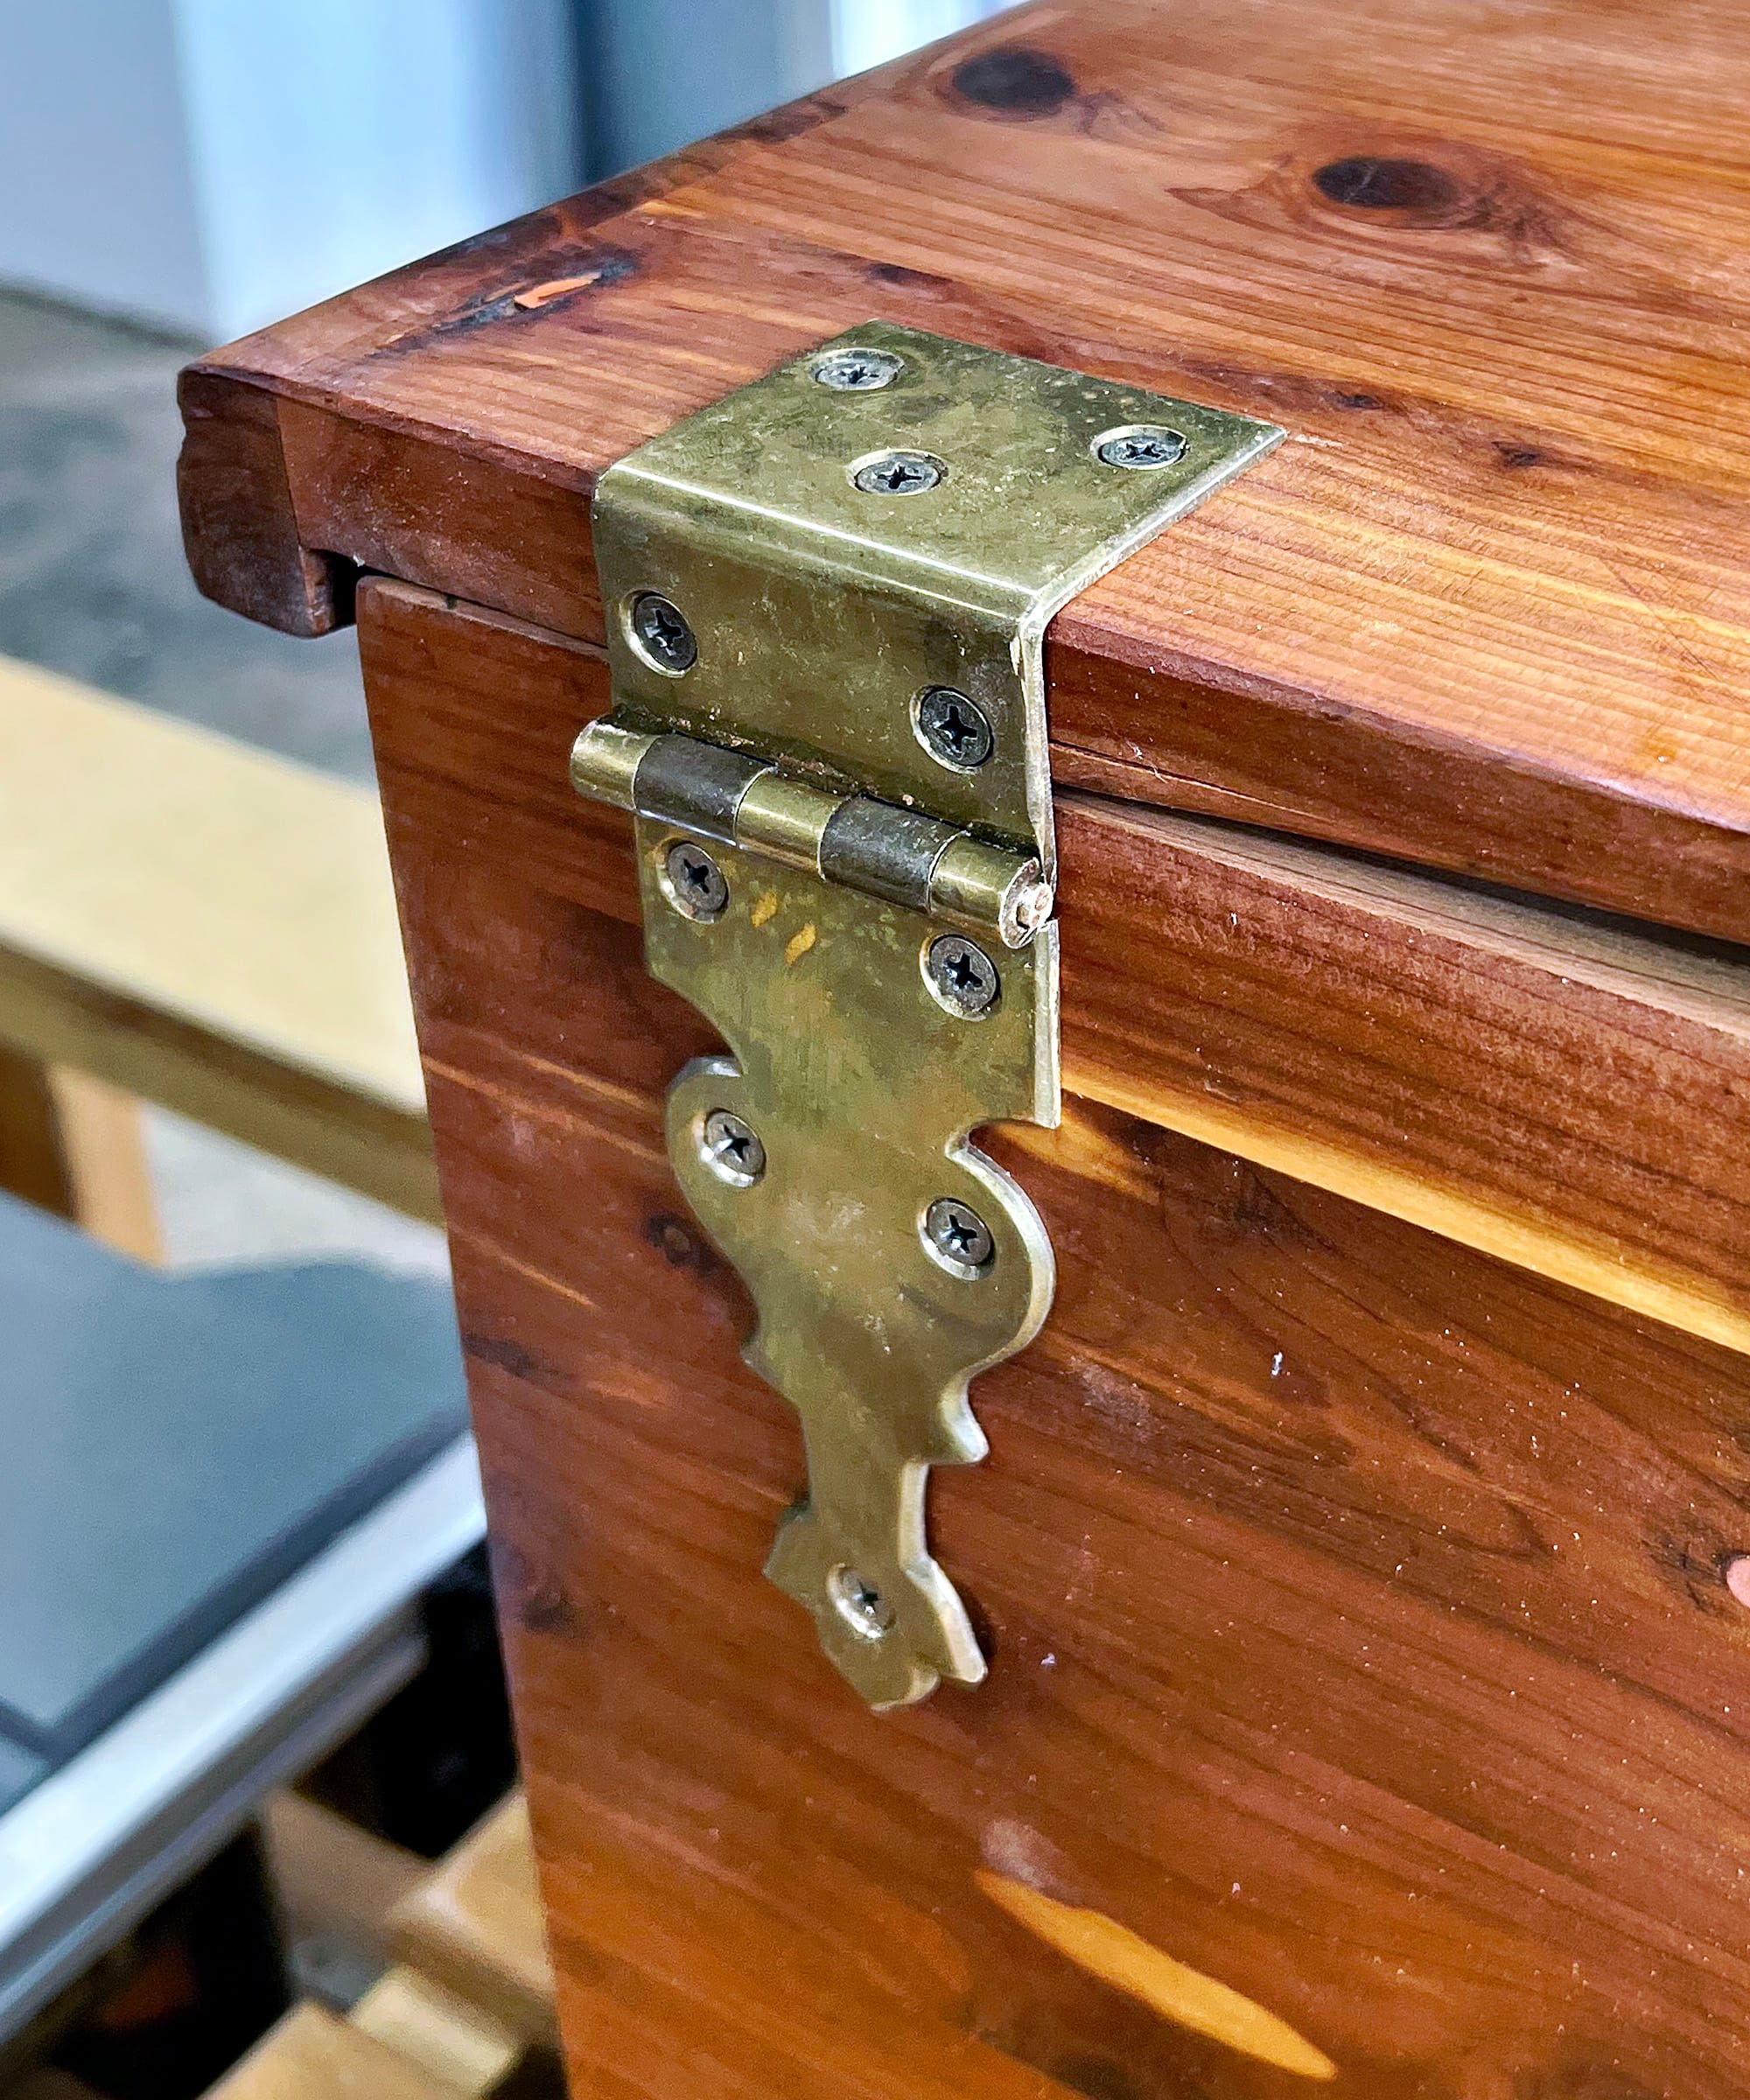
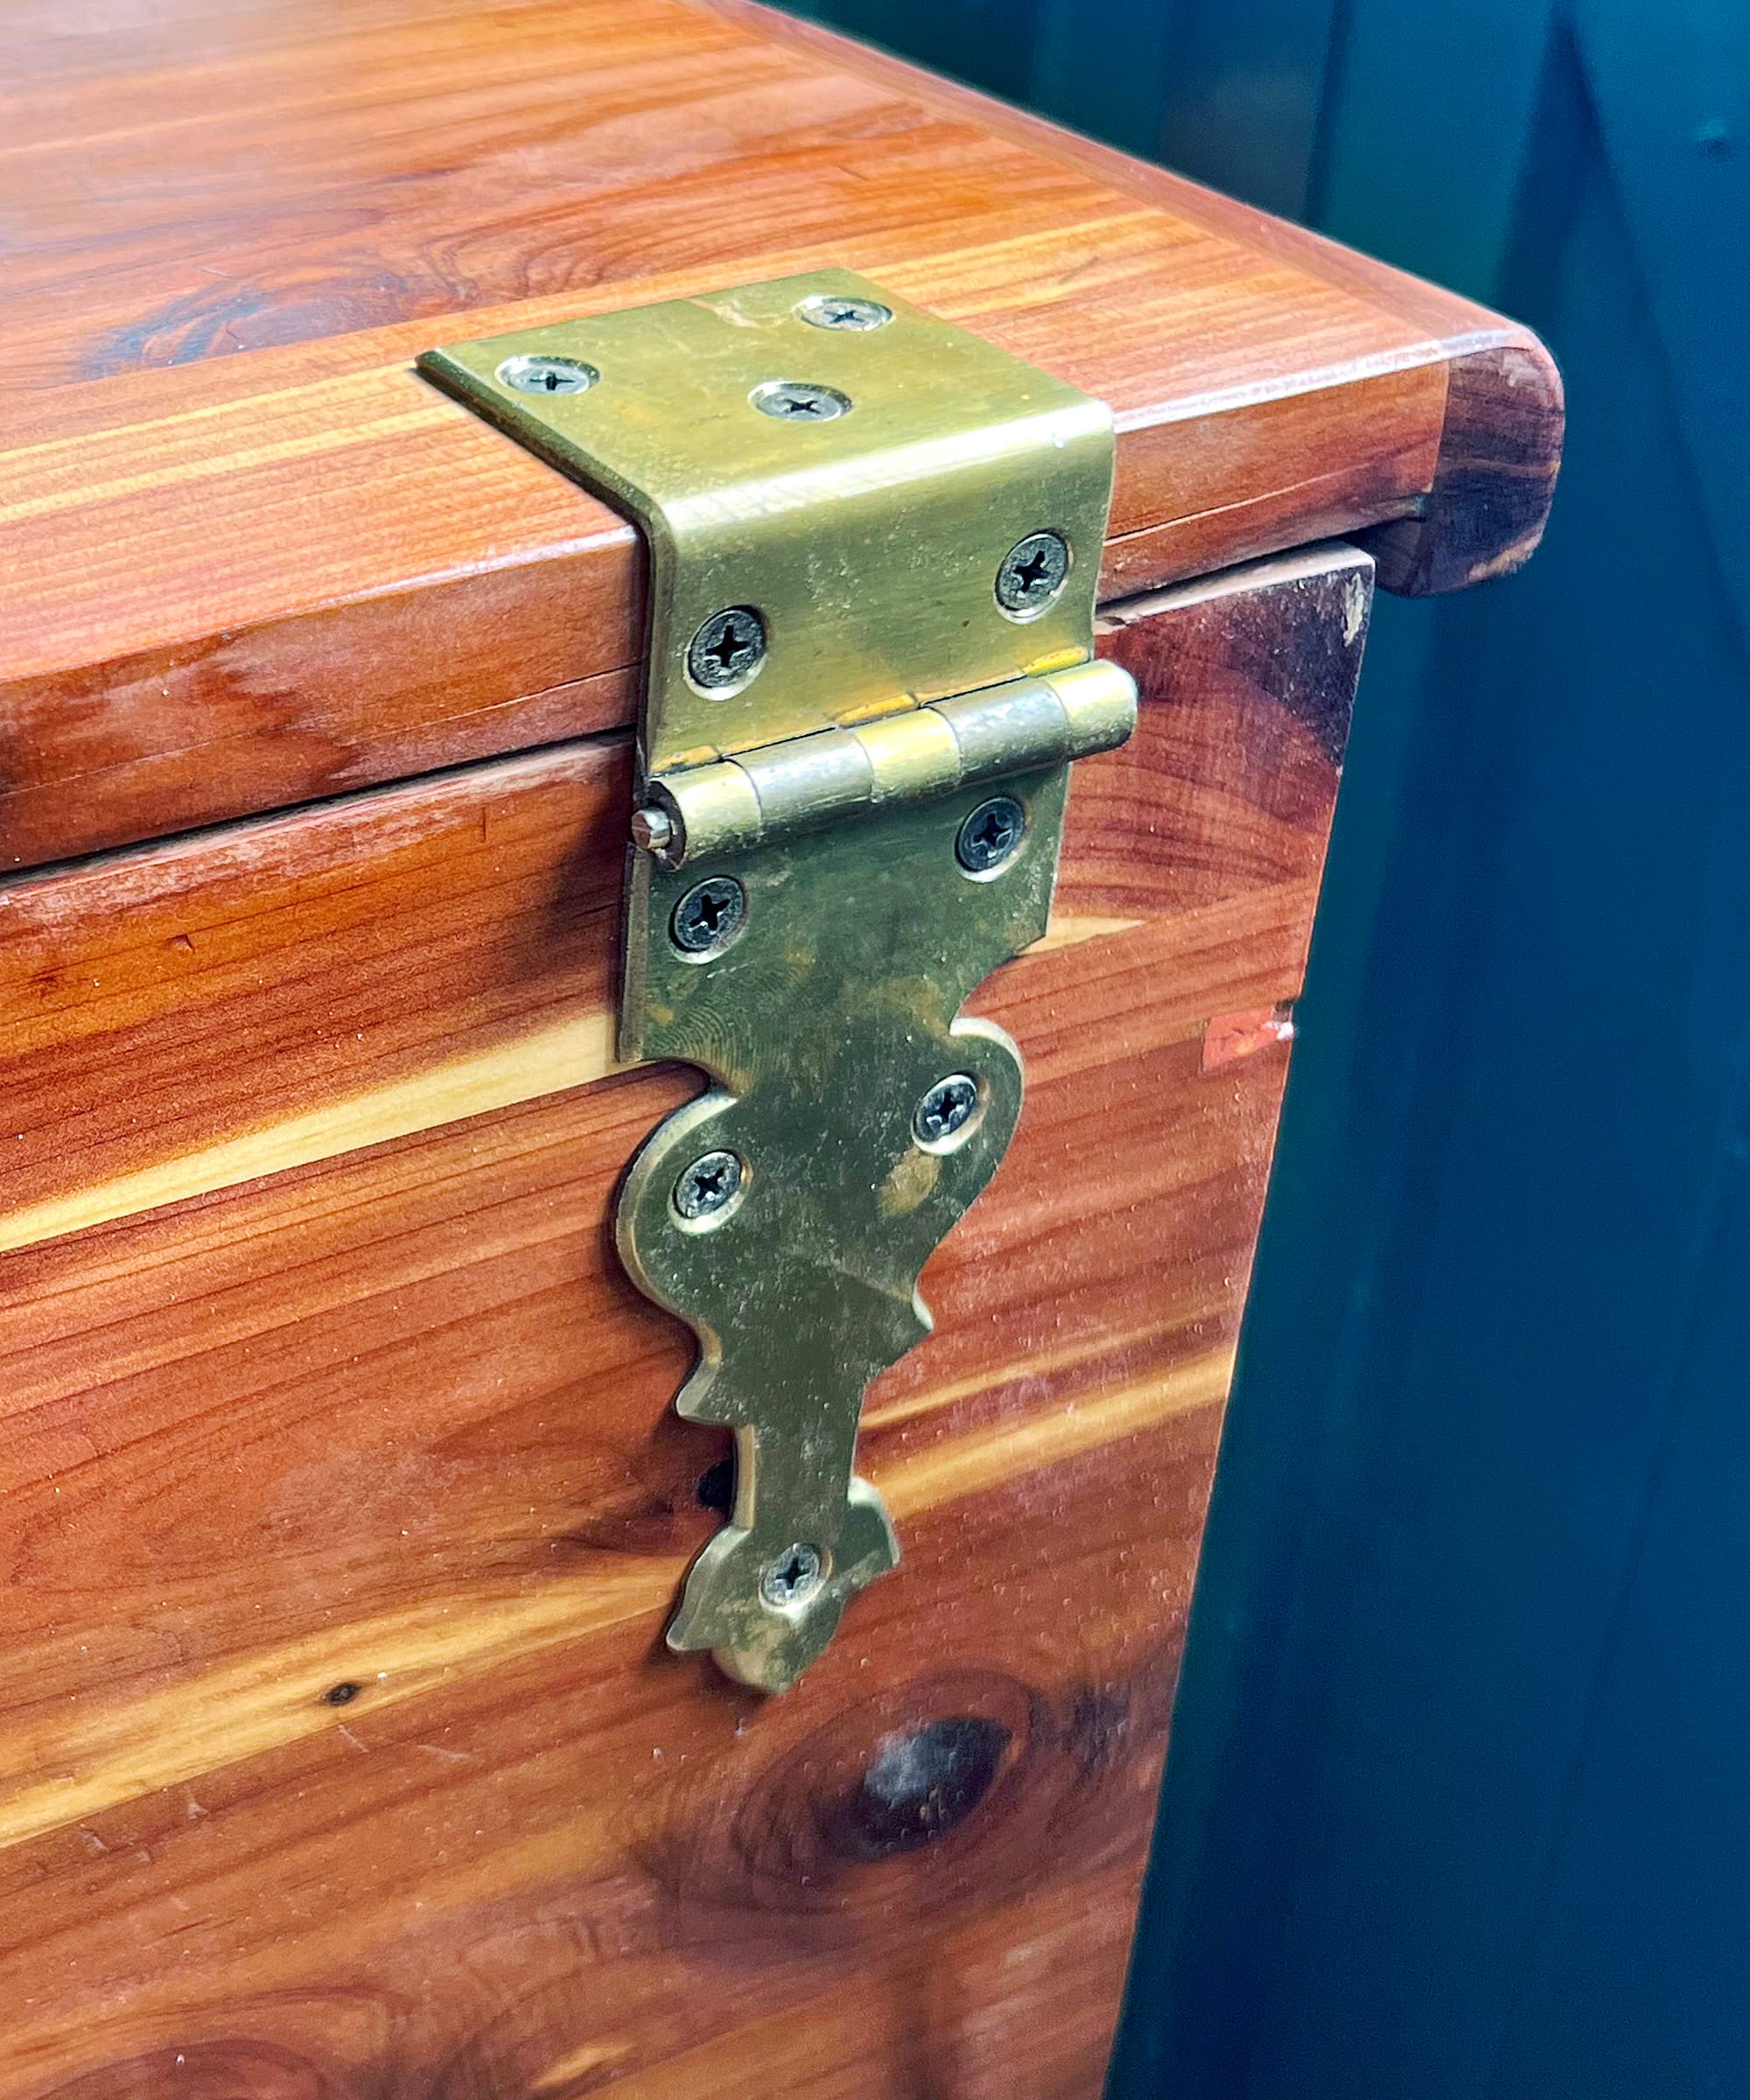
Re-installing the hinges.
Two re-assembly details I didn't get photos of:
- One of the wooden wheels was missing, so I had to replace them. I found some new wooden wheels that use the same insert size, so I was able to re-use the existing metal inserts in the legs.
- I had noticed that the areas of the lid that sit directly on top of the edges of the case had some stains on them, which I sanded off. These appeared to be caused by the unfinished wood of the inside of the lid rubbing on the varnished top edges of the case. To eliminate that issue in the future, I carefully sanded the top edges of the case, so that going forward the contact between the lid and the case is all bare wood on bare wood. (You can see this in the final photo below of the chest with a quilt in it.)
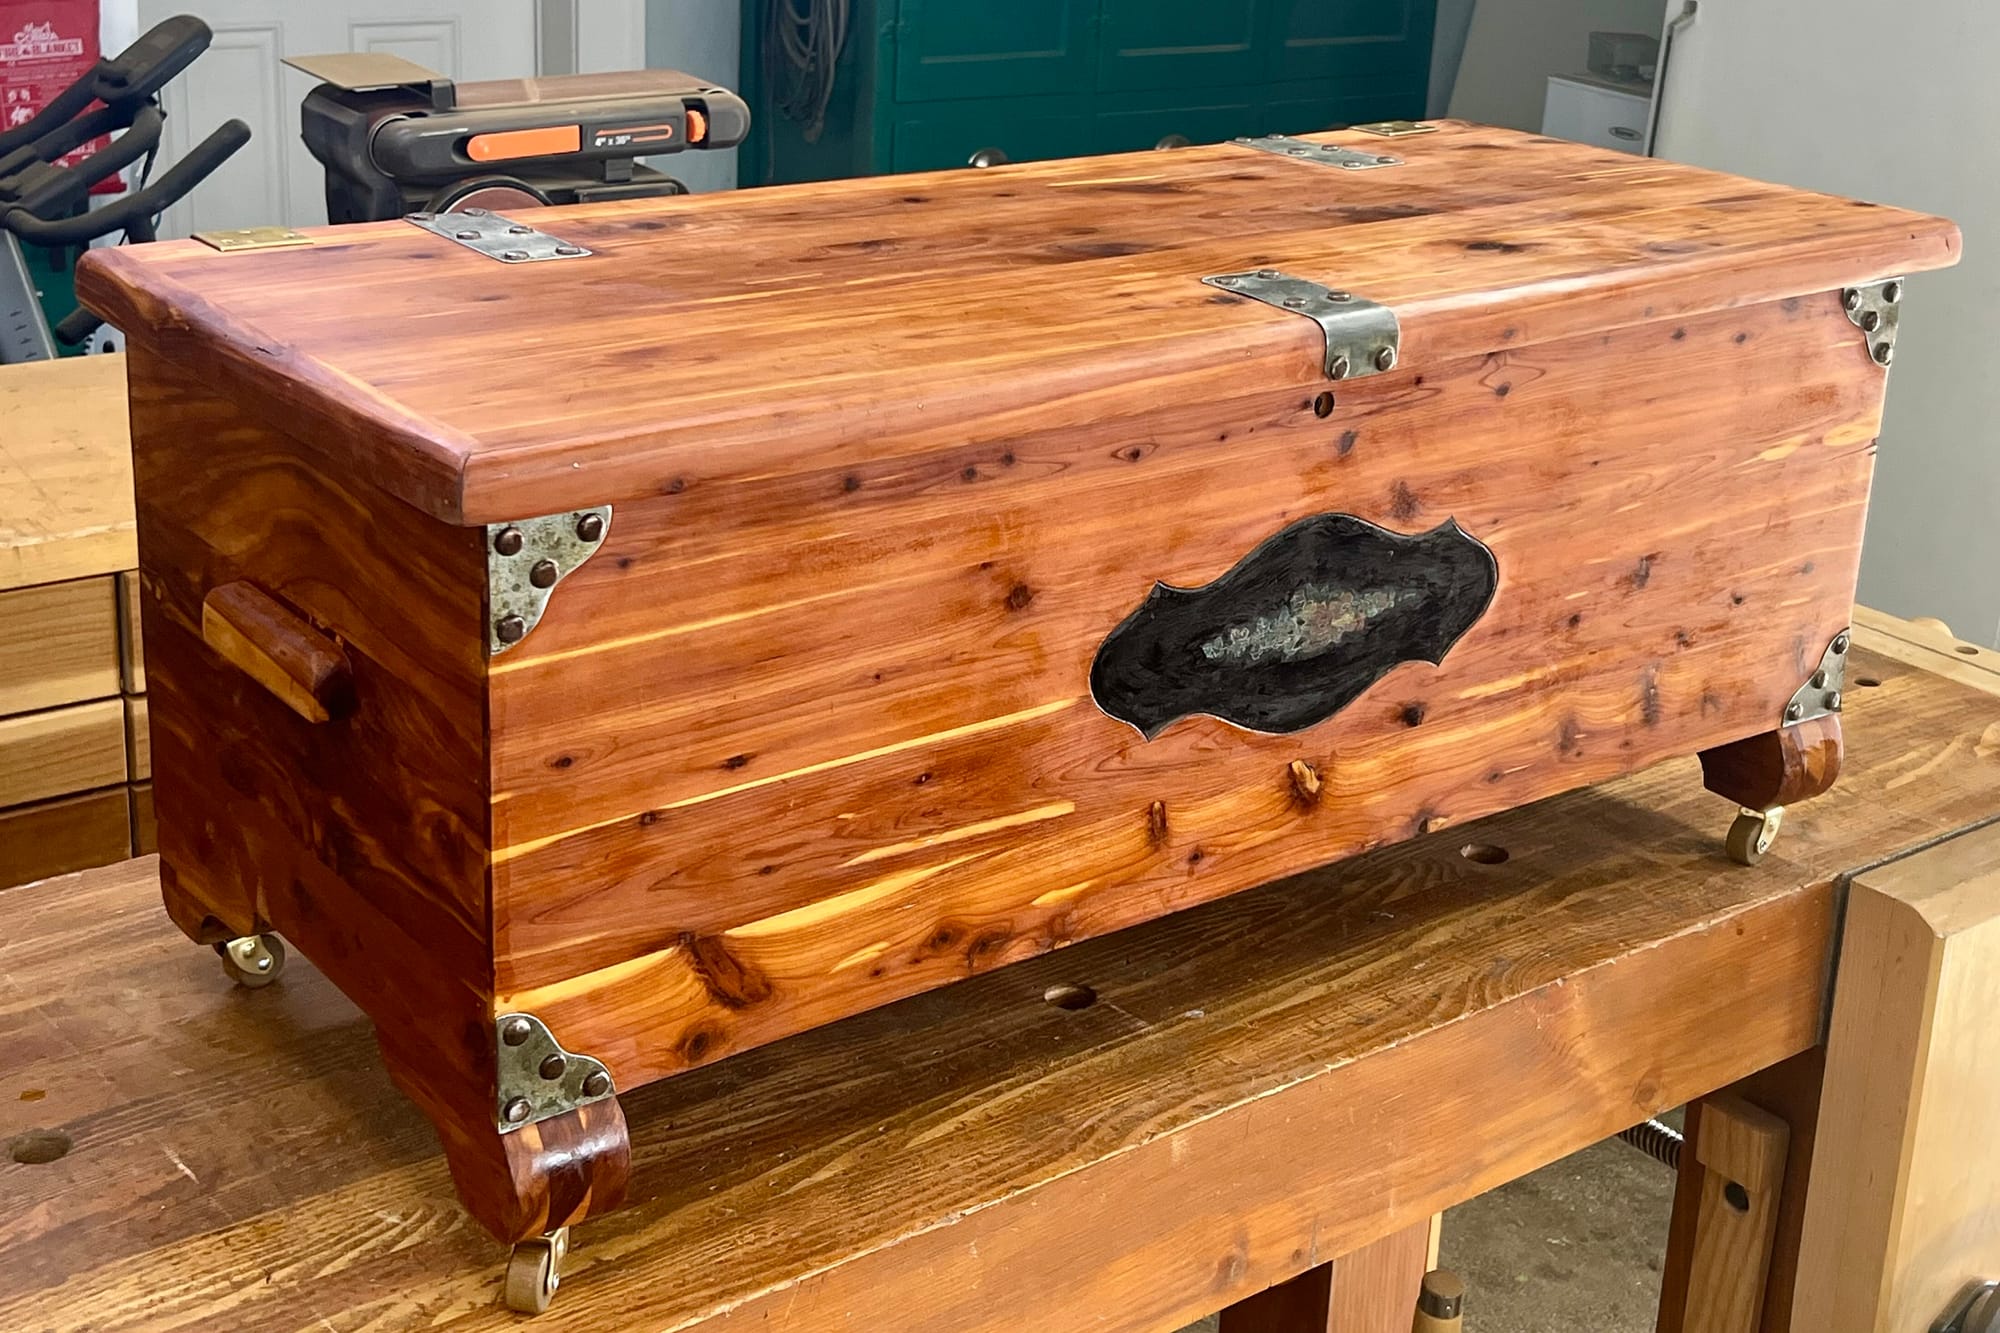
The final results
I'm pleased with how it turned out, as depicted in the photo at the top of this post. It looks good, and the hinges and lid support are sturdier than when it was new. I learned a lot, and I think the hope chest is ready for another century of use!
The lid support in action after everything was re-assembled.
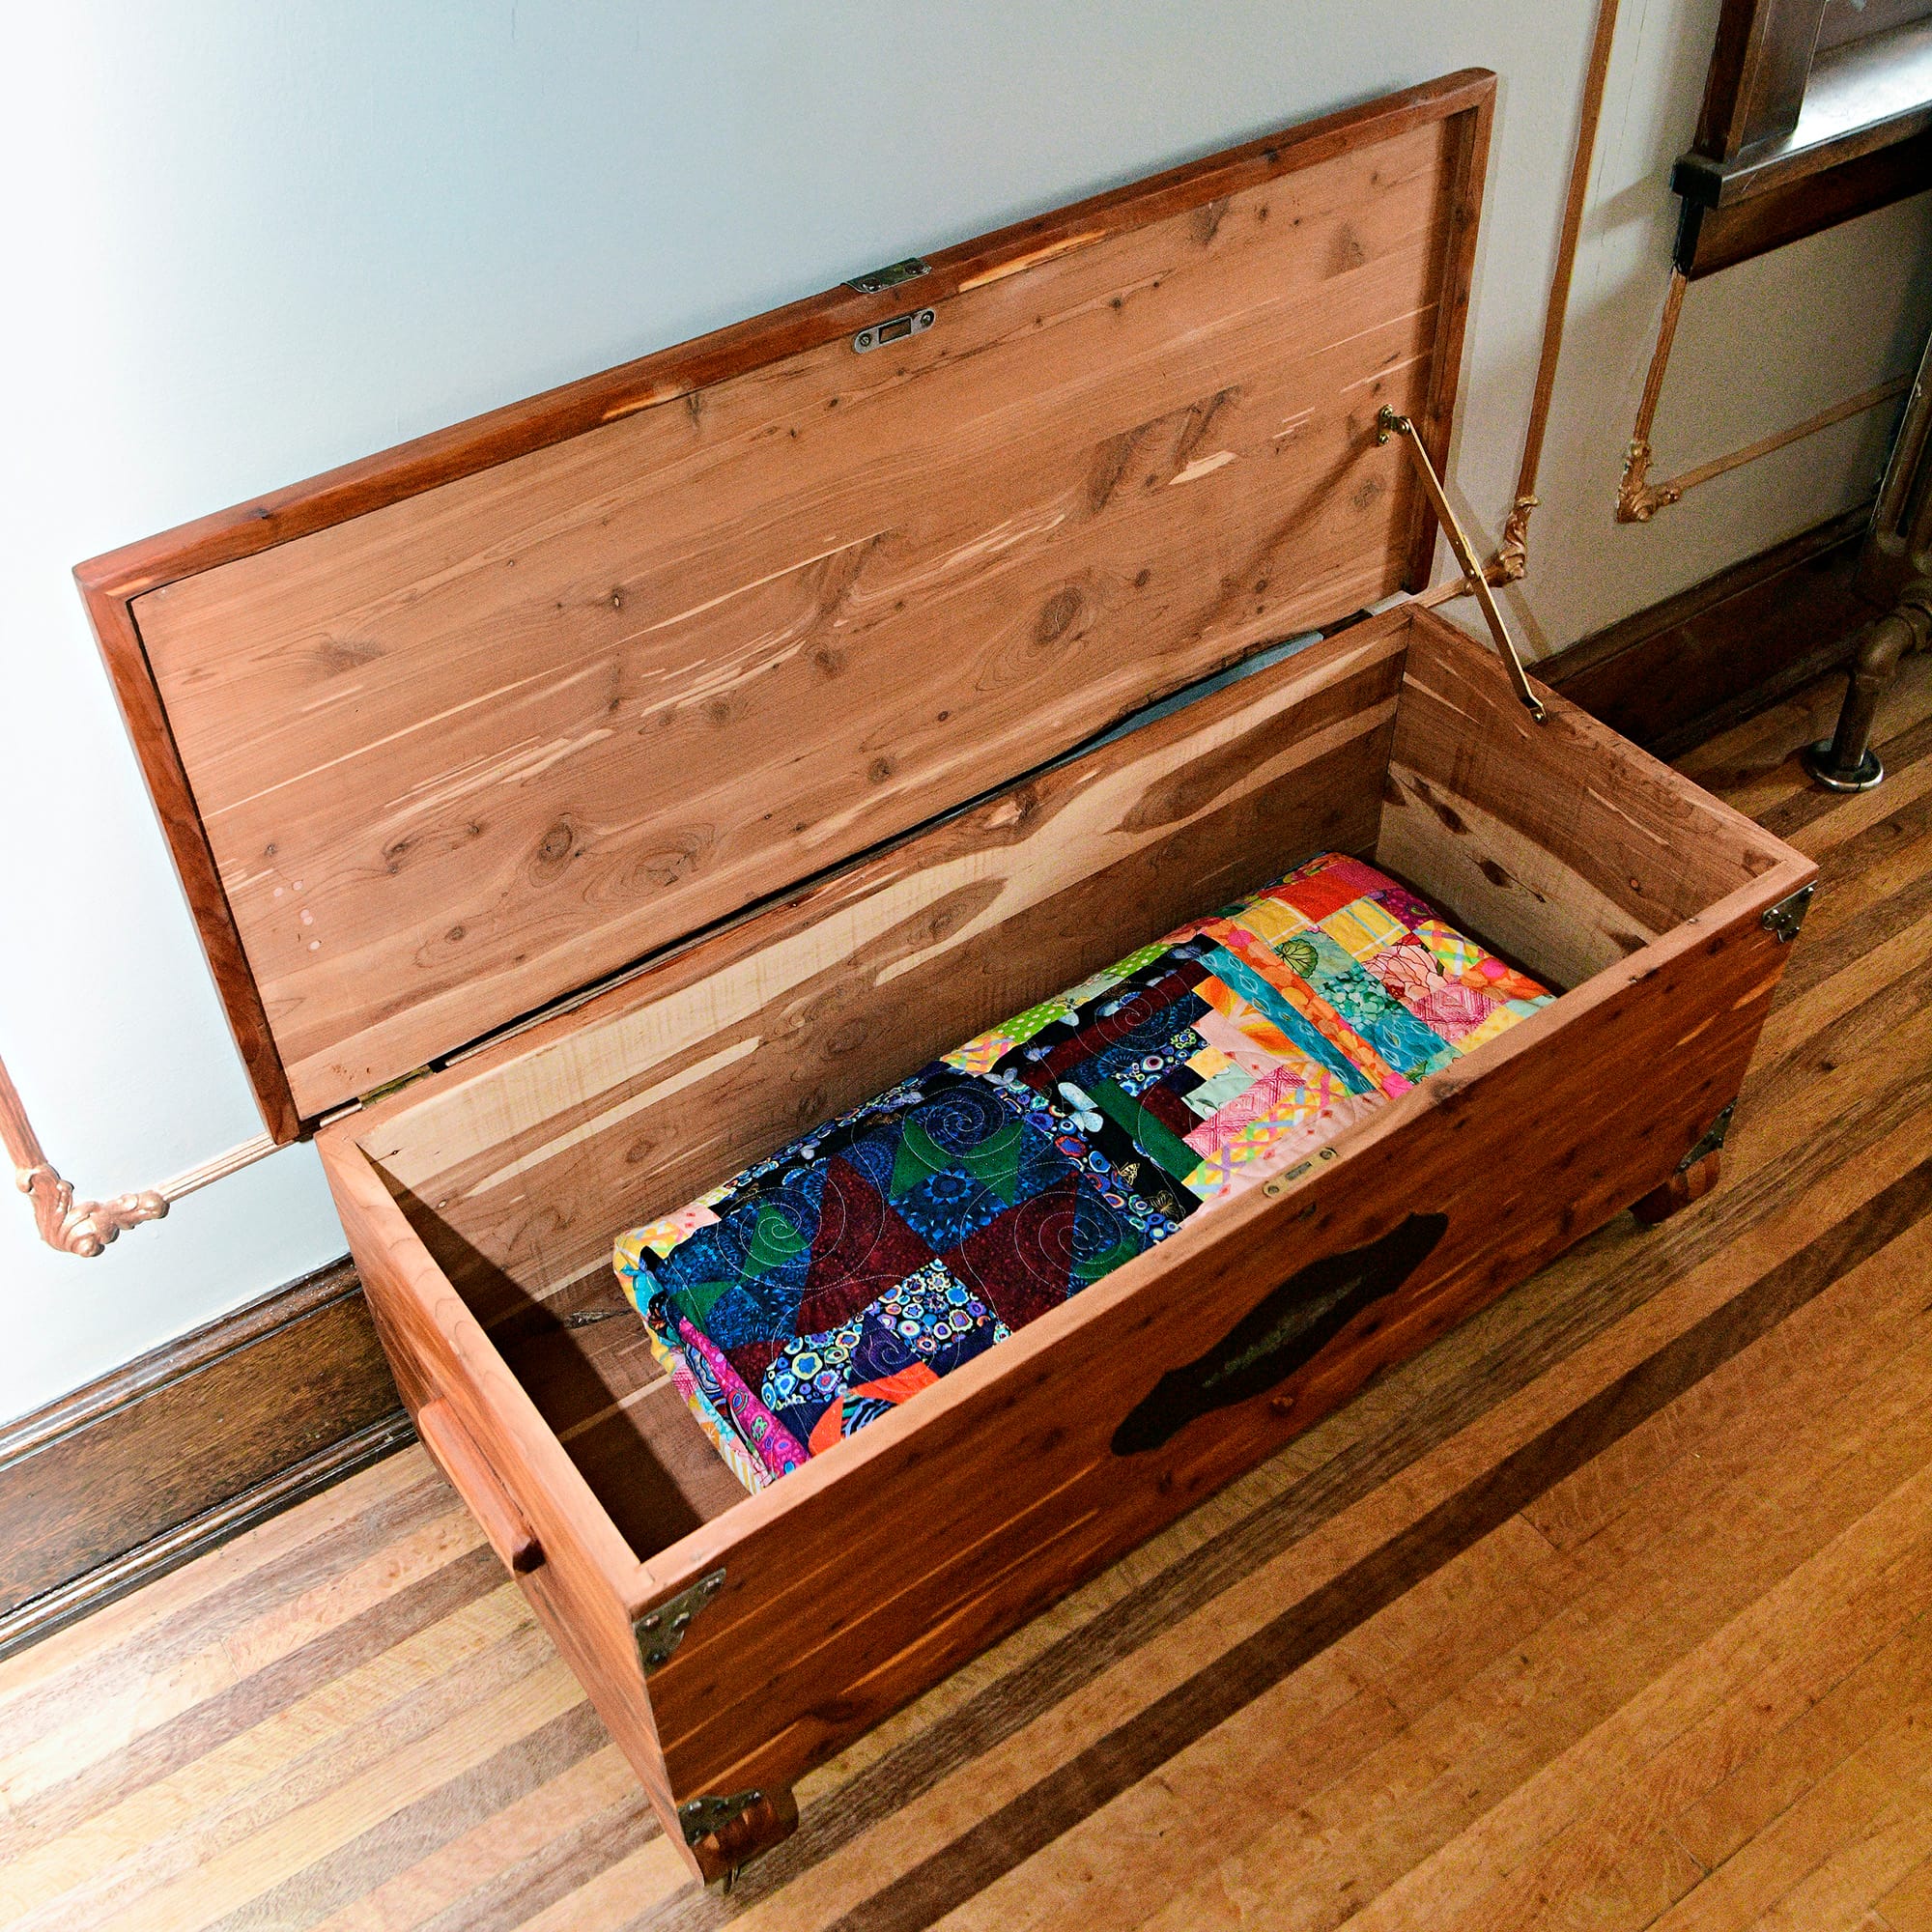
It feels great to finally have this done, and now I'm realizing that we're probably going to need another one because Megan is making a lot of quilts! Having become intimately familiar with the design and construction details of Mom's hope chest, I think I'm going to just make a clone of it, so that we have a matching set. Perhaps a project for later this winter.