Restoring Grandpa's chess table

My Grandpa Mahugh worked with his hands. He was one of the 10,000 workers who built the Fort Peck Dam, and after the dam was completed in the late 1930s he went to work there as a mechanic. In the 1950s, he moved to Bremerton, Washington to take a job at Puget Sound Naval Shipyard, and he and Grandma lived in a little house on a bluff overlooking the Port Washington Narrows.
I grew up in south Seattle, and our family drove to Bremerton to visit them often throughout the 1960s. Grandpa had a little workshop behind the garage, and I remember sitting next to him on the step behind the workshop when I was a little boy, watching in fascination as he rolled a cigarette with one hand.
Grandpa took up rock collecting as he neared retirement, and he purchased a small rock saw. It was a messy piece of equipment, with water and oil splattering the walls nearby. He also had a rock tumbler made from an old electric motor and a few other things, which he used to turn drab pebbles into beautifully polished stones.
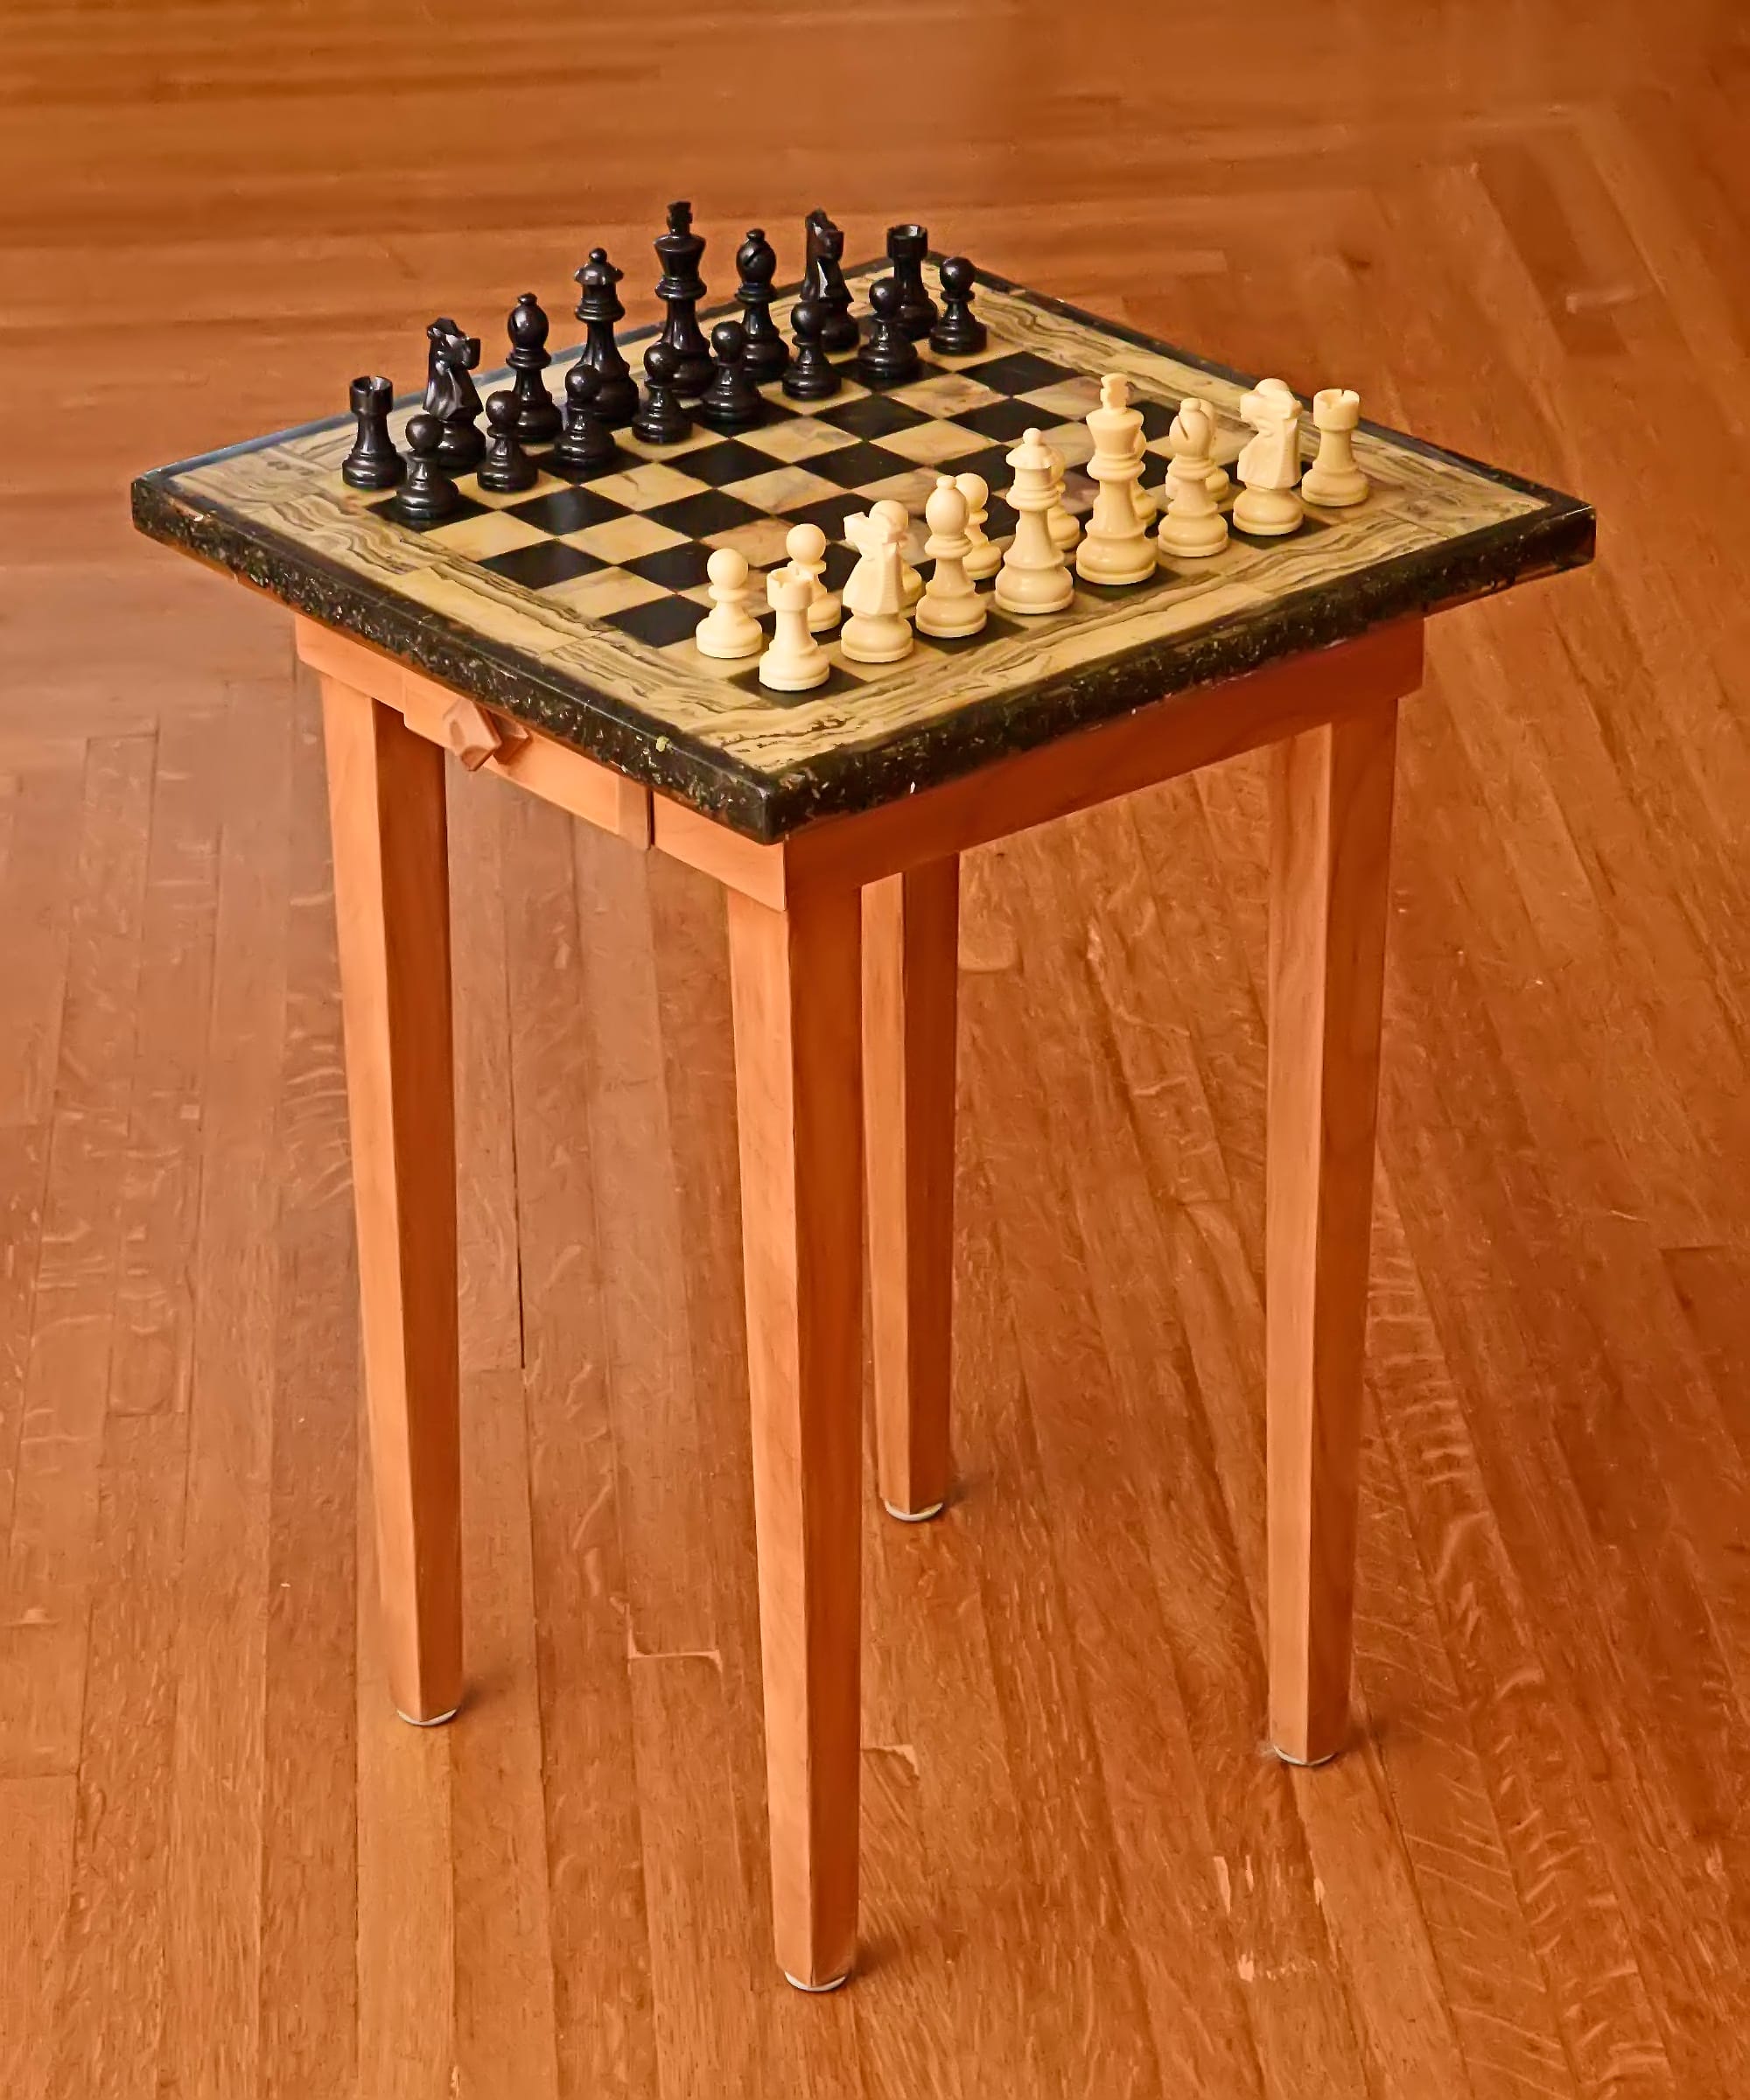
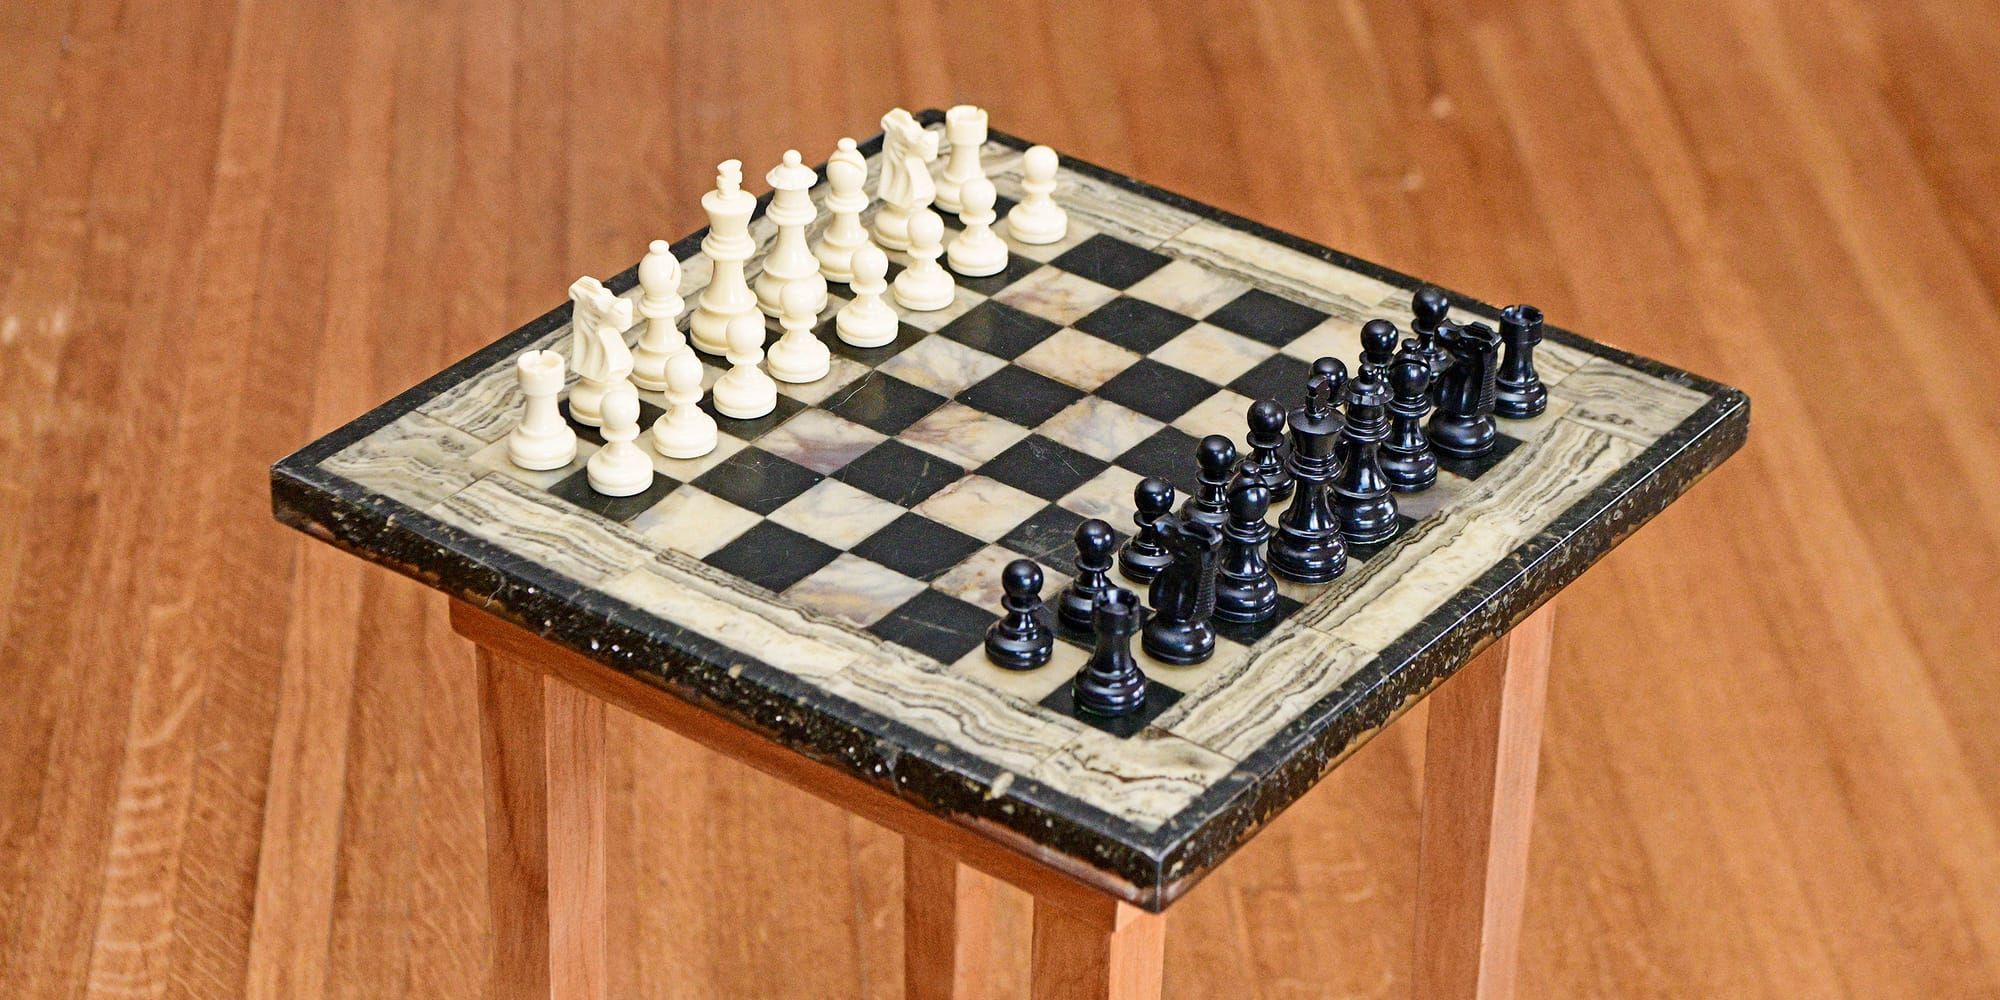
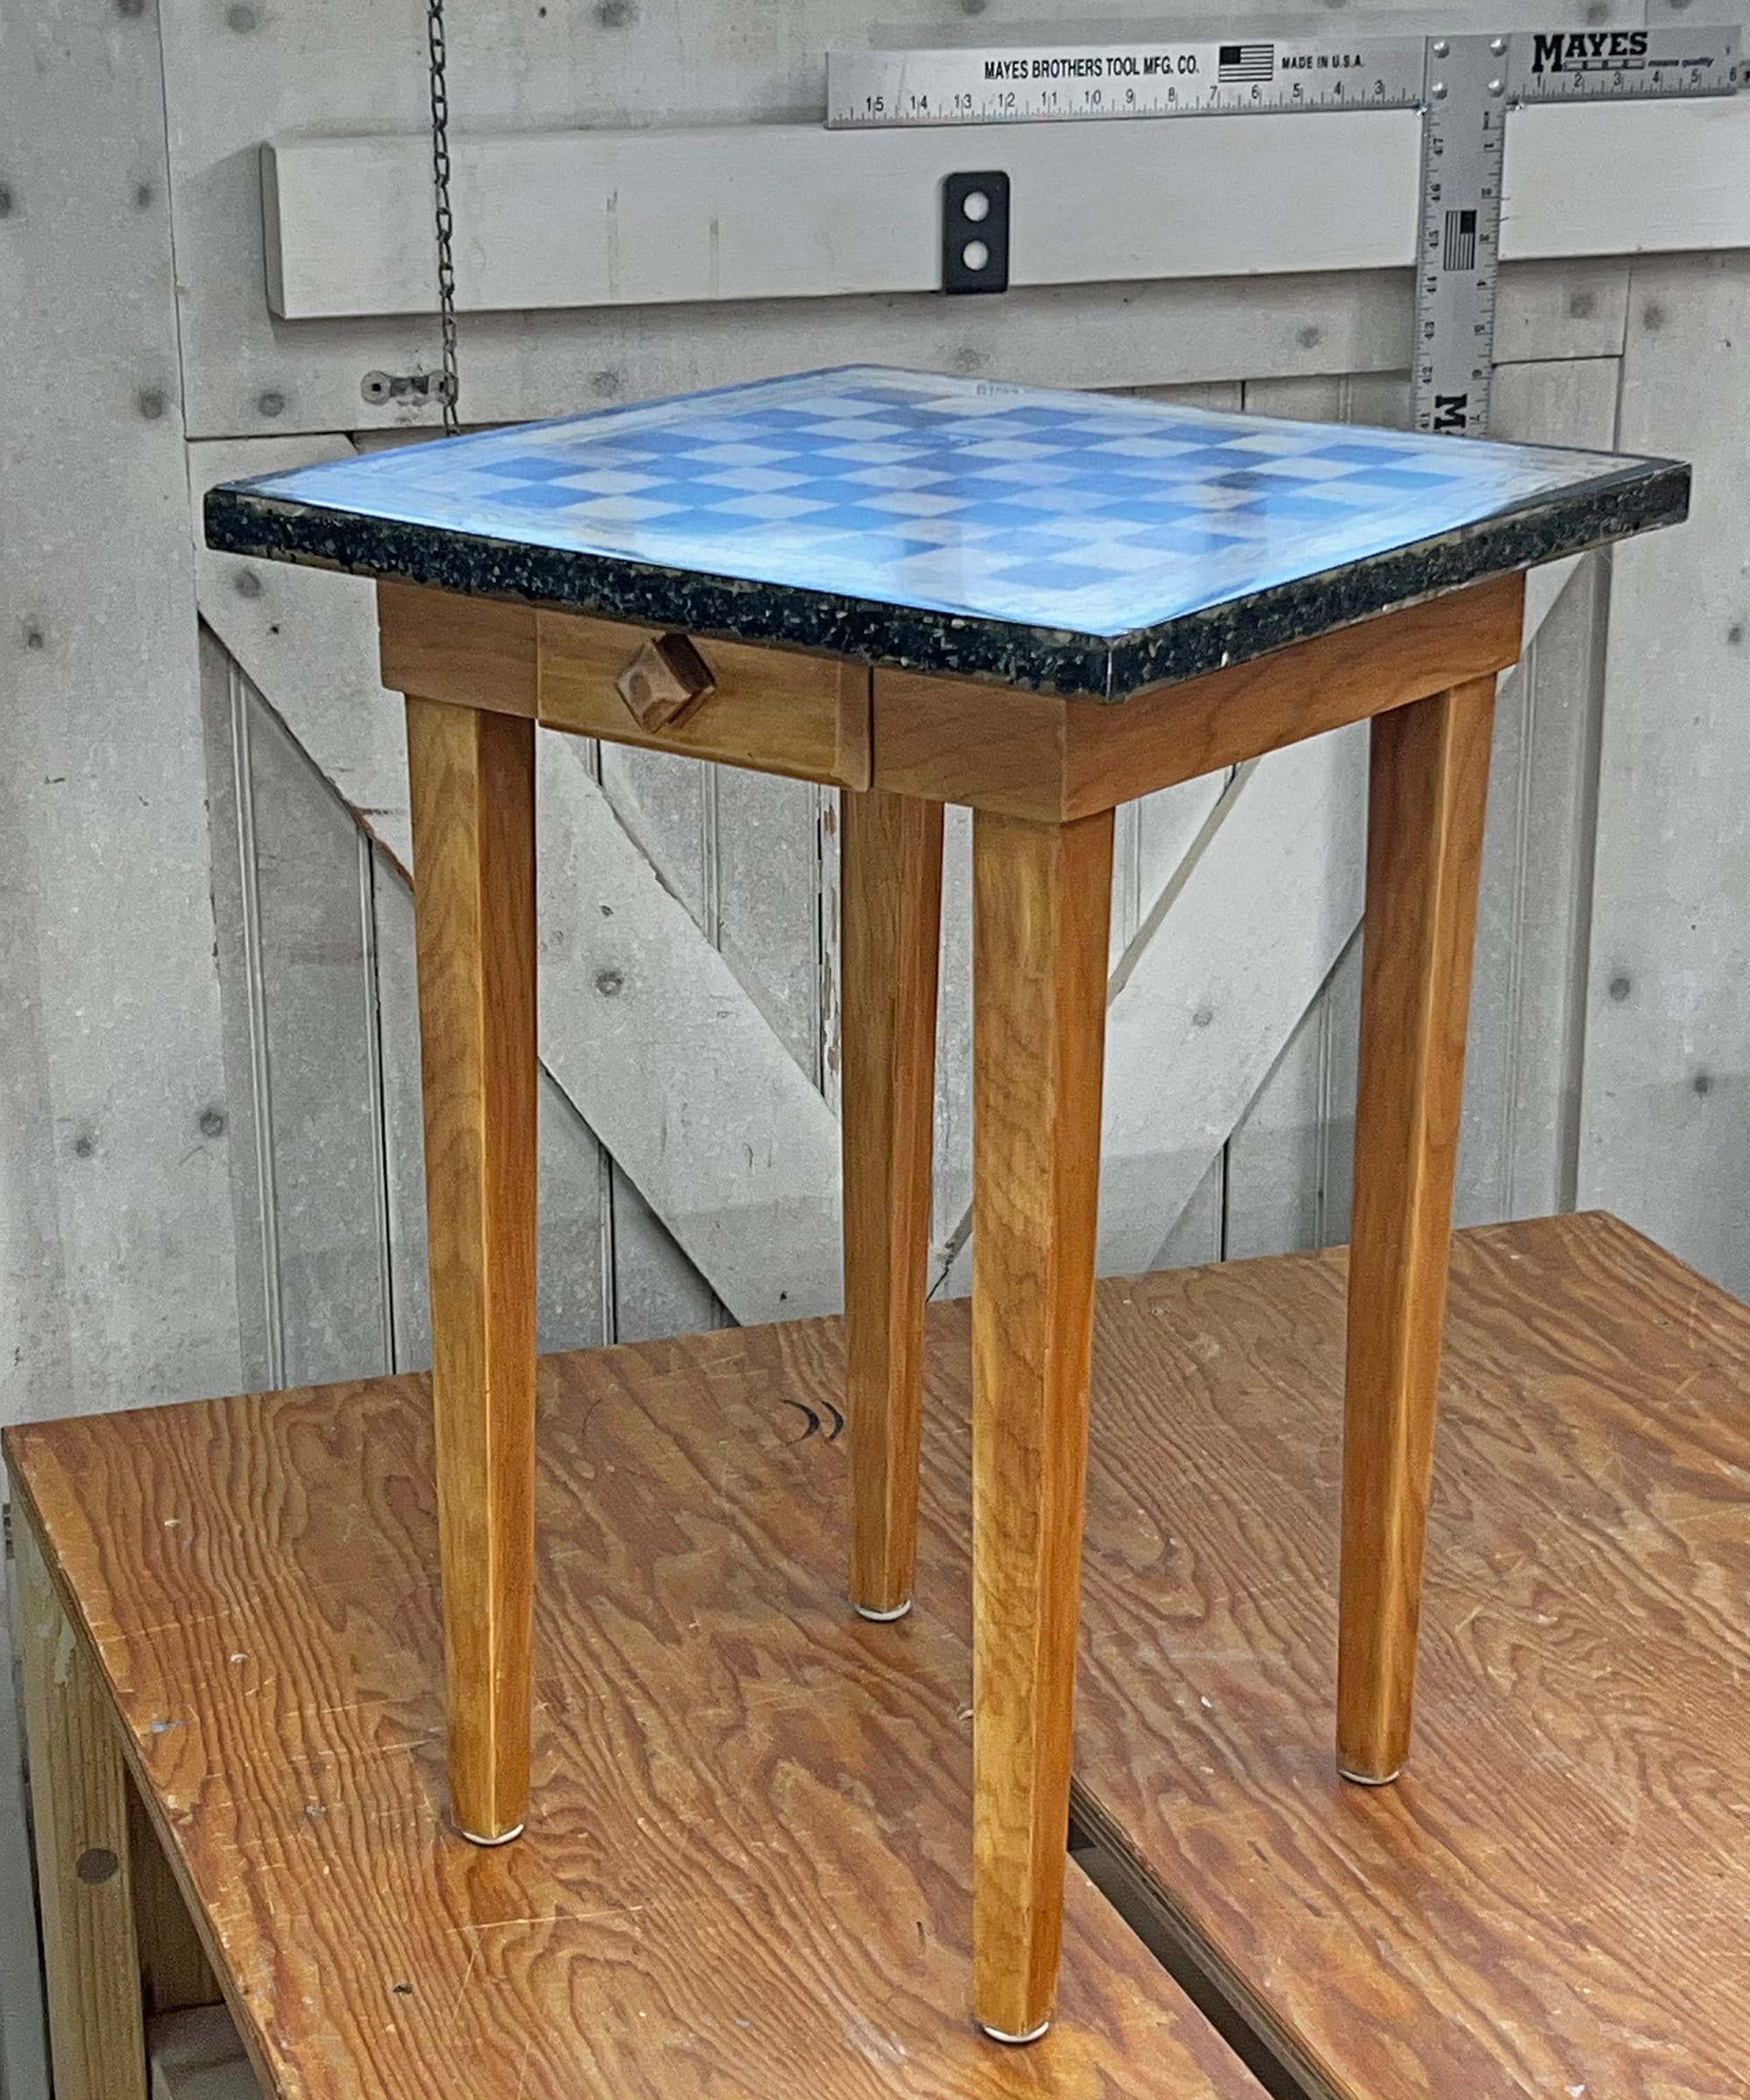
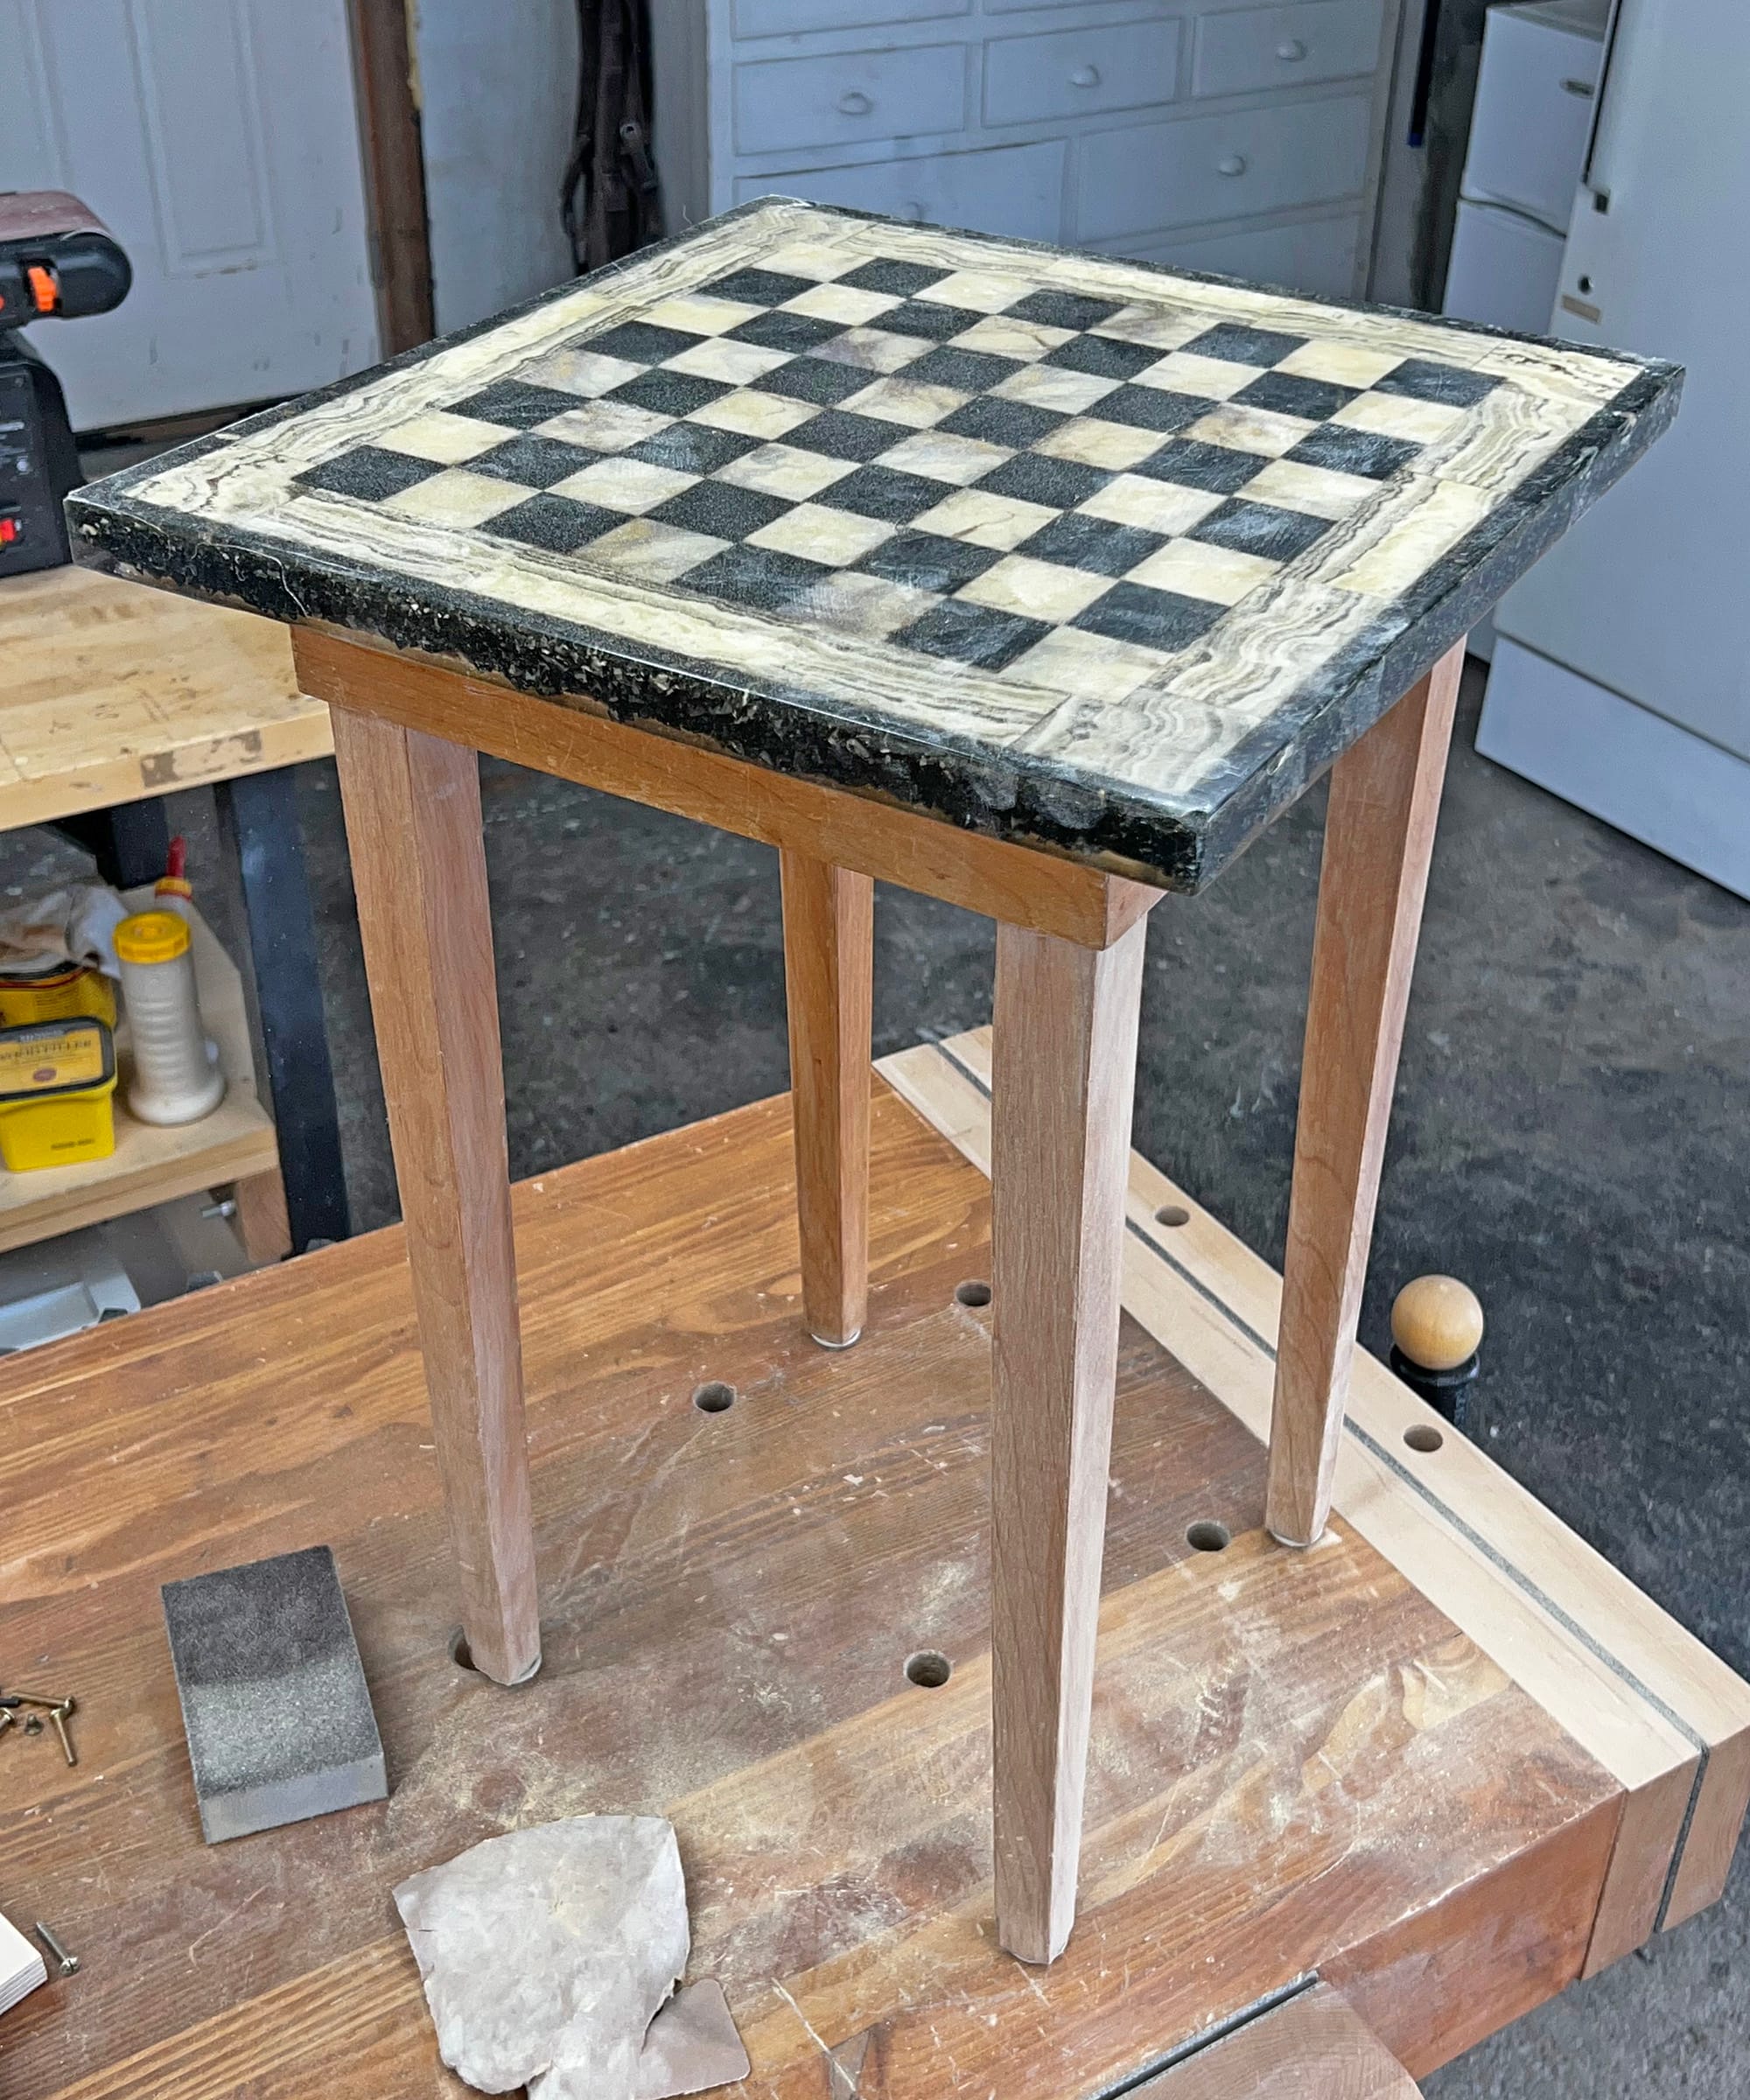
Most of the things Grandpa made from stone were small pieces of jewelry or decorations. The bolo tie that he wore when he dressed up, for example, featured a medallion that he had made out of an agate from Montana. But there was one larger item that he made (only one that I can recall, anyway), and it sits in our house in Butte now, 60 years after he built it: a chess table with a stone top made from sliced stones set in hard epoxy resin.
I think of it as a chess table, because after Grandpa died when I was 10 years old that table came to our house and my Dad taught me to play chess on it. But for Grandpa, it was actually a checkers table. He wasn't a playful type with the kids (stern is a word that comes to mind when I think back on him), but he loved to play checkers, and would challenge us to games on the little table he had built.
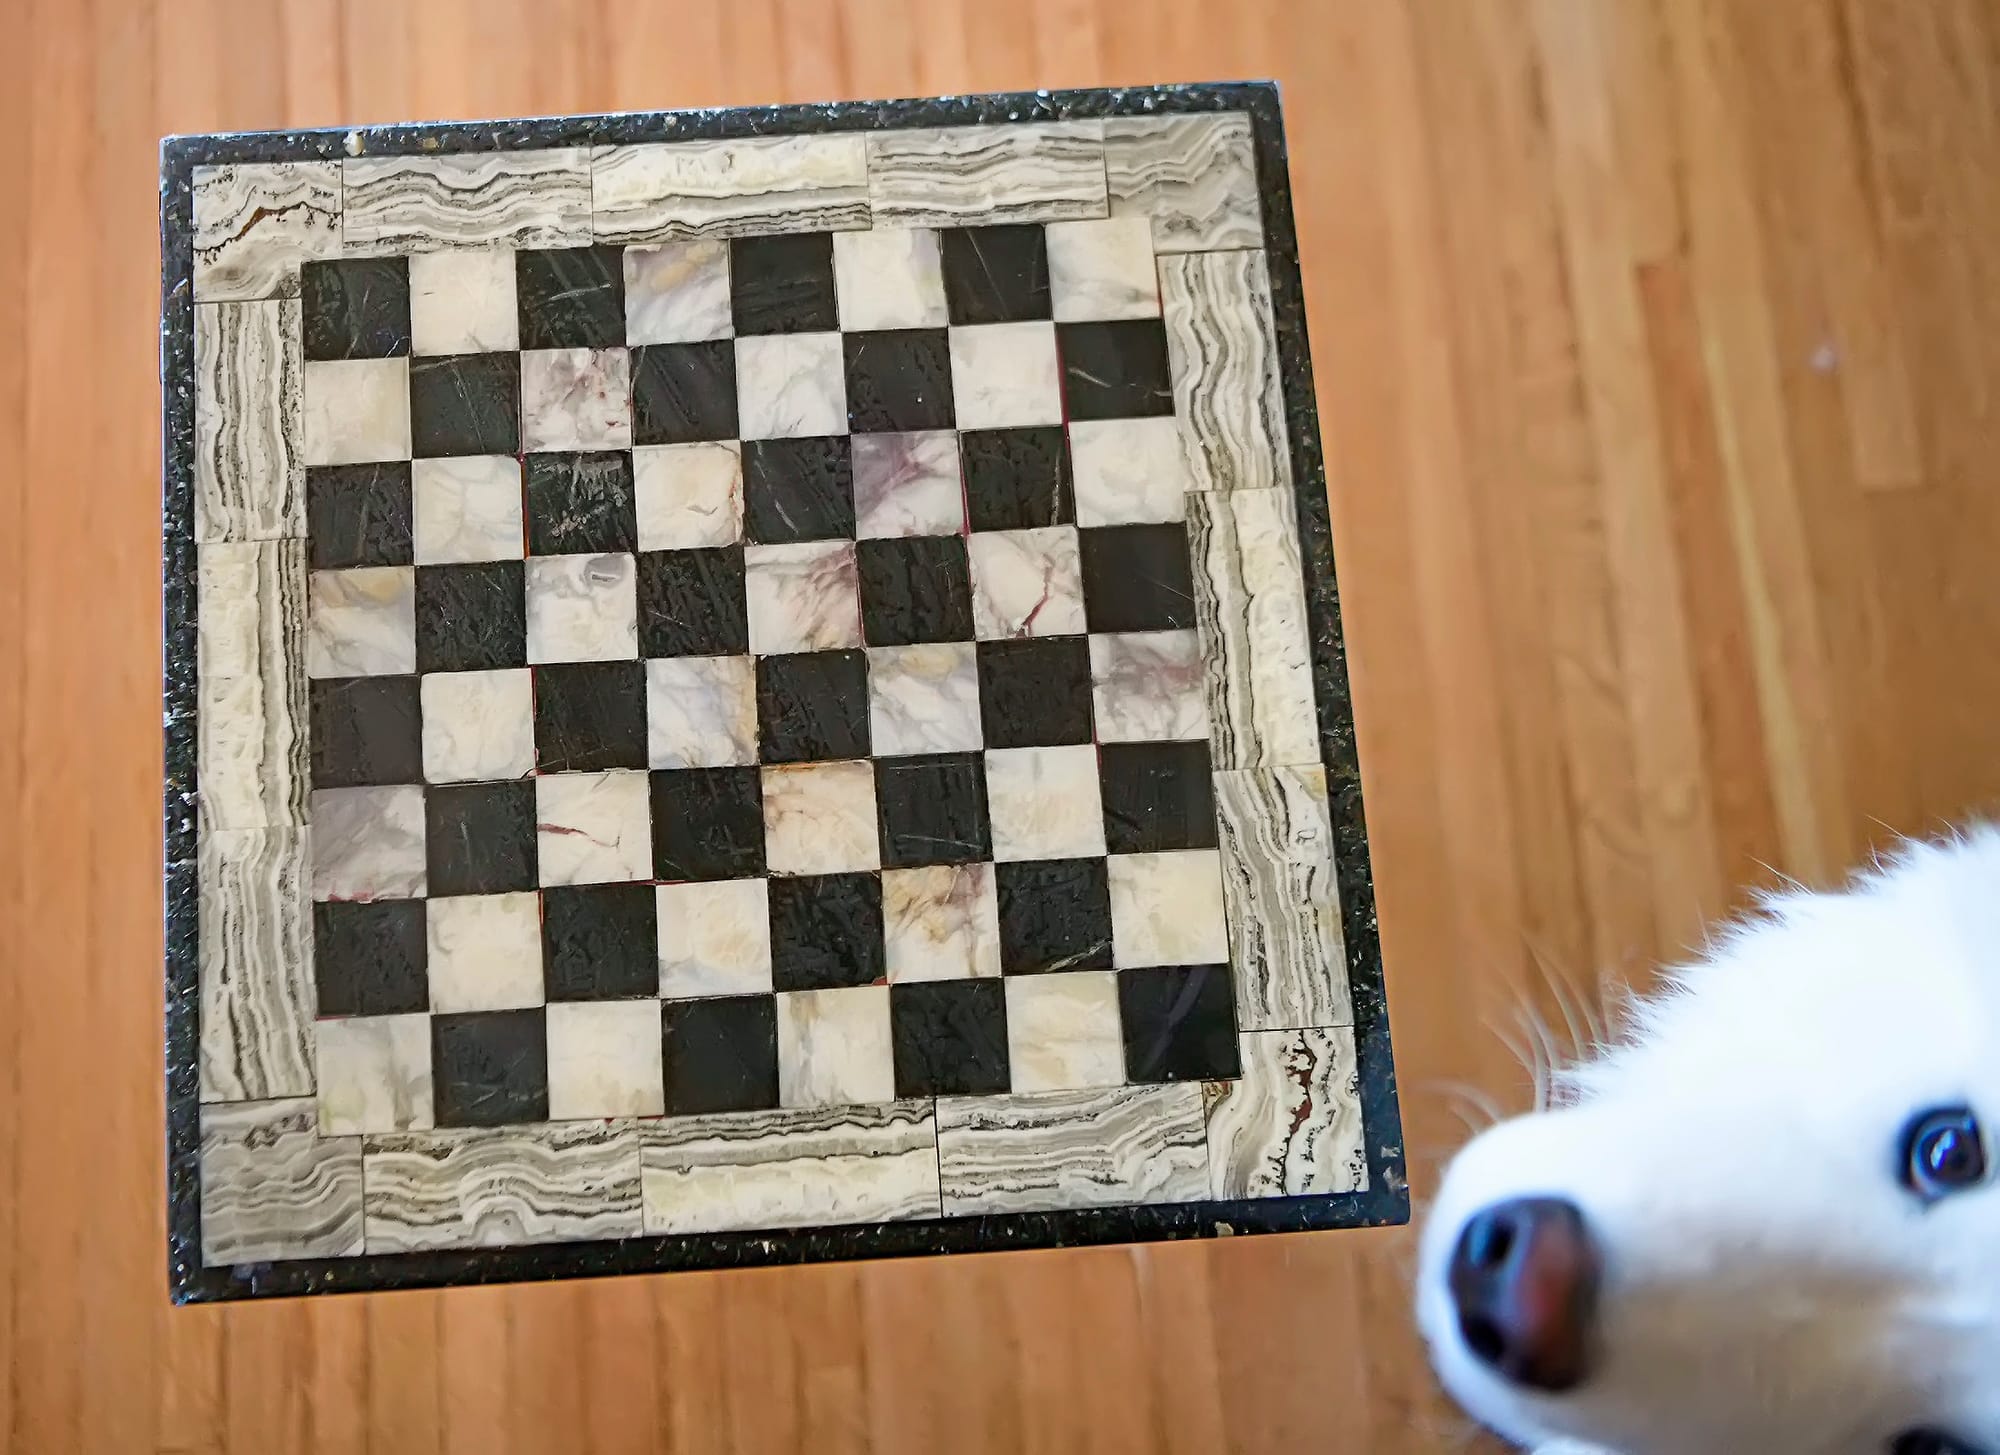
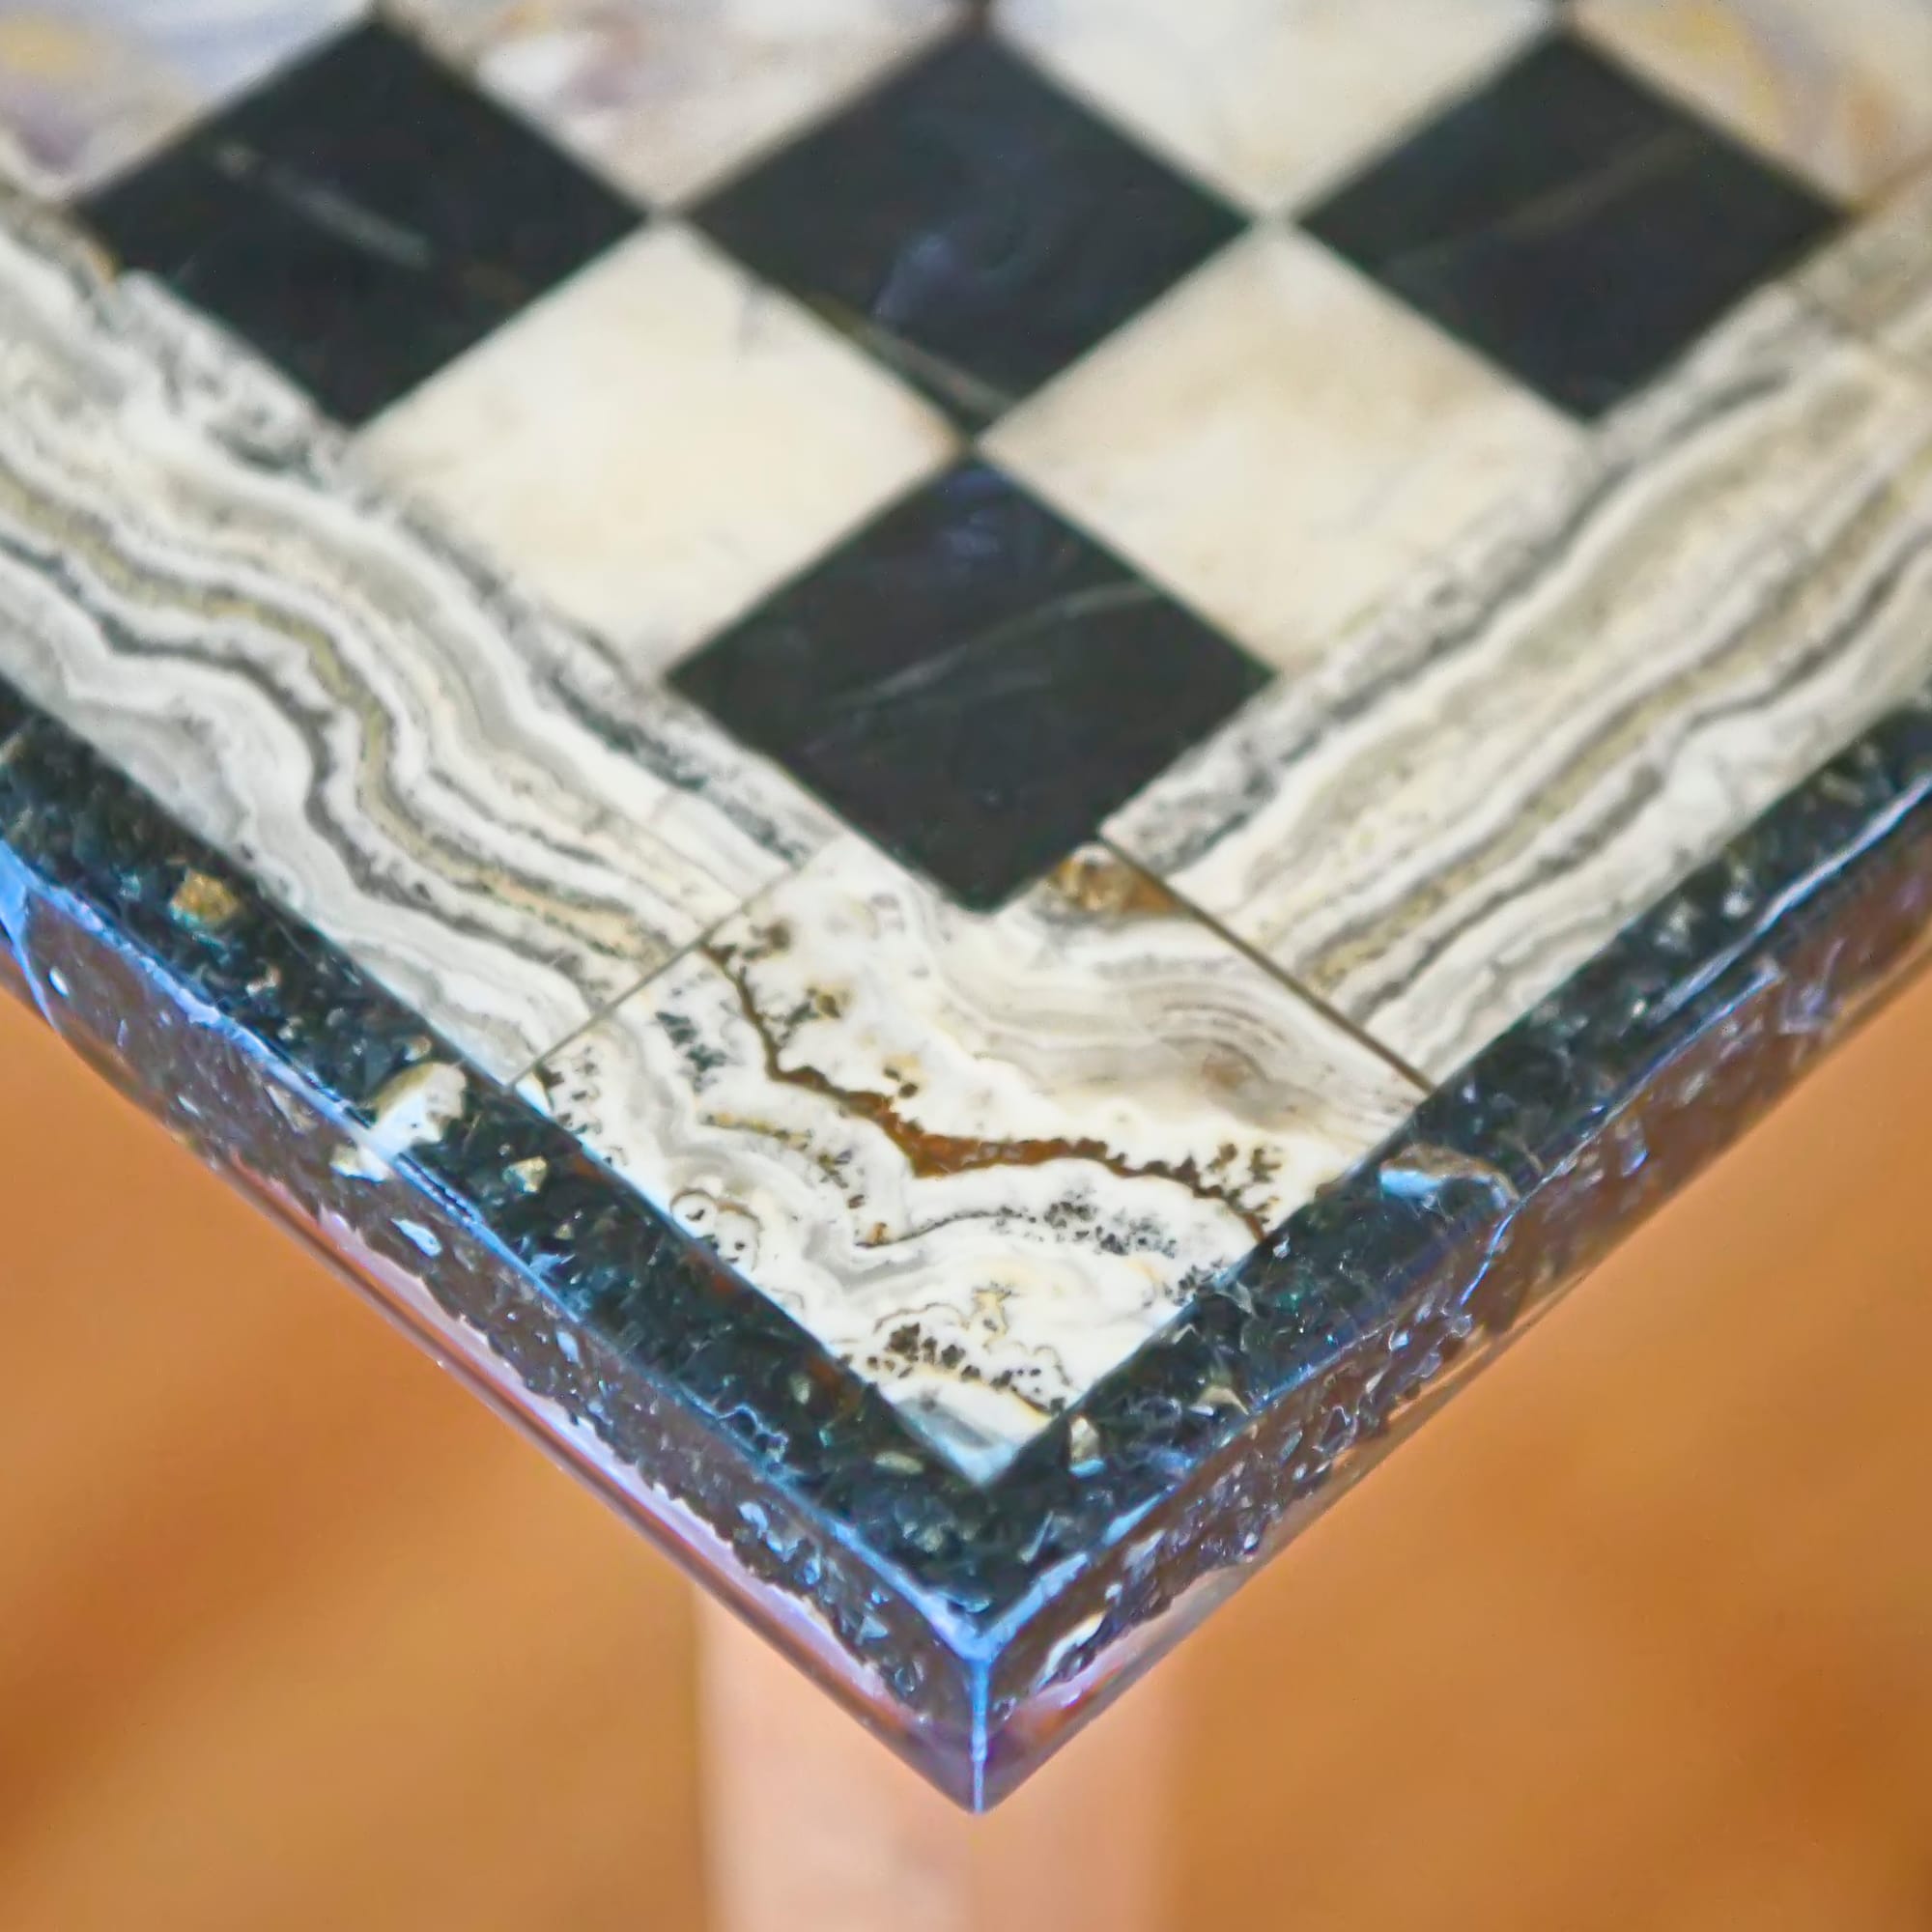
An overhead view of the chess table (and George), and a closeup of a corner, showing the rectangular notch that's cut out of each of the corner pieces.
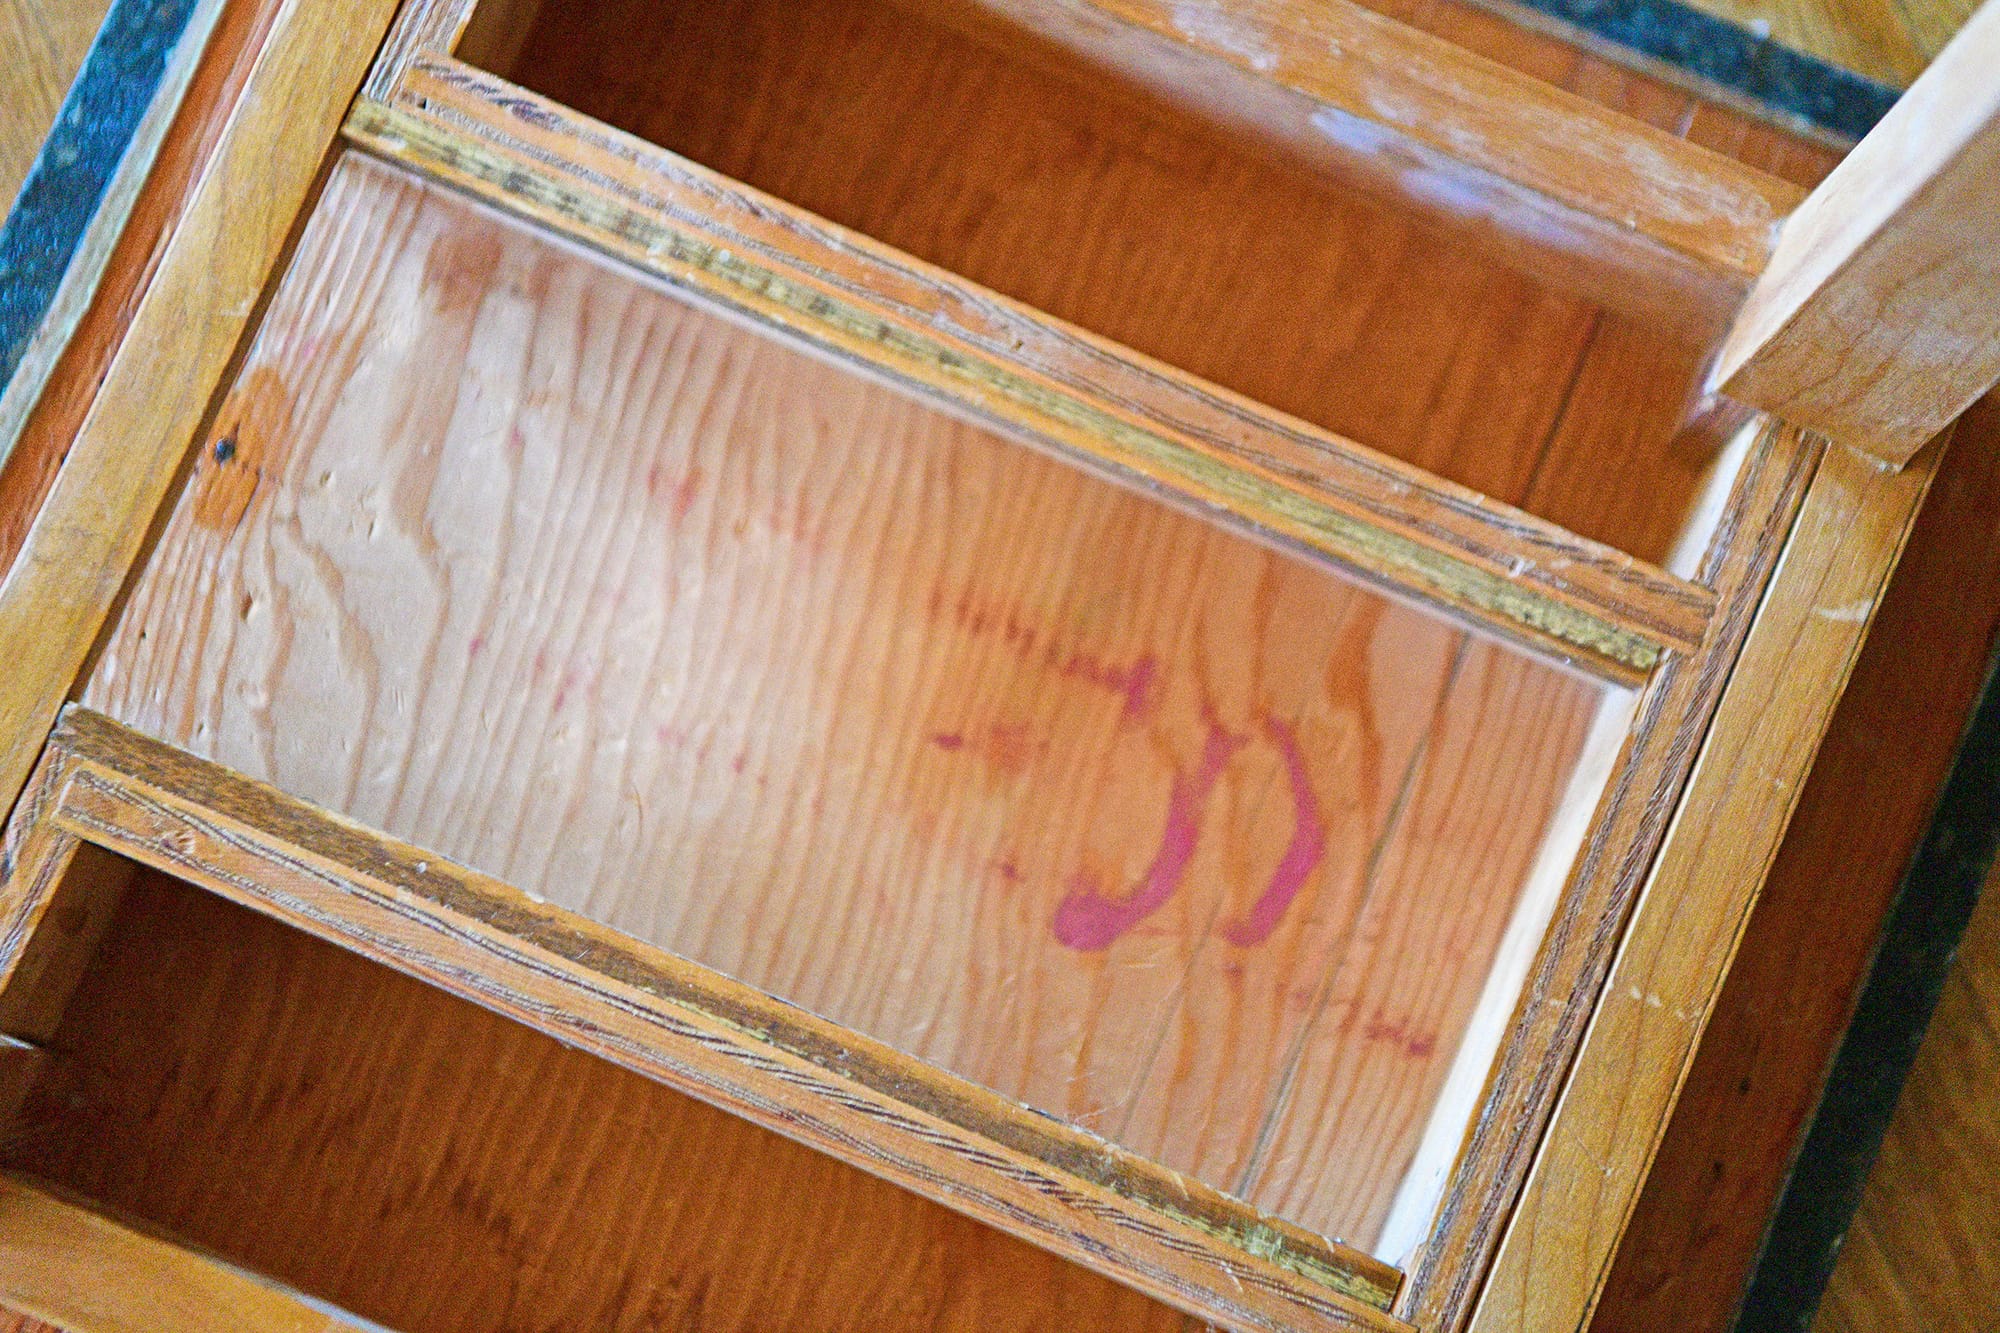
The construction of the base is unorthodox. The internal pieces that aren't visible when it's standing upright are all made from scraps of plywood, and some of those scraps were clearly salvaged from other items and still have paint on them or old nail holes. It's all carefully nailed together with tiny brads, and everything is still straight and square and the drawer still slides smoothly, decades after it was built.
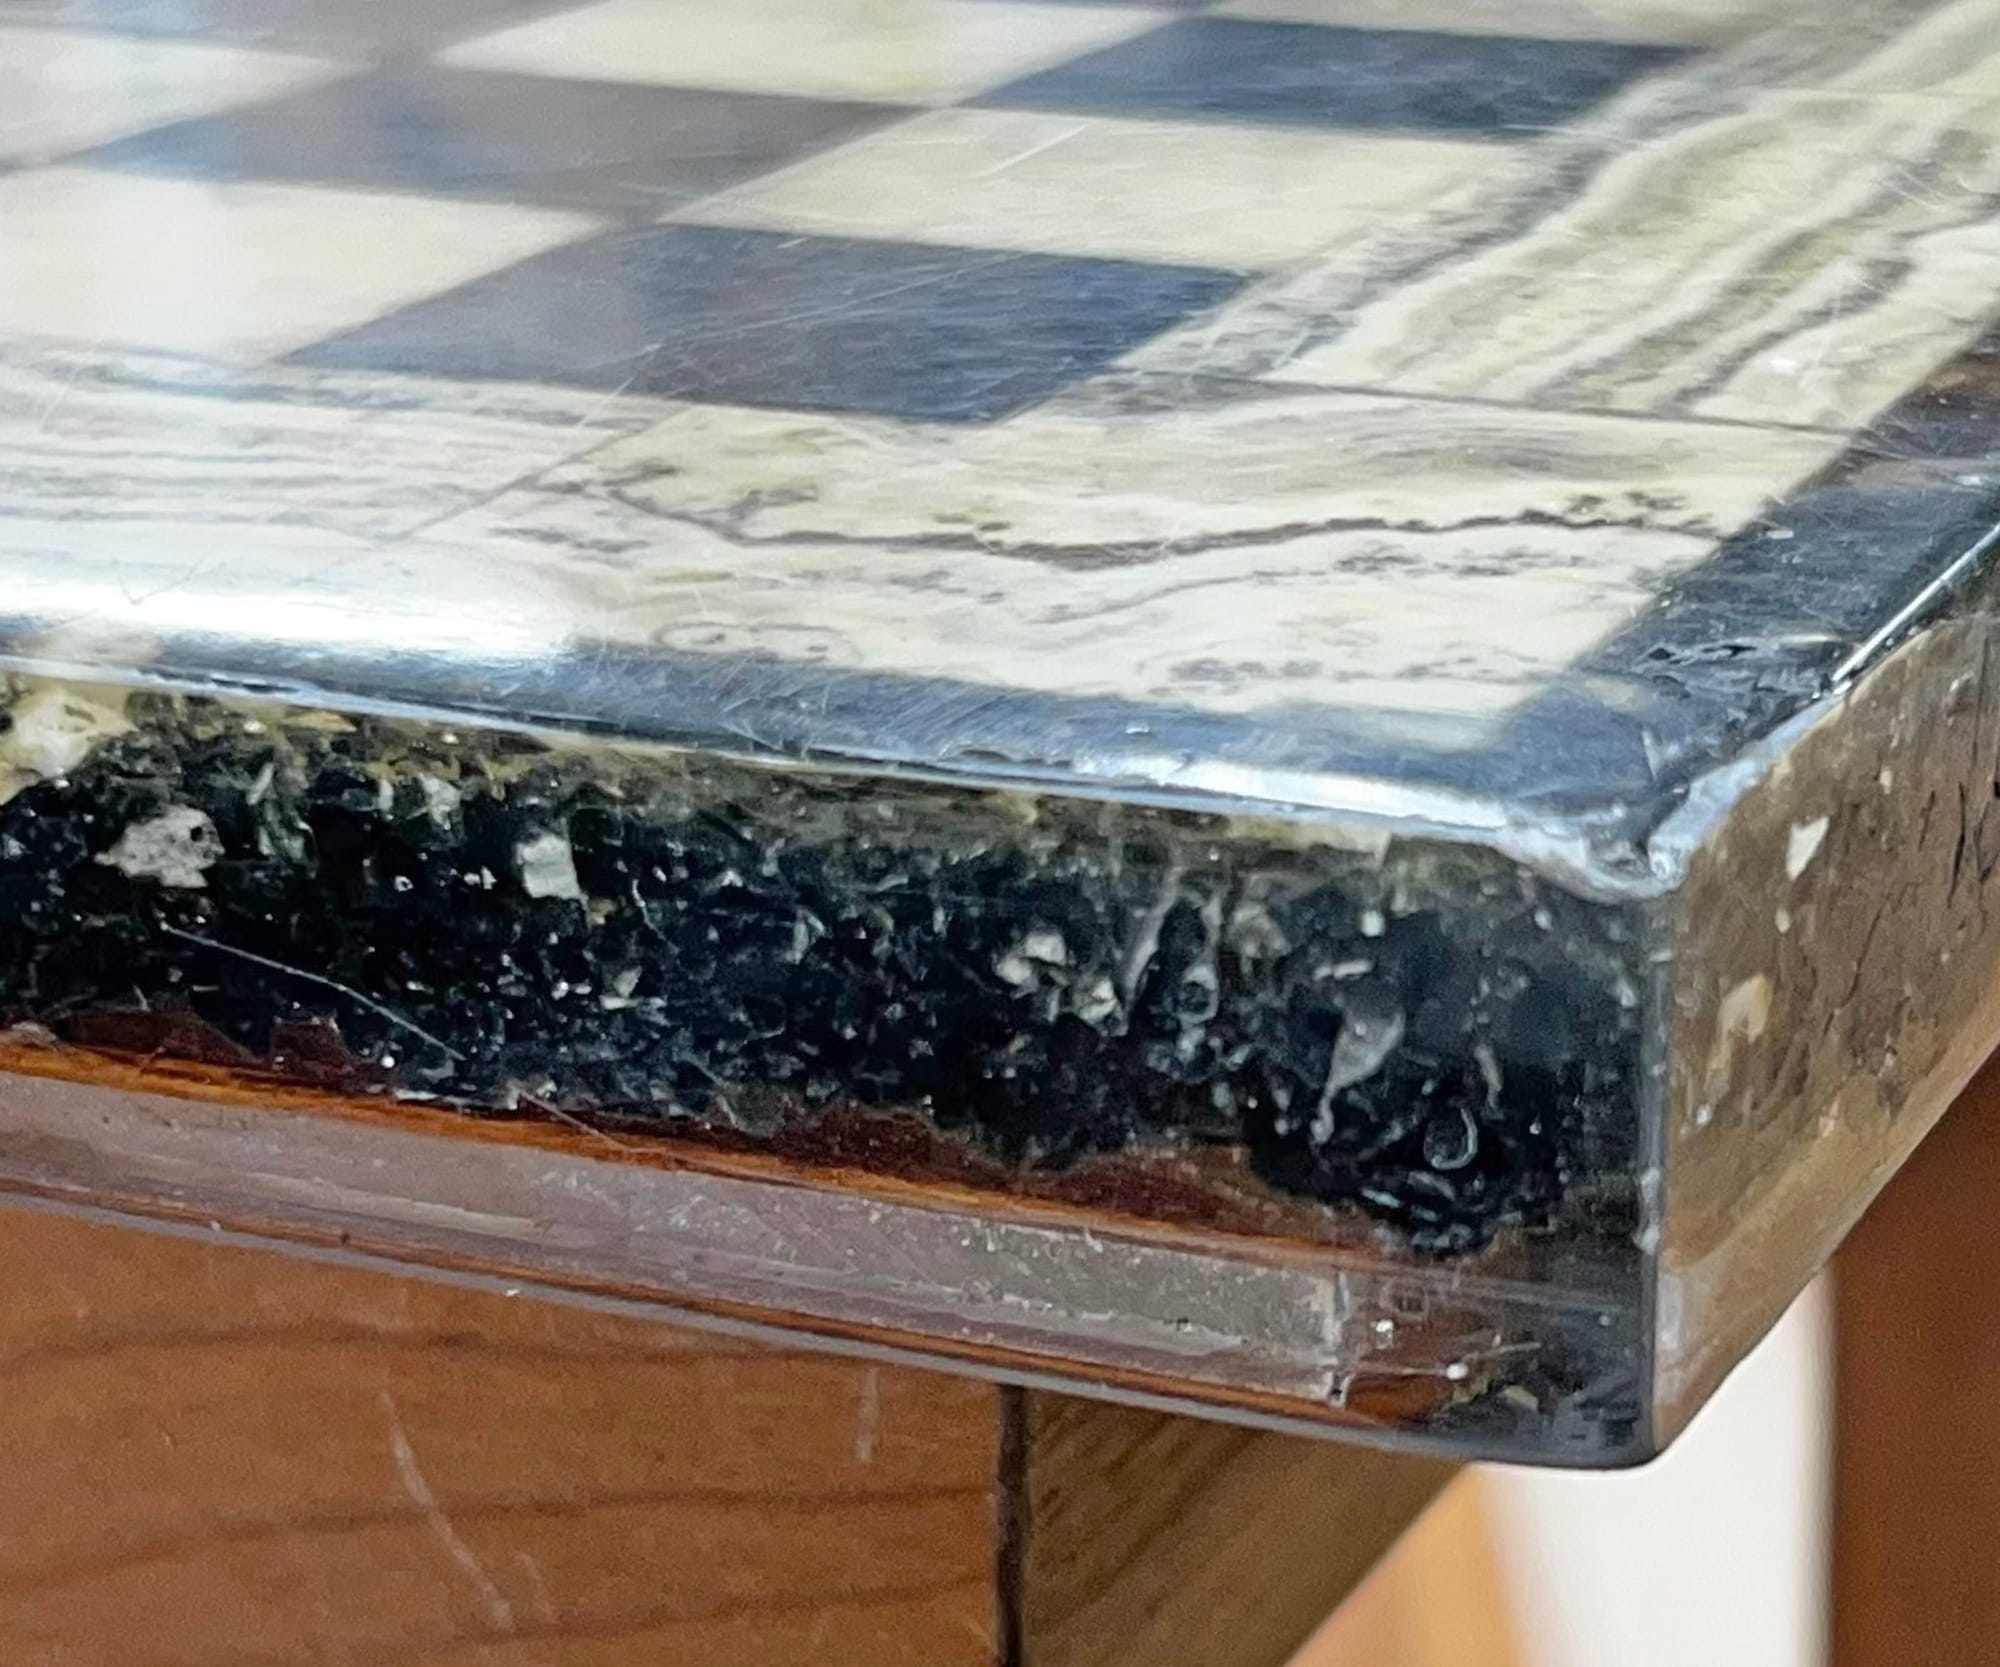
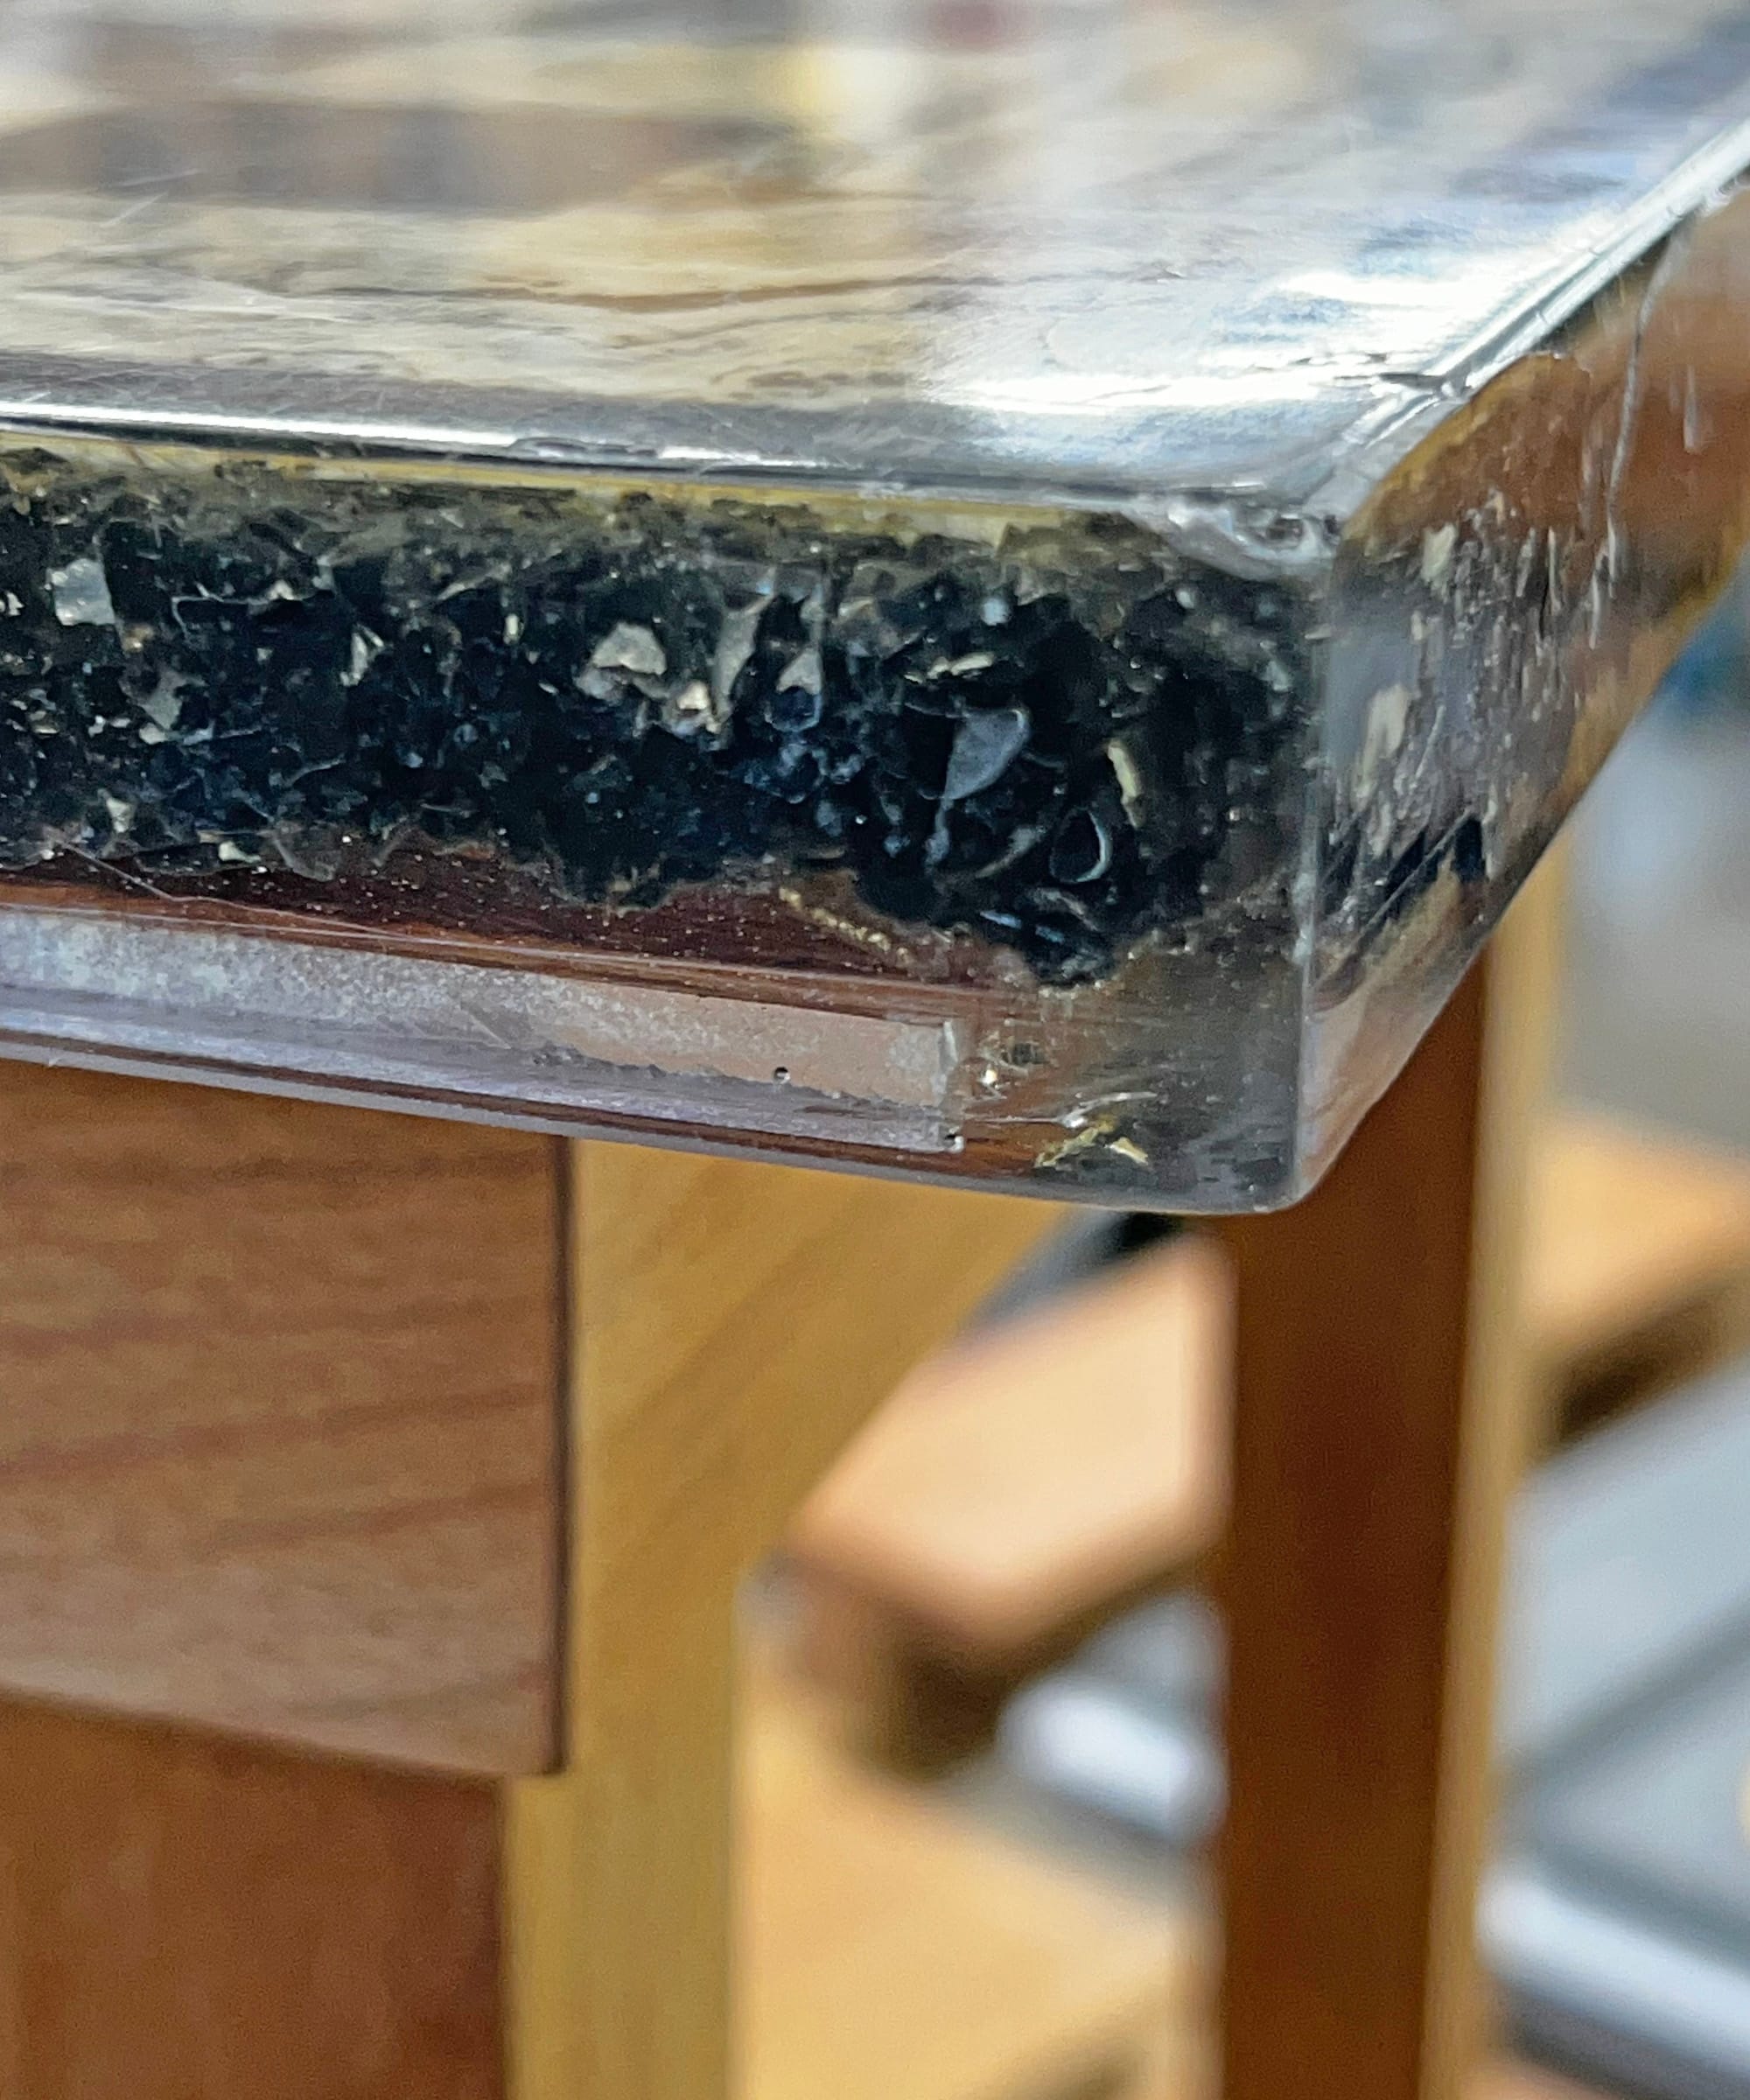
This little table has taken plenty of abuse over the years. It's top-heavy, and has fallen over hard enough to break two of the corners, leaving sharp jagged edges that can cut your finger when you lift the table. (Ask me how I know!) The wooden legs have deep scratches in them, and the original finish is worn away in some places.
I've meant to repair it for many years, and while Megan was in the UK earlier this month I finally found some time to dive into the project. It was a fun, I learned a few things, and I'm pleased with how it turned out. Below are a few photos of the repair and restoration process. It's time to play some chess!
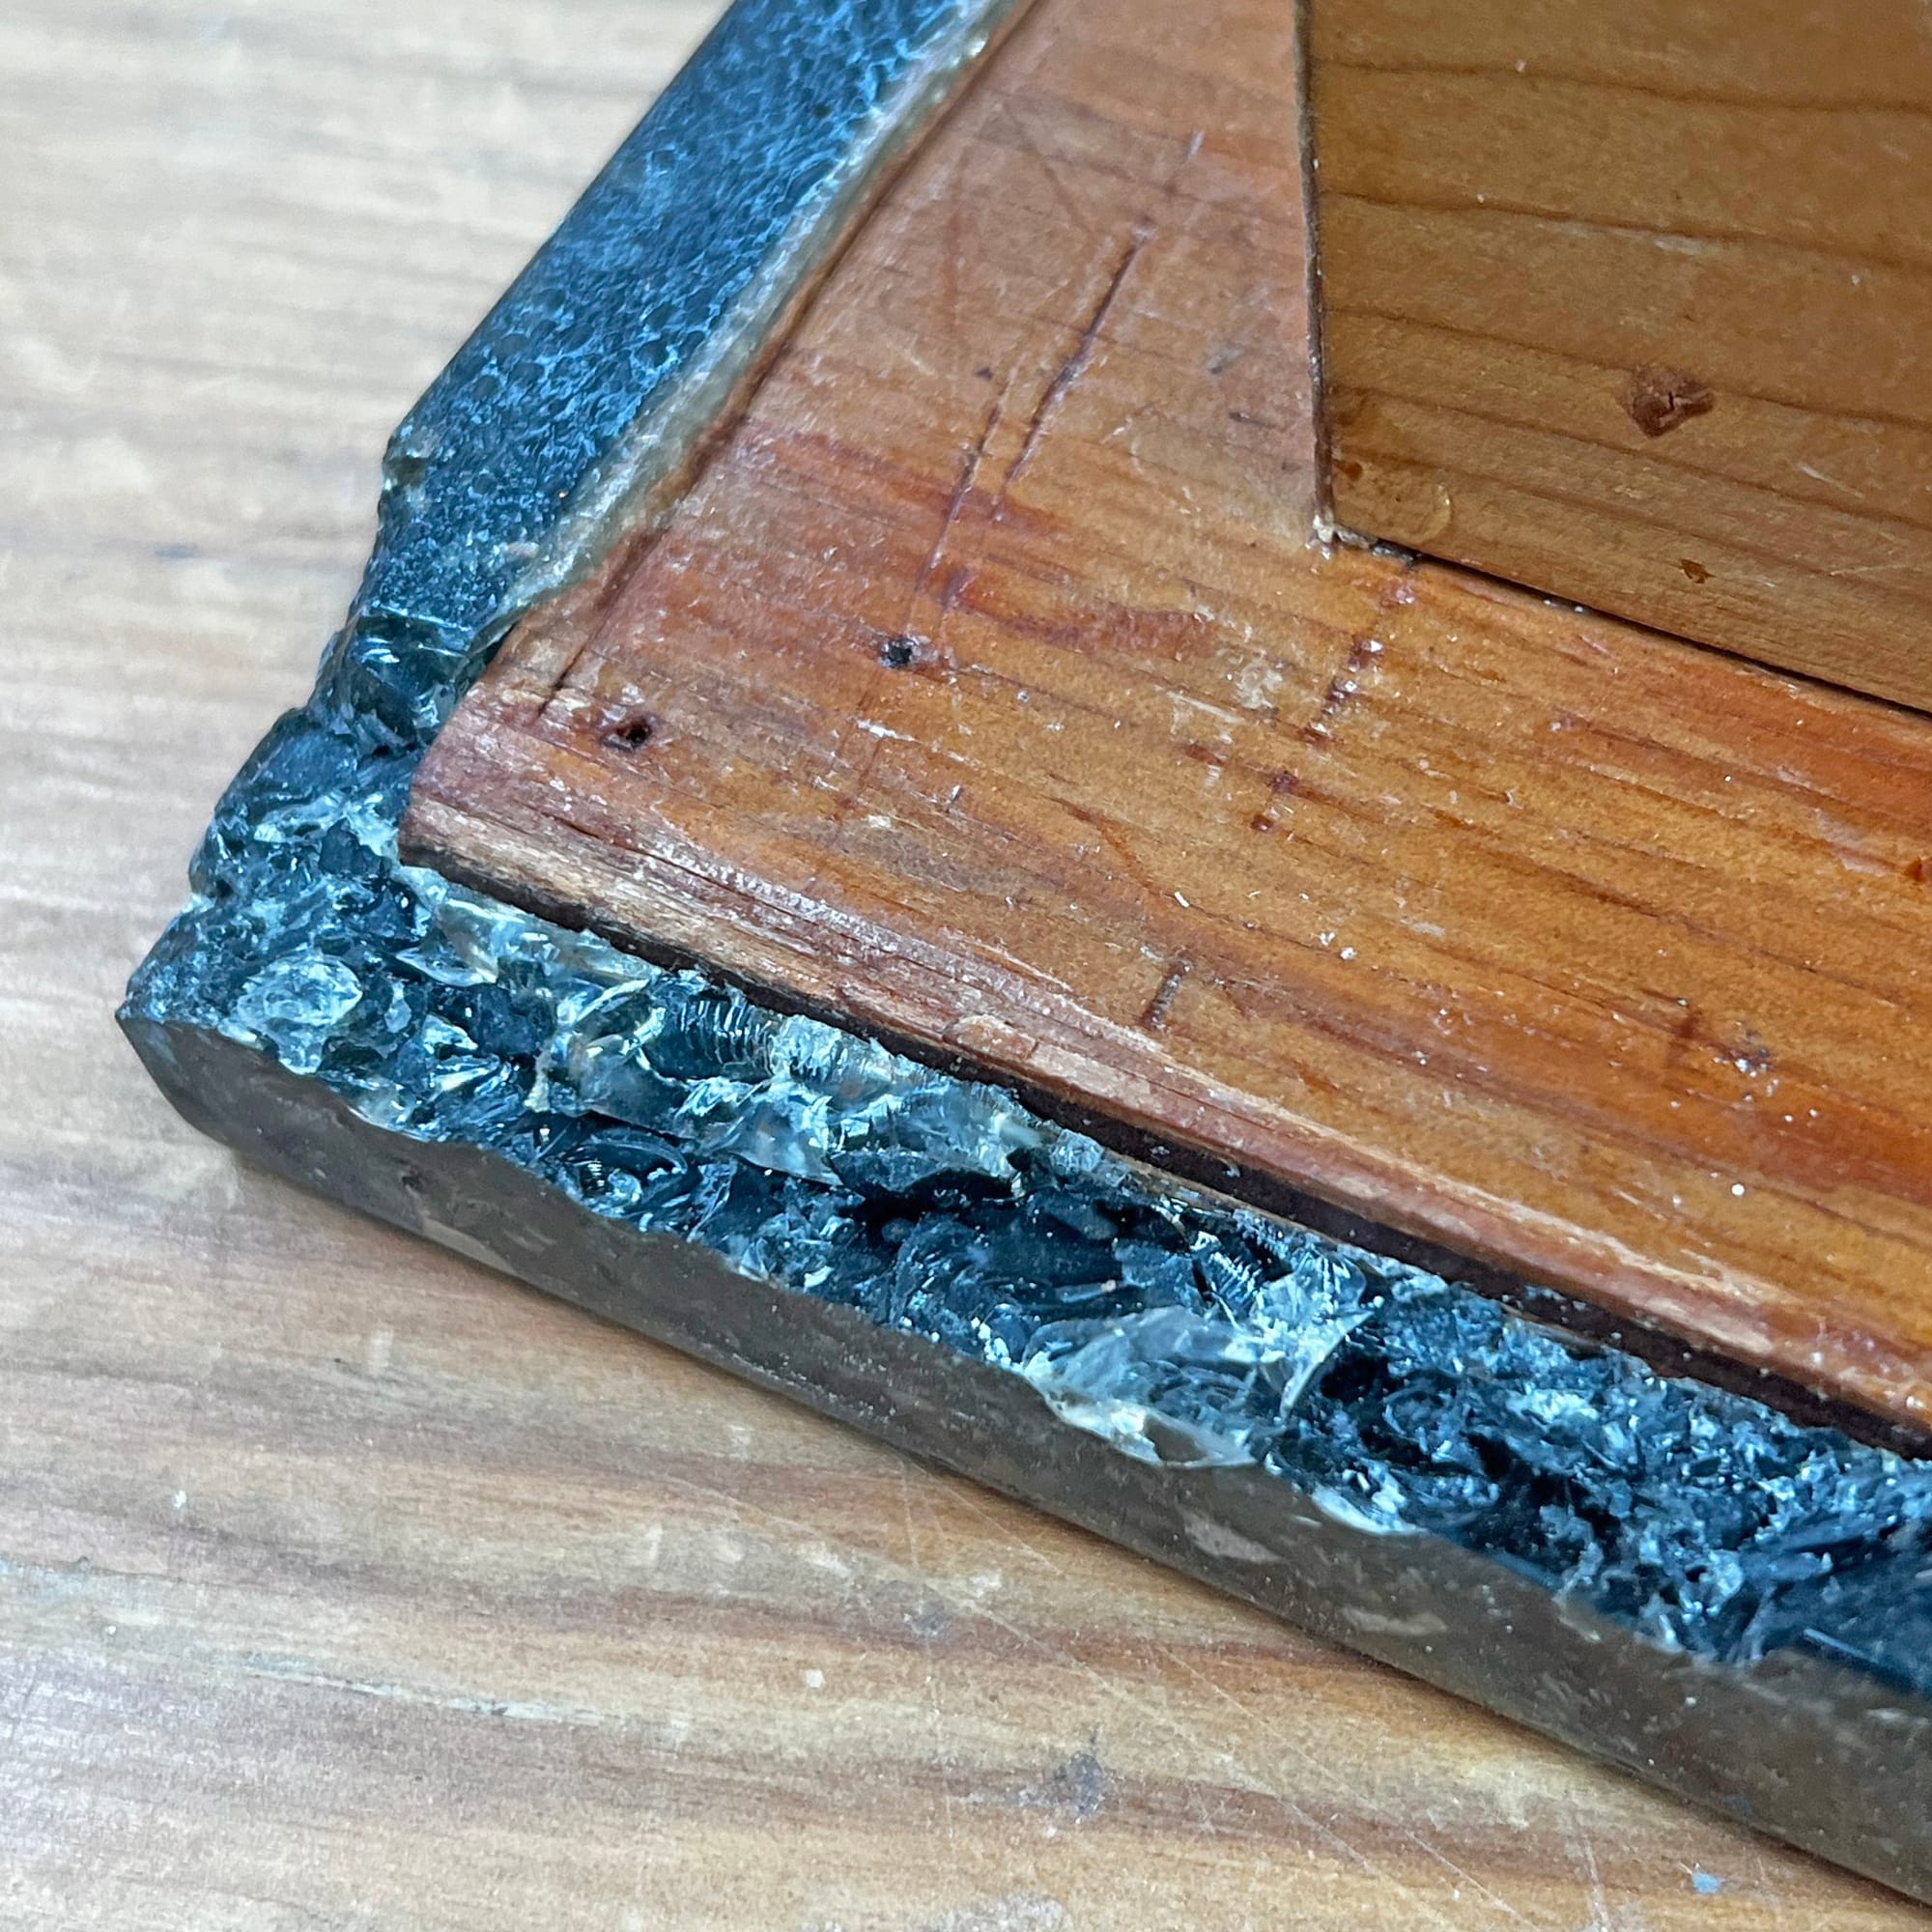
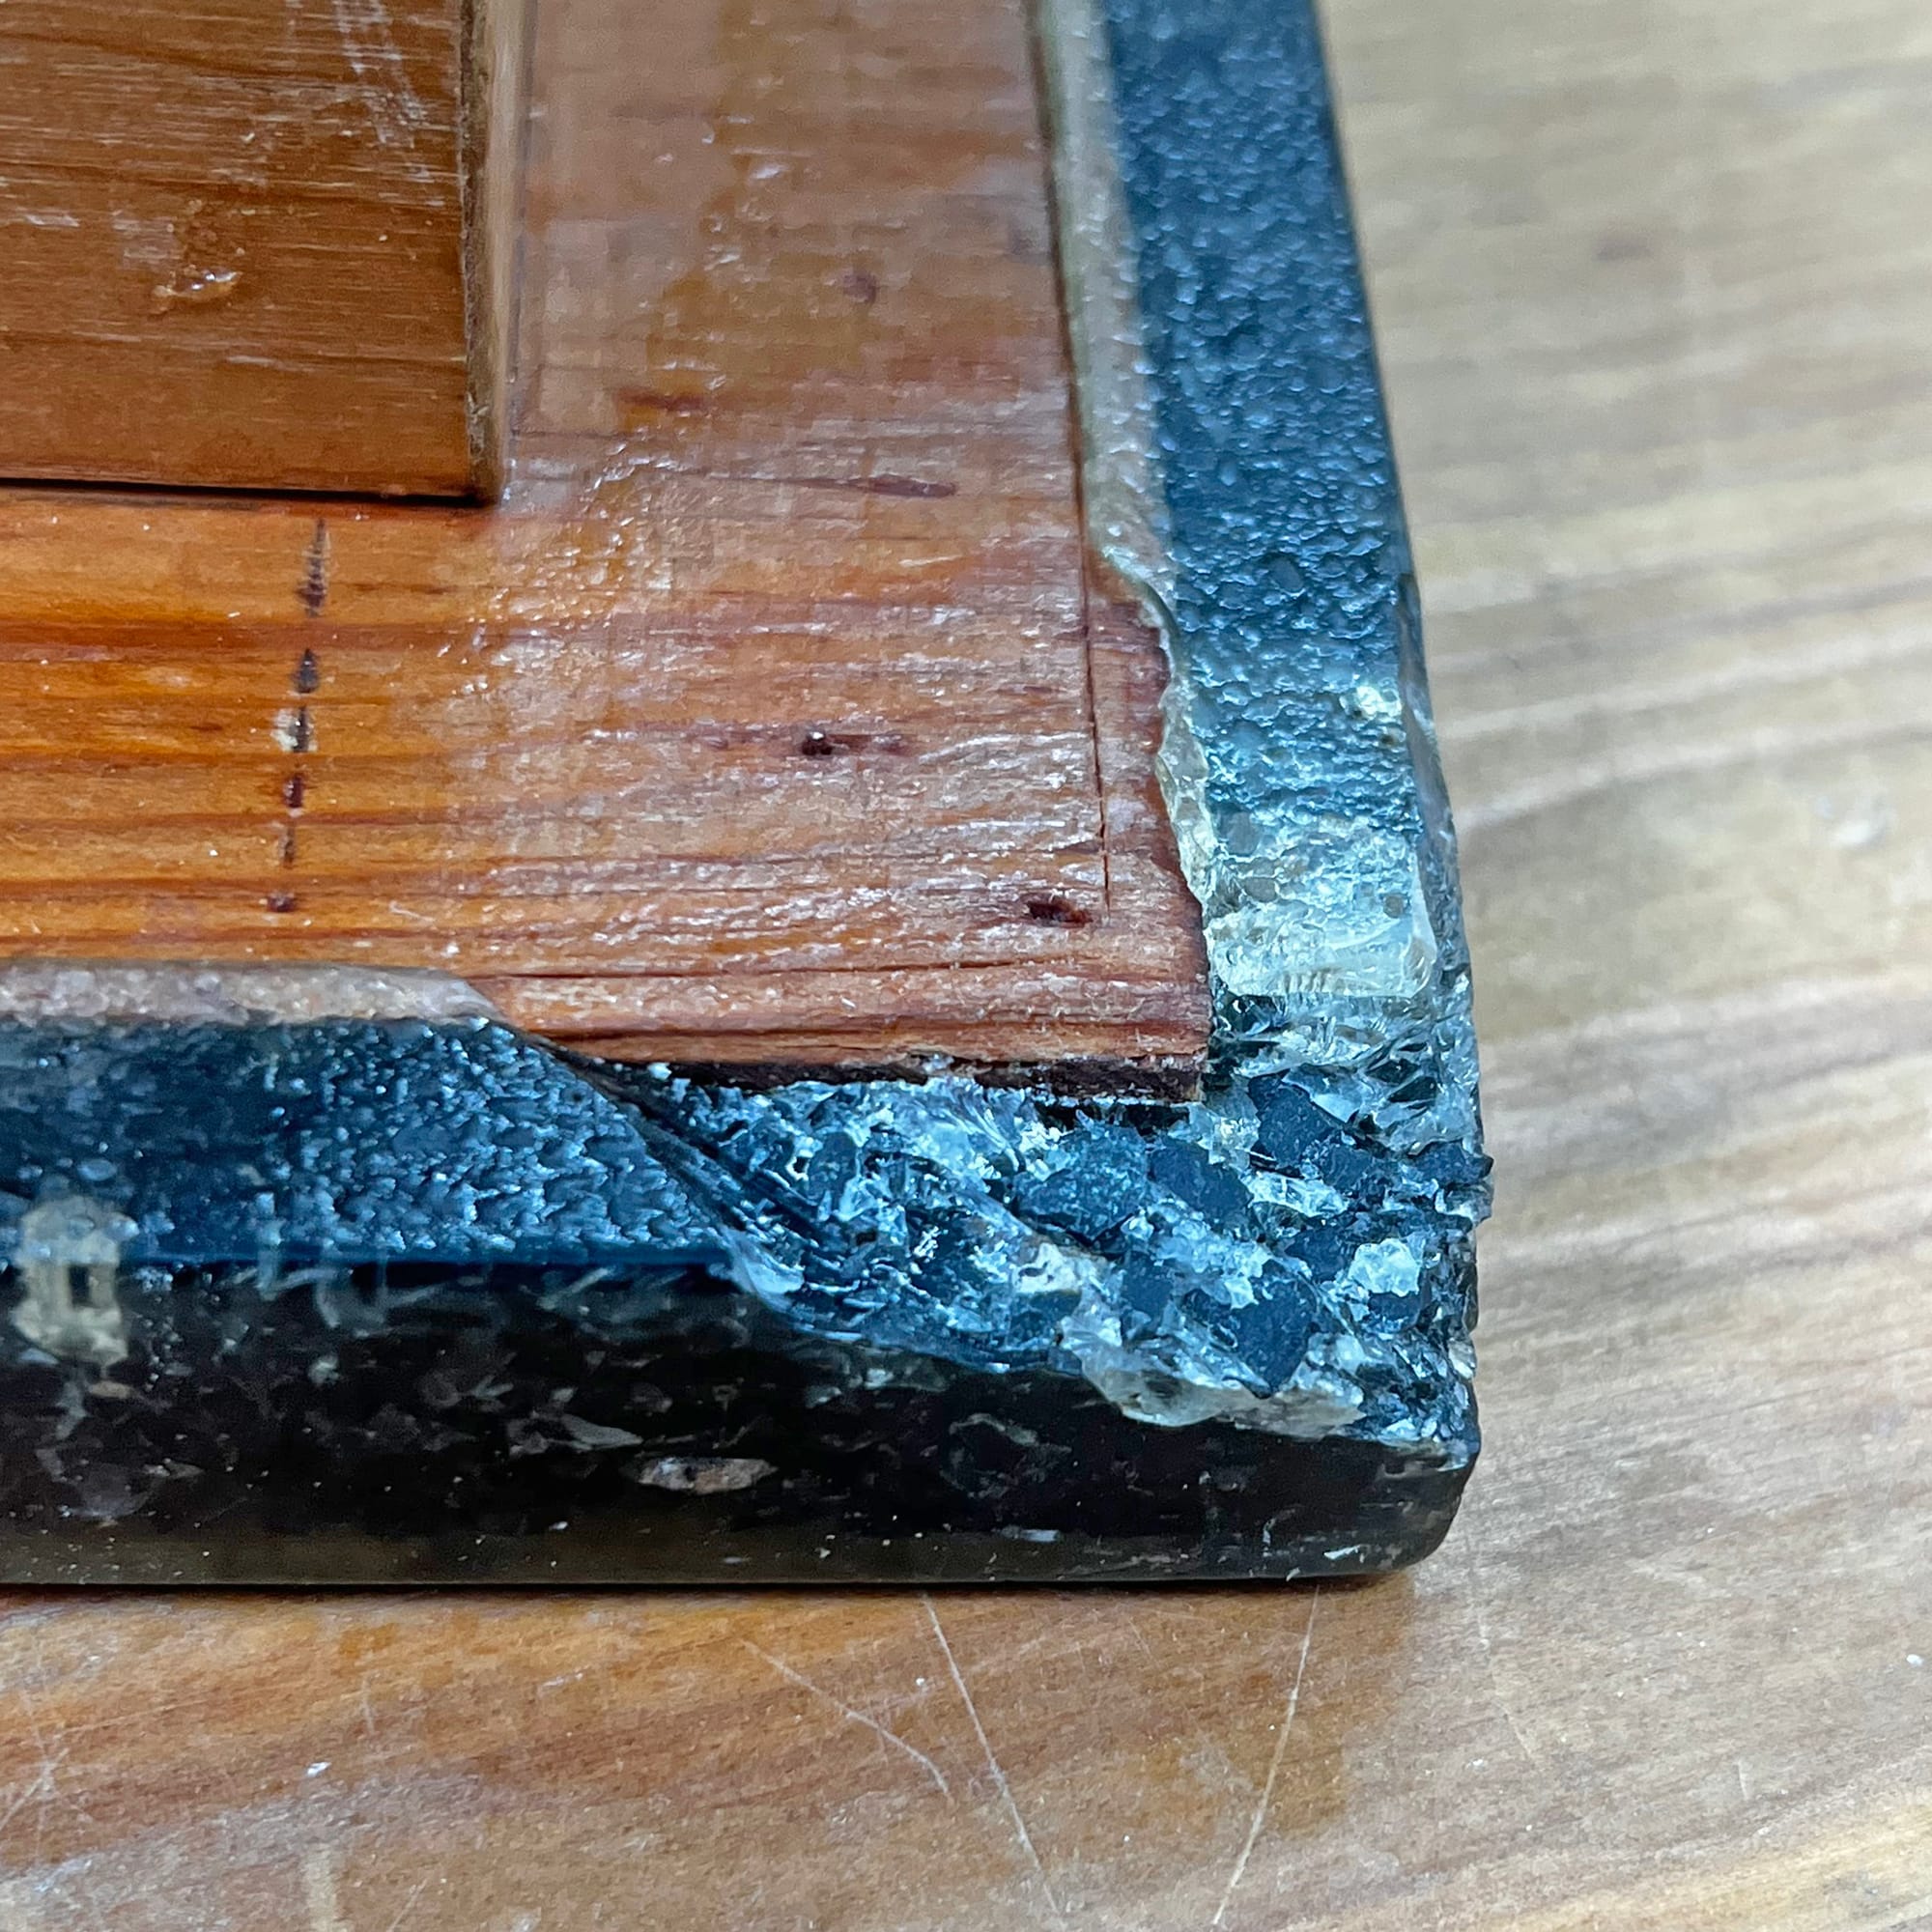
Closeups of the two damaged corners.
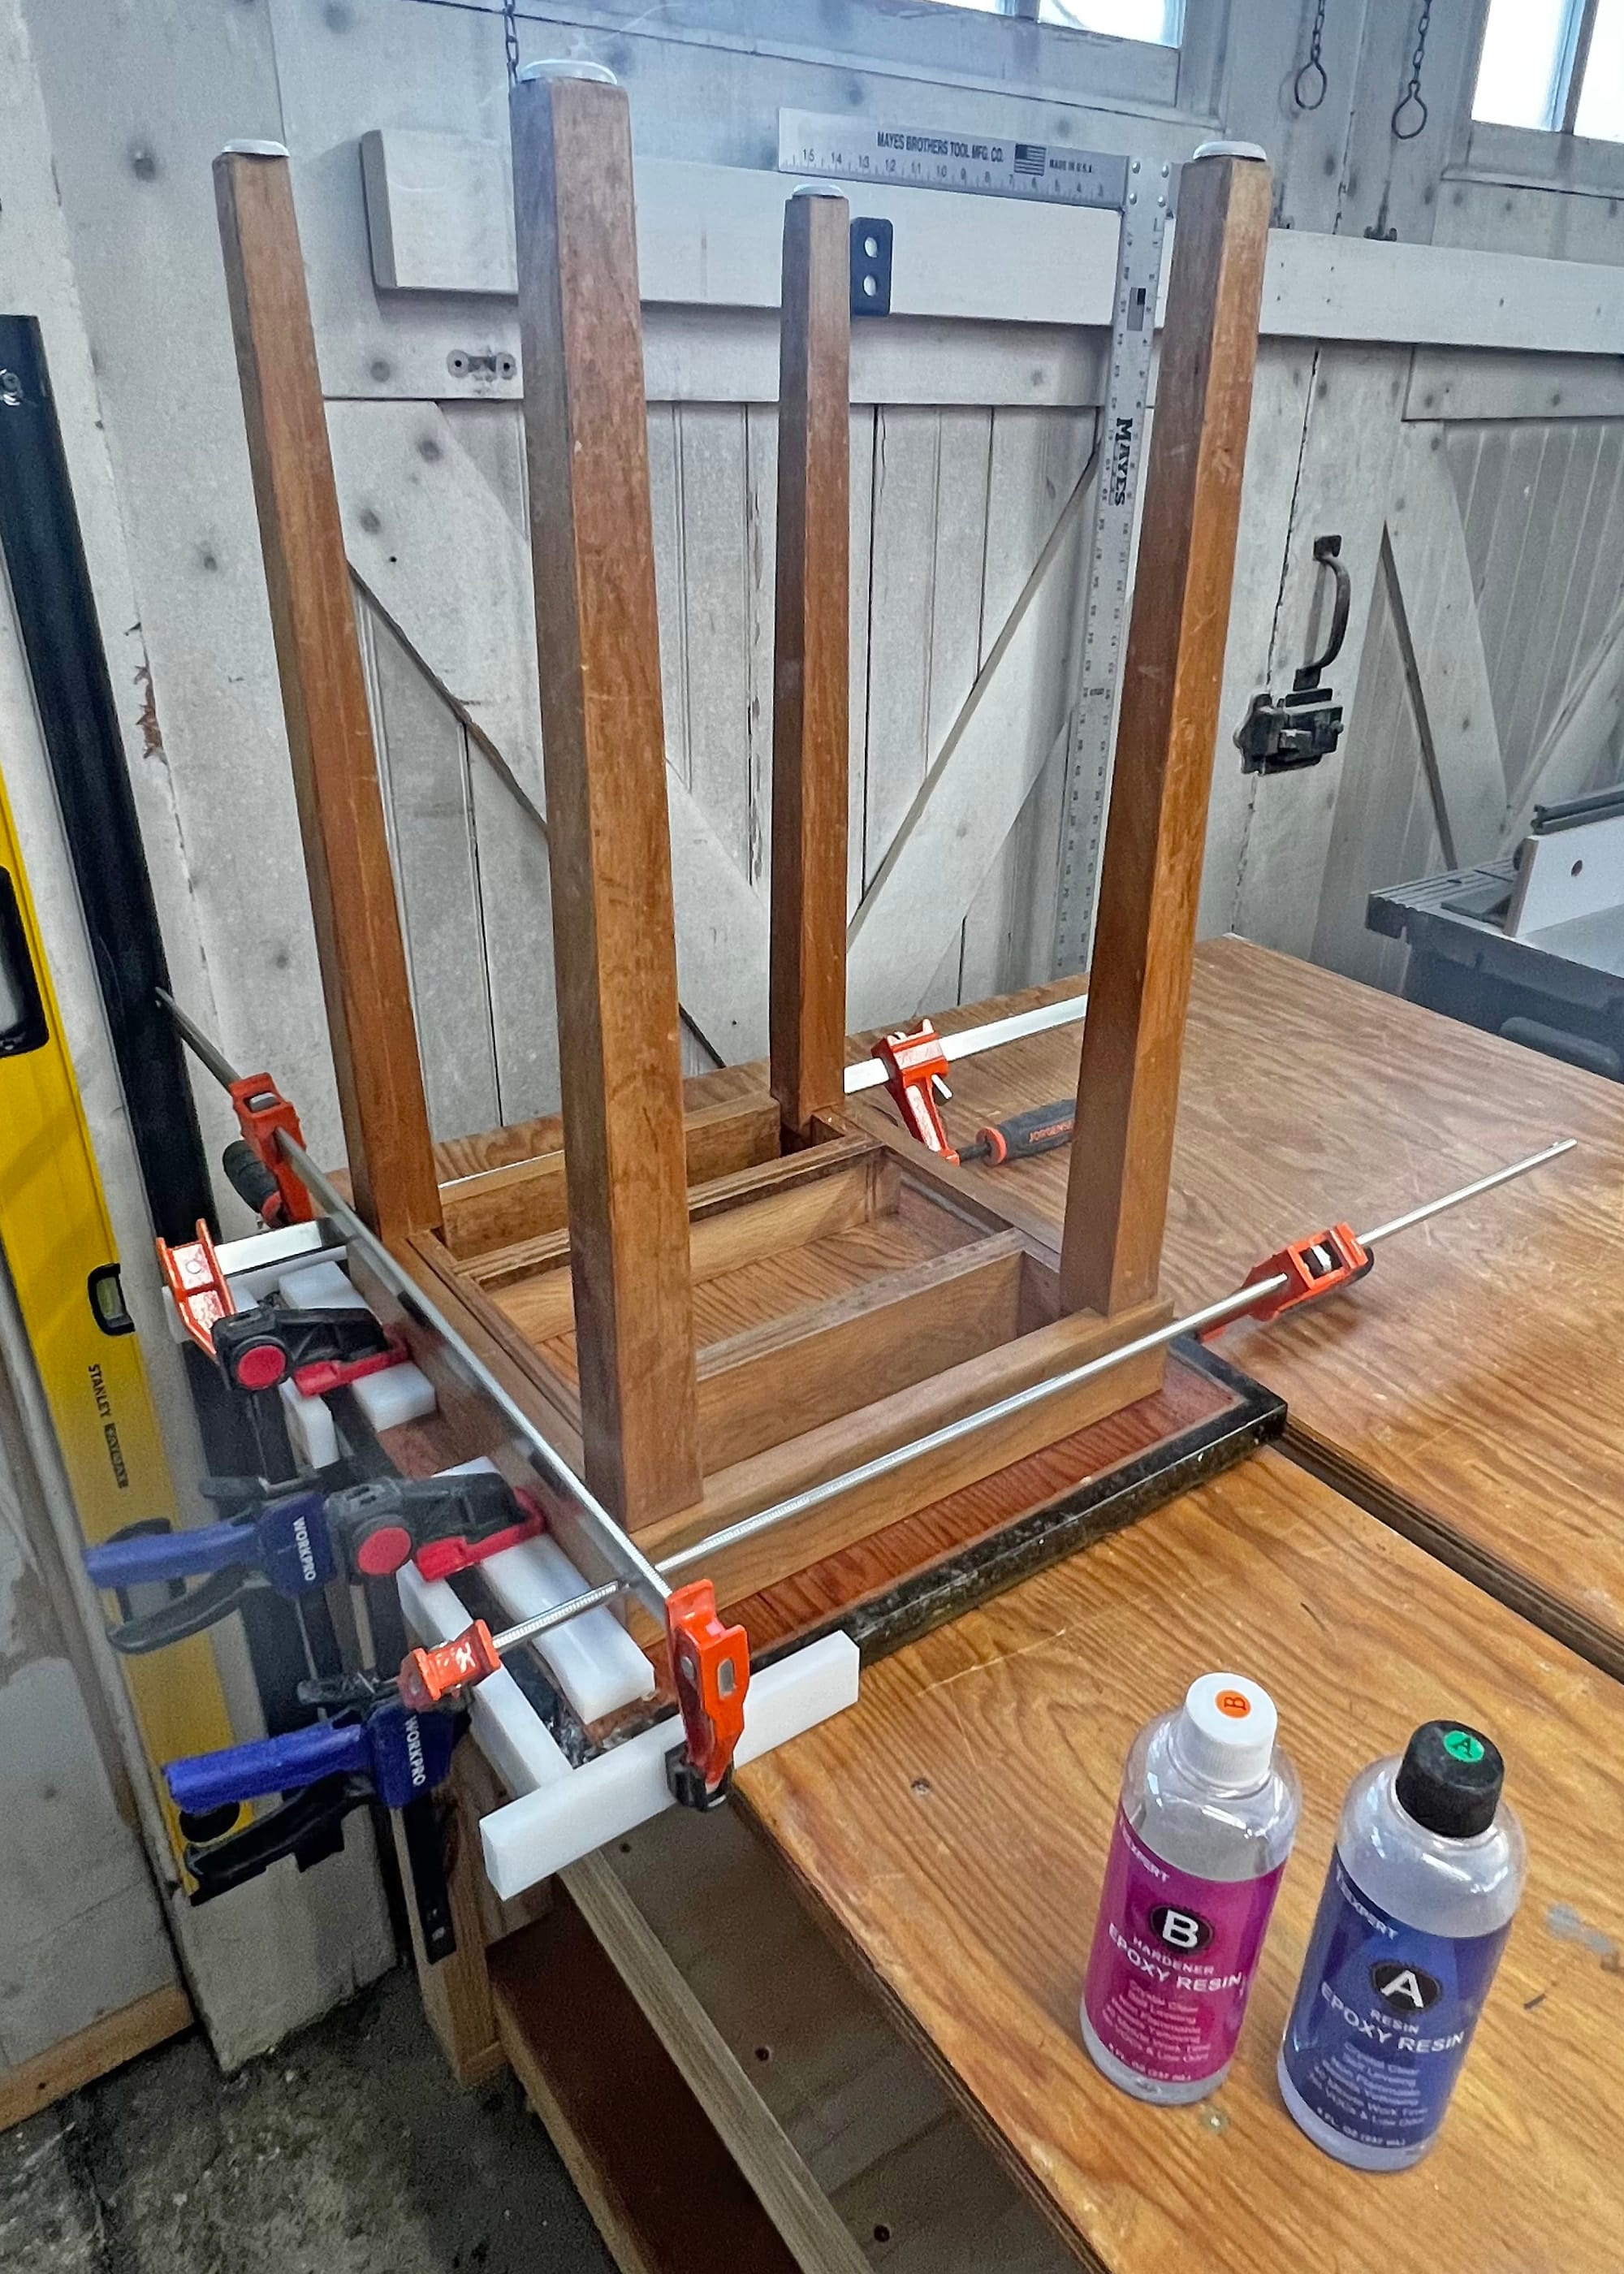
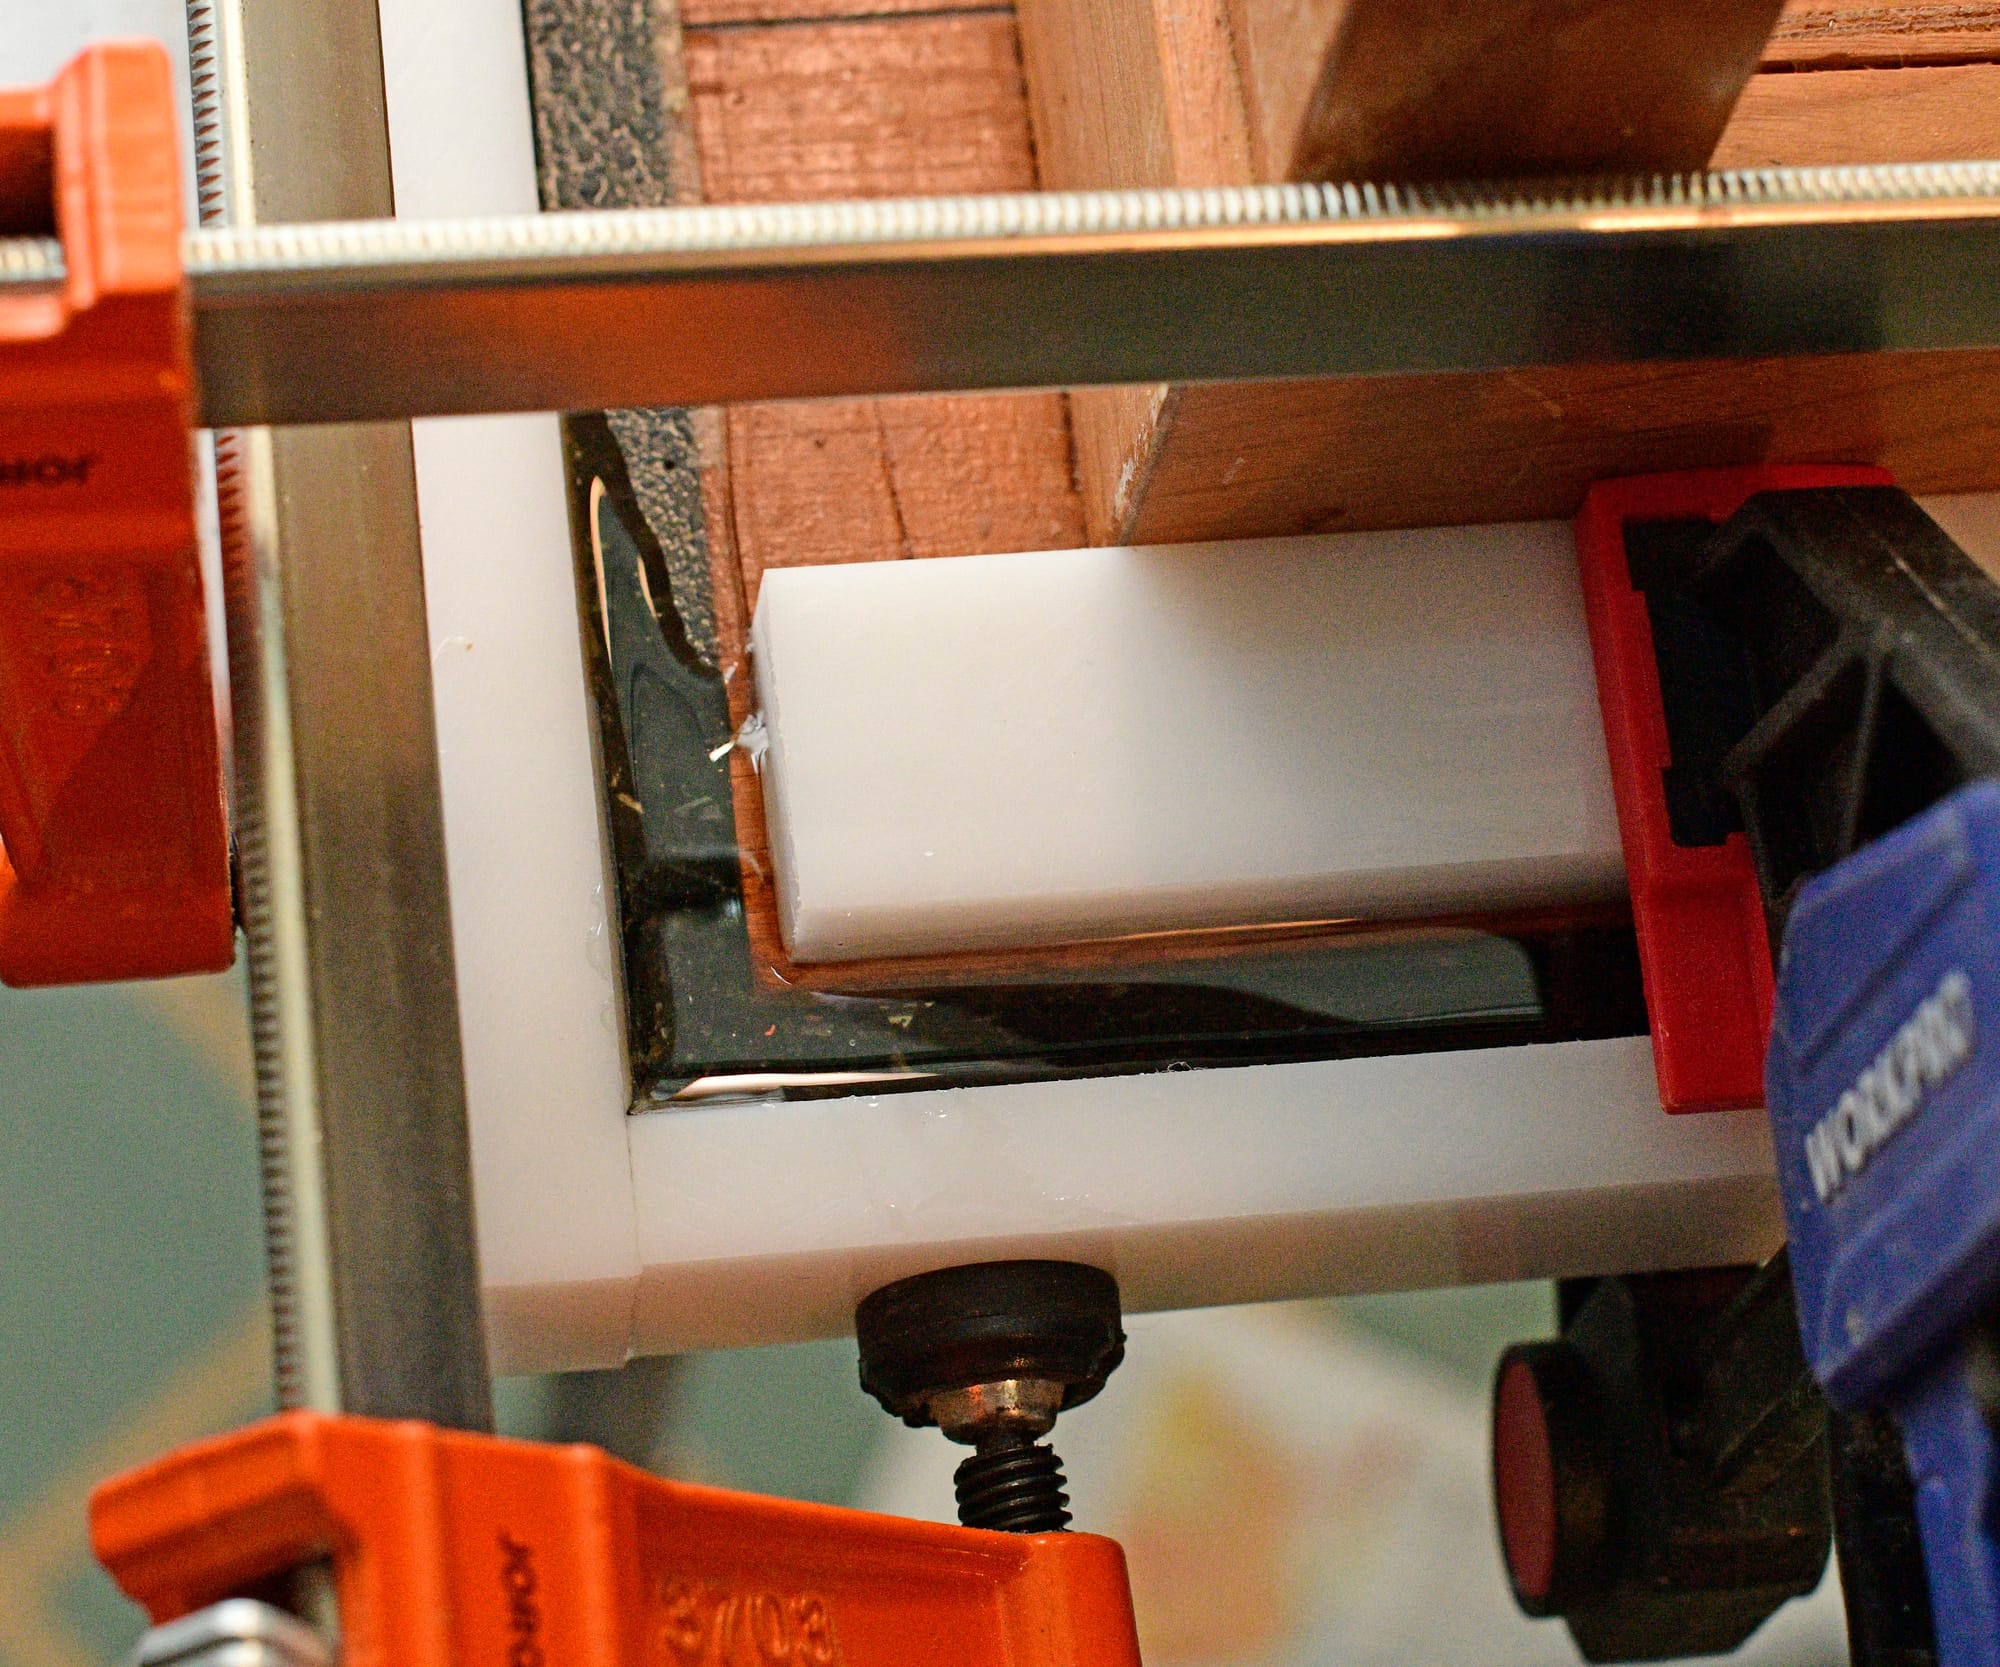
Building the molds for the epoxy. I mixed up a small batch of resin and let it sit for 20 minutes to get a little thicker, and then poured that in to seal the gaps in the molds. After that set up for a few hours, I mixed a bigger batch of resin and poured in enough to cover all the damaged areas.

After the epoxy resin cured for 24 hours, I removed the mold pieces and used a sharp chisel to smooth the edges. All four corners of the top now feel nice and smooth.
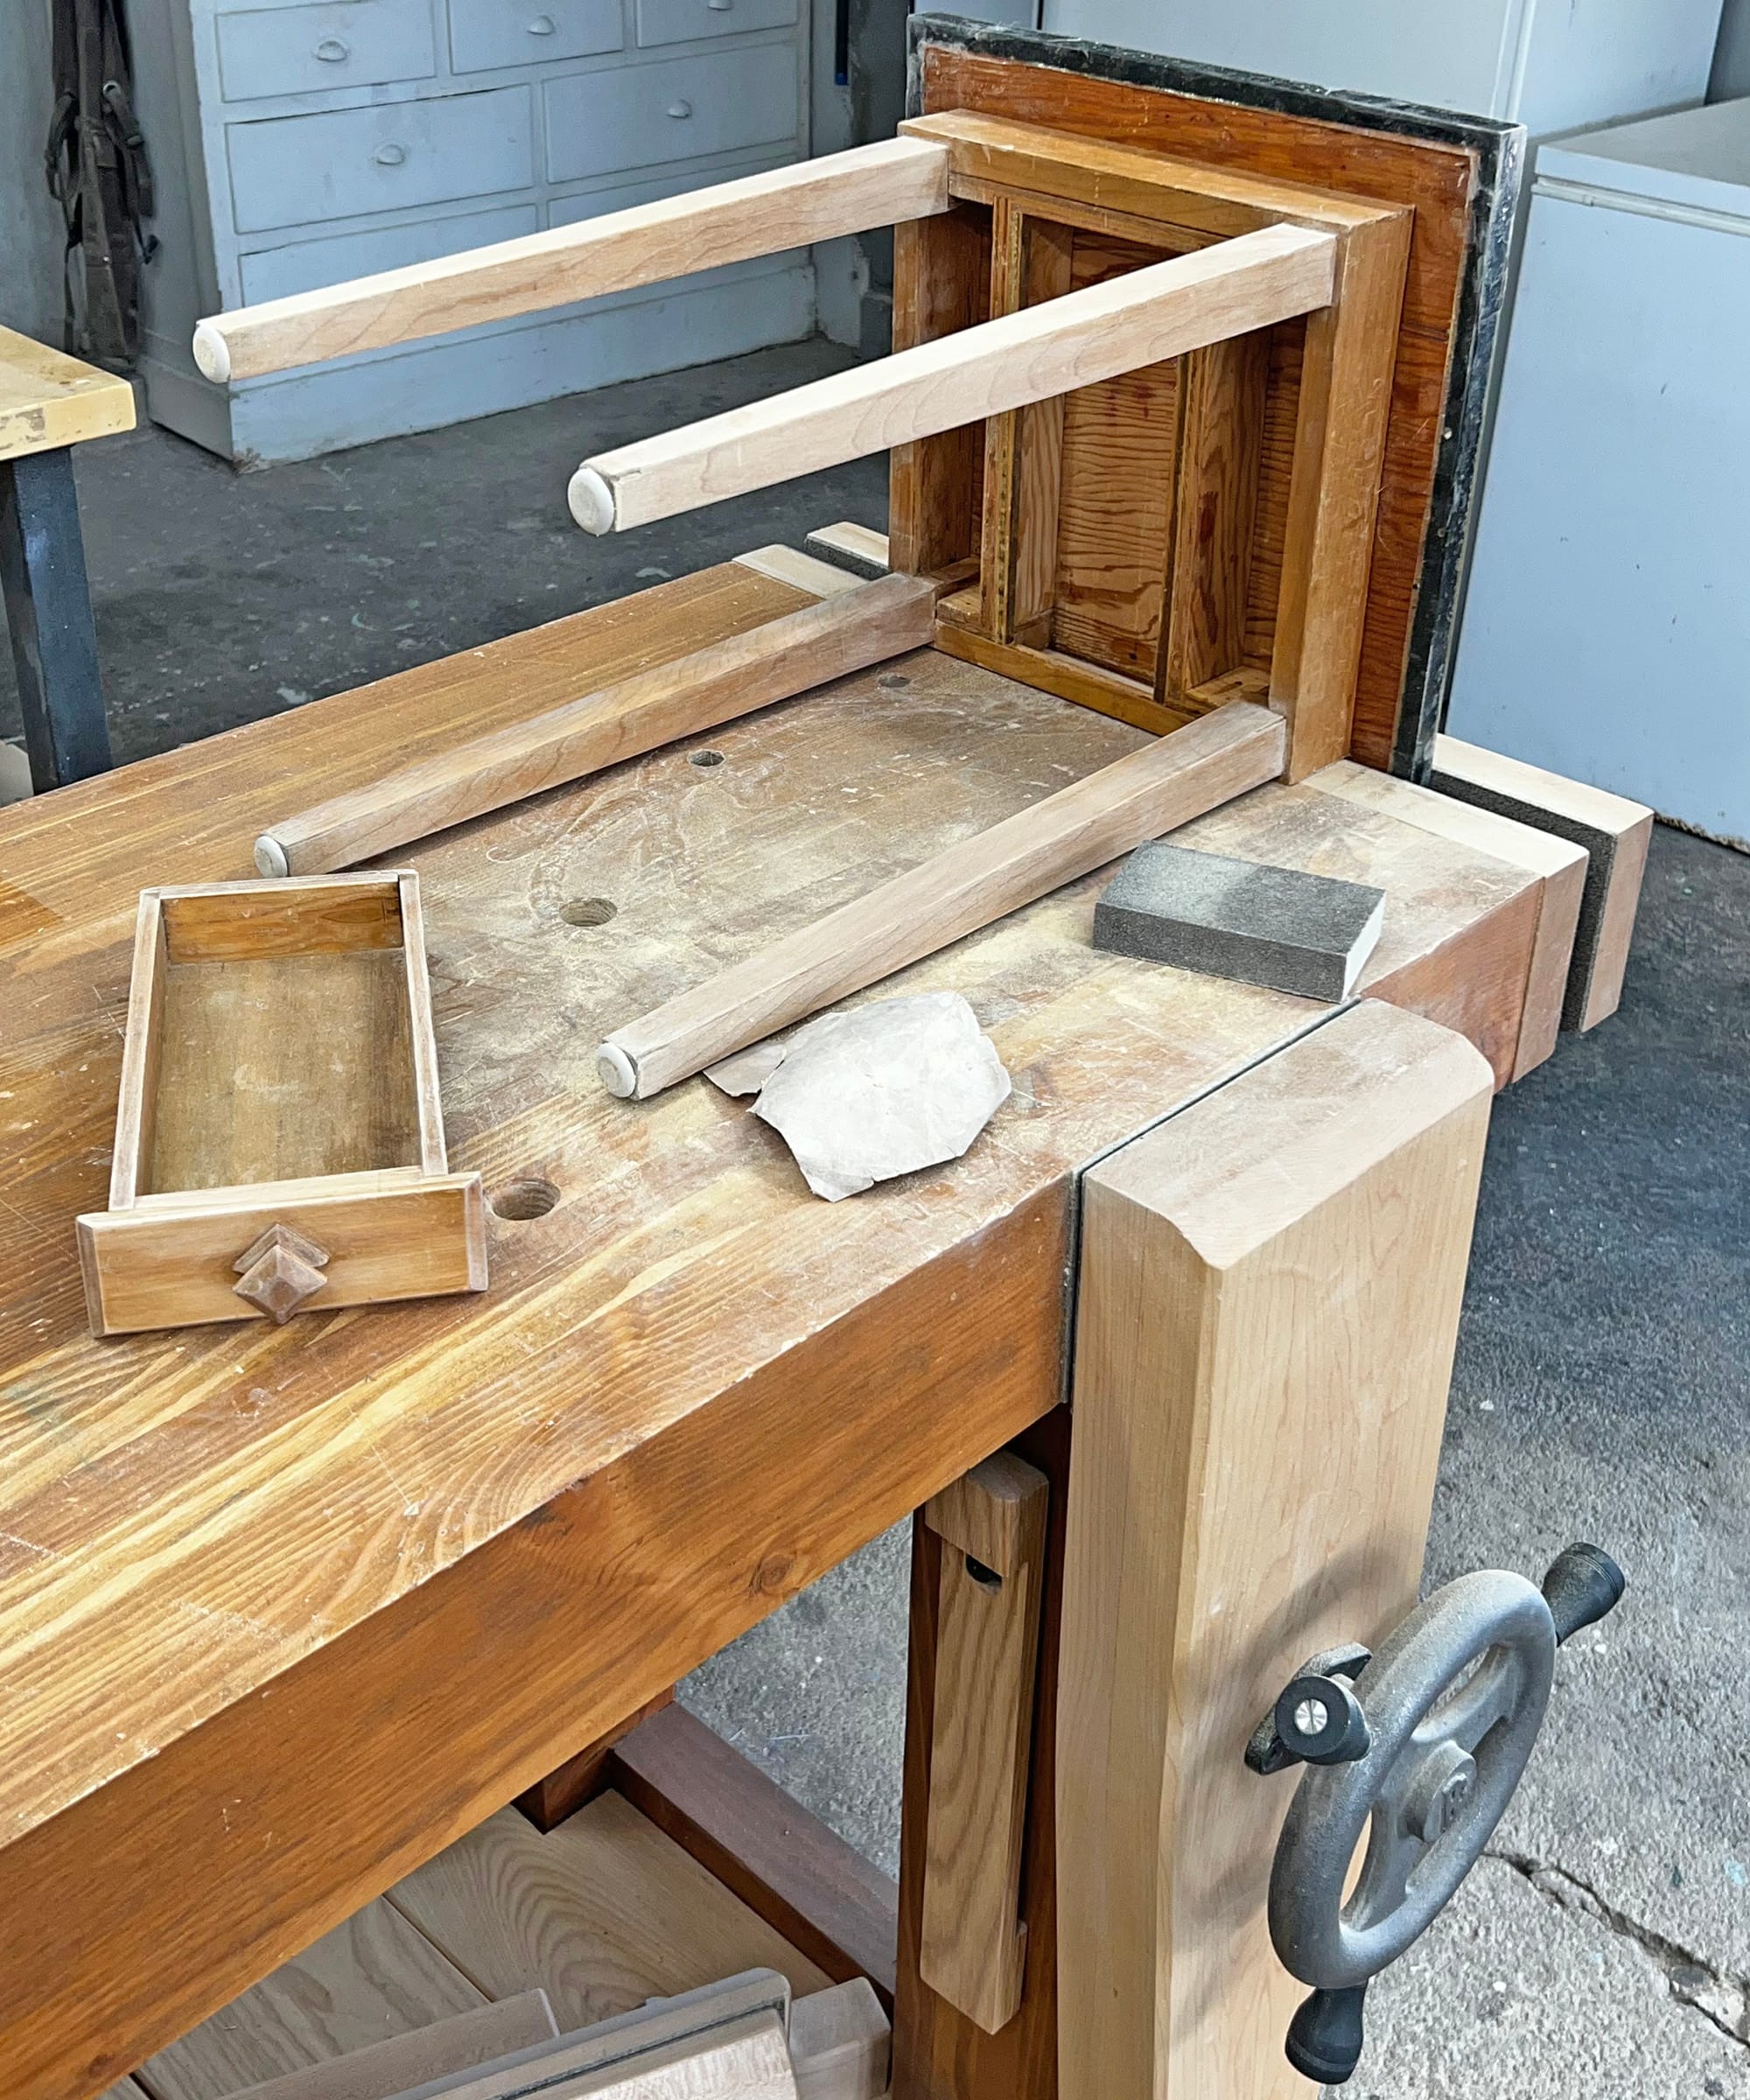
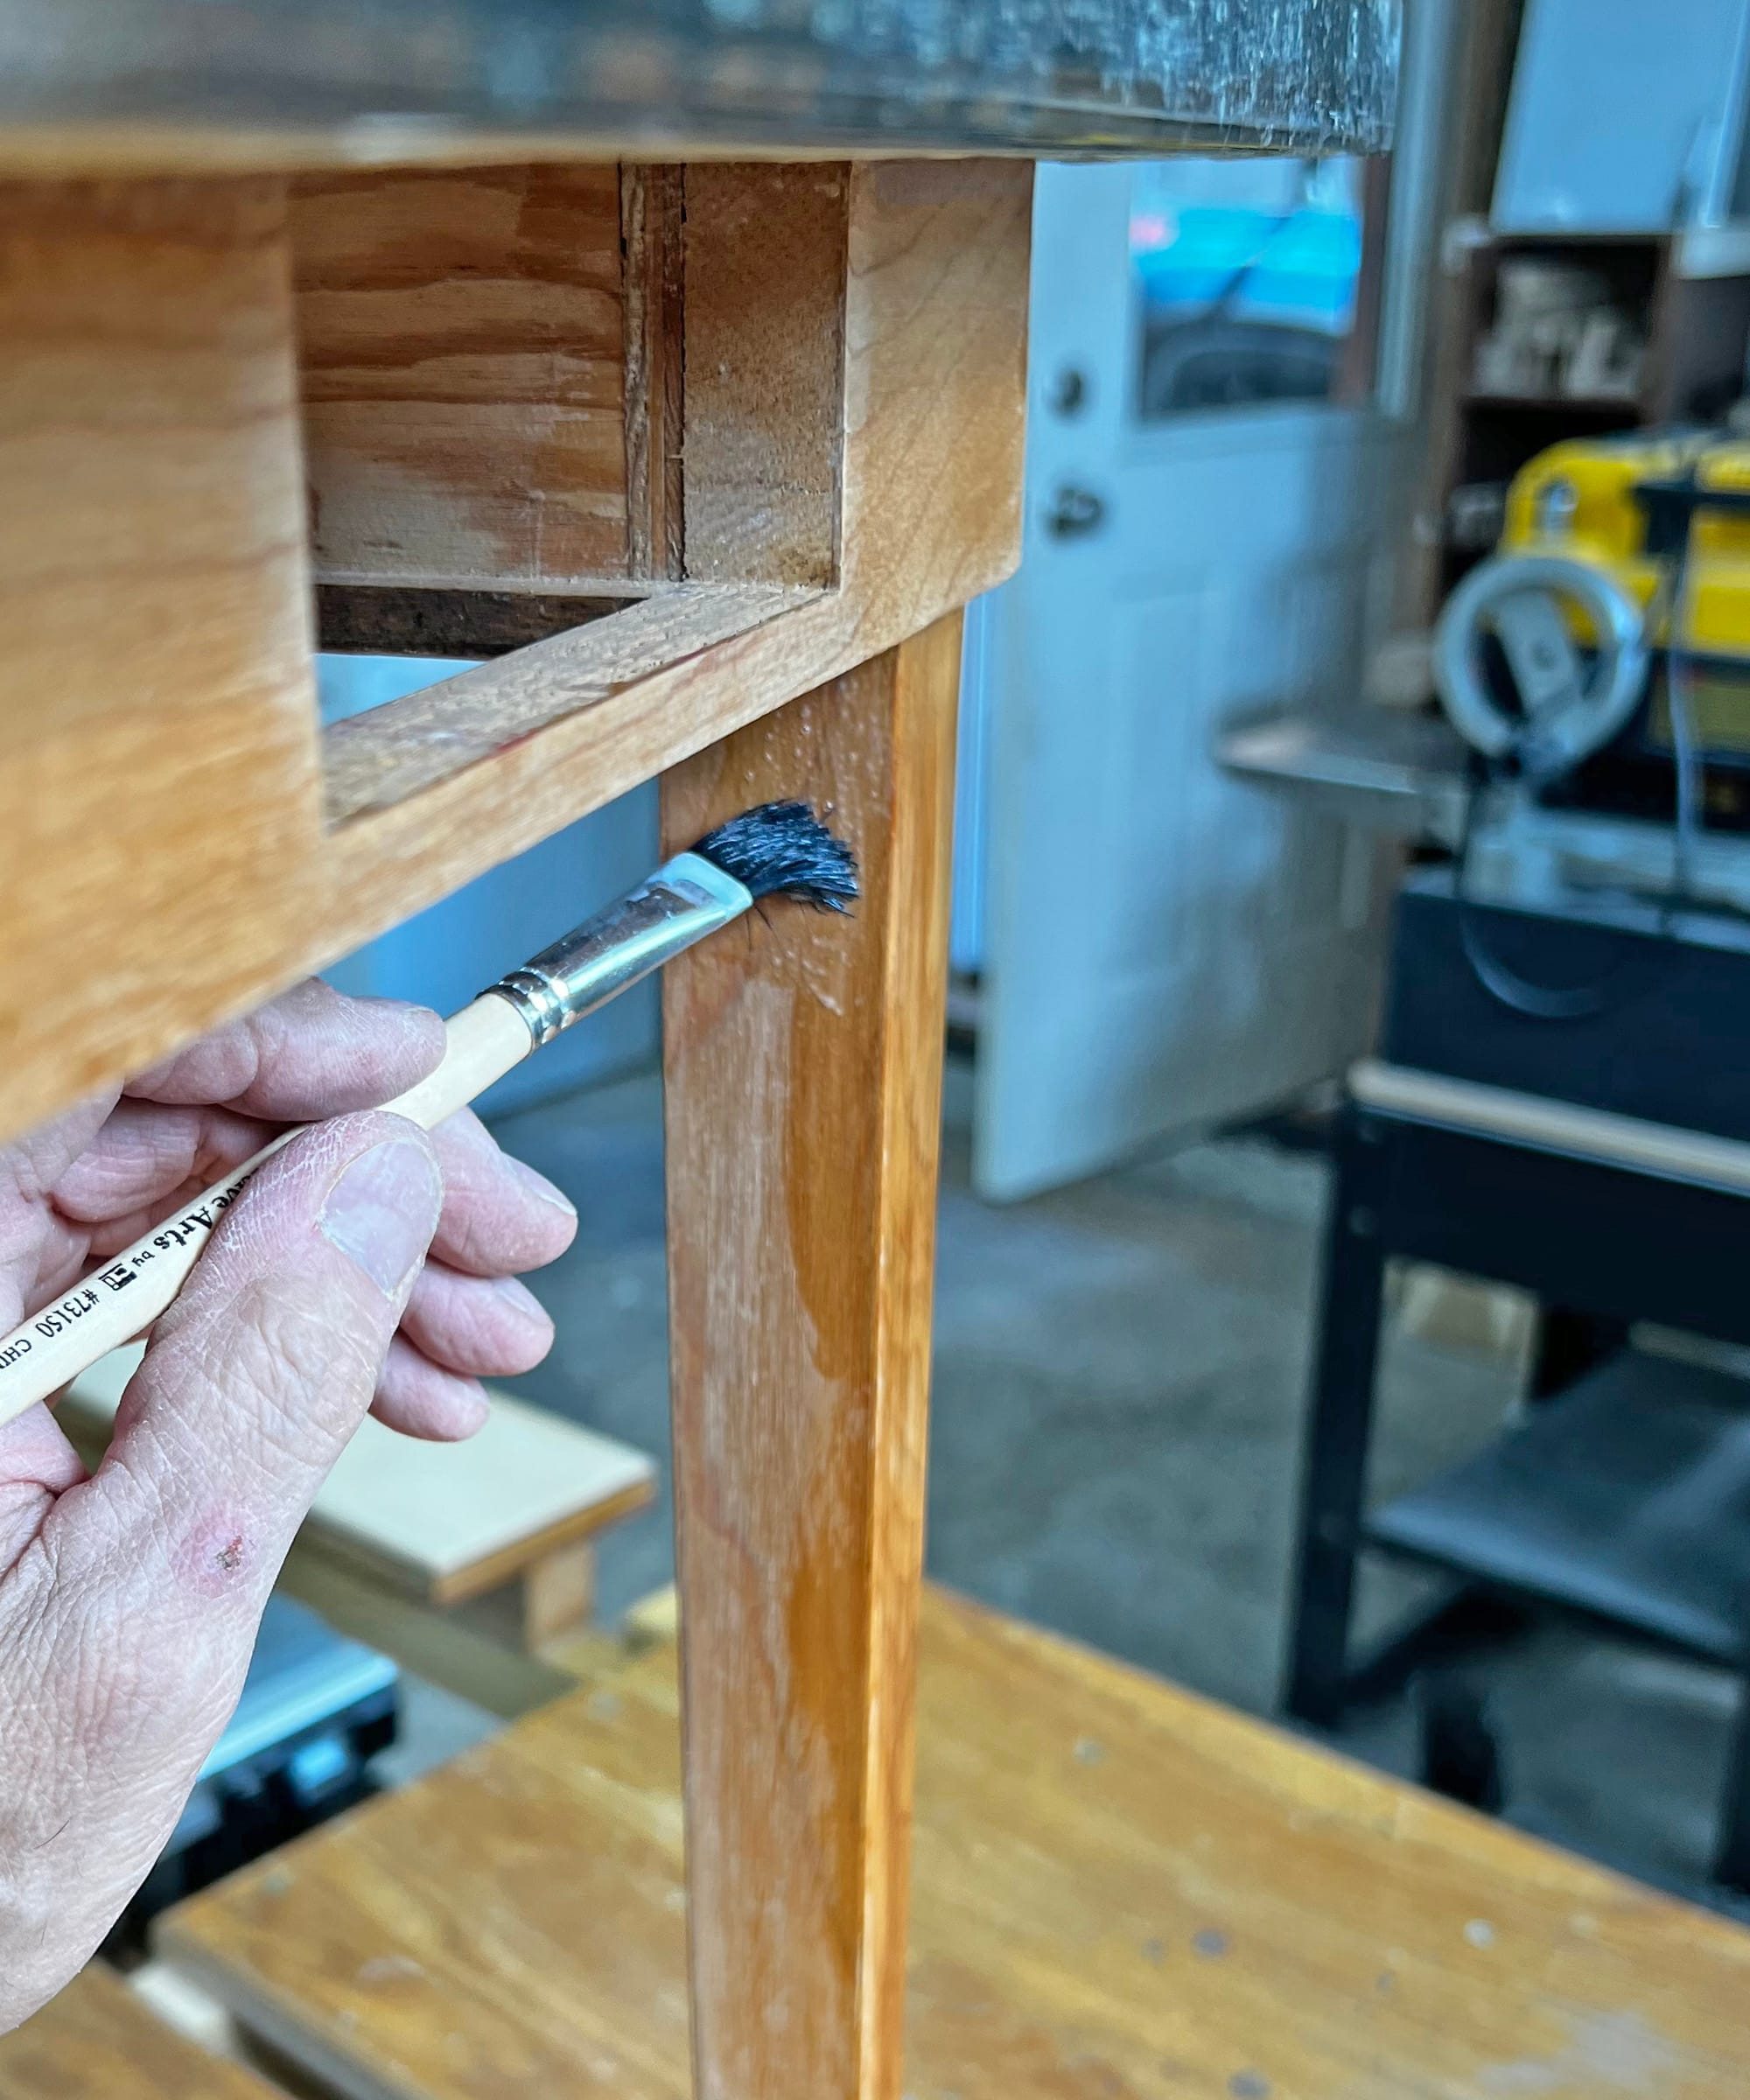
I sanded the scratches out of the legs, lightly sanded the base and the drawer, and then applied a few coats of polyurethane.
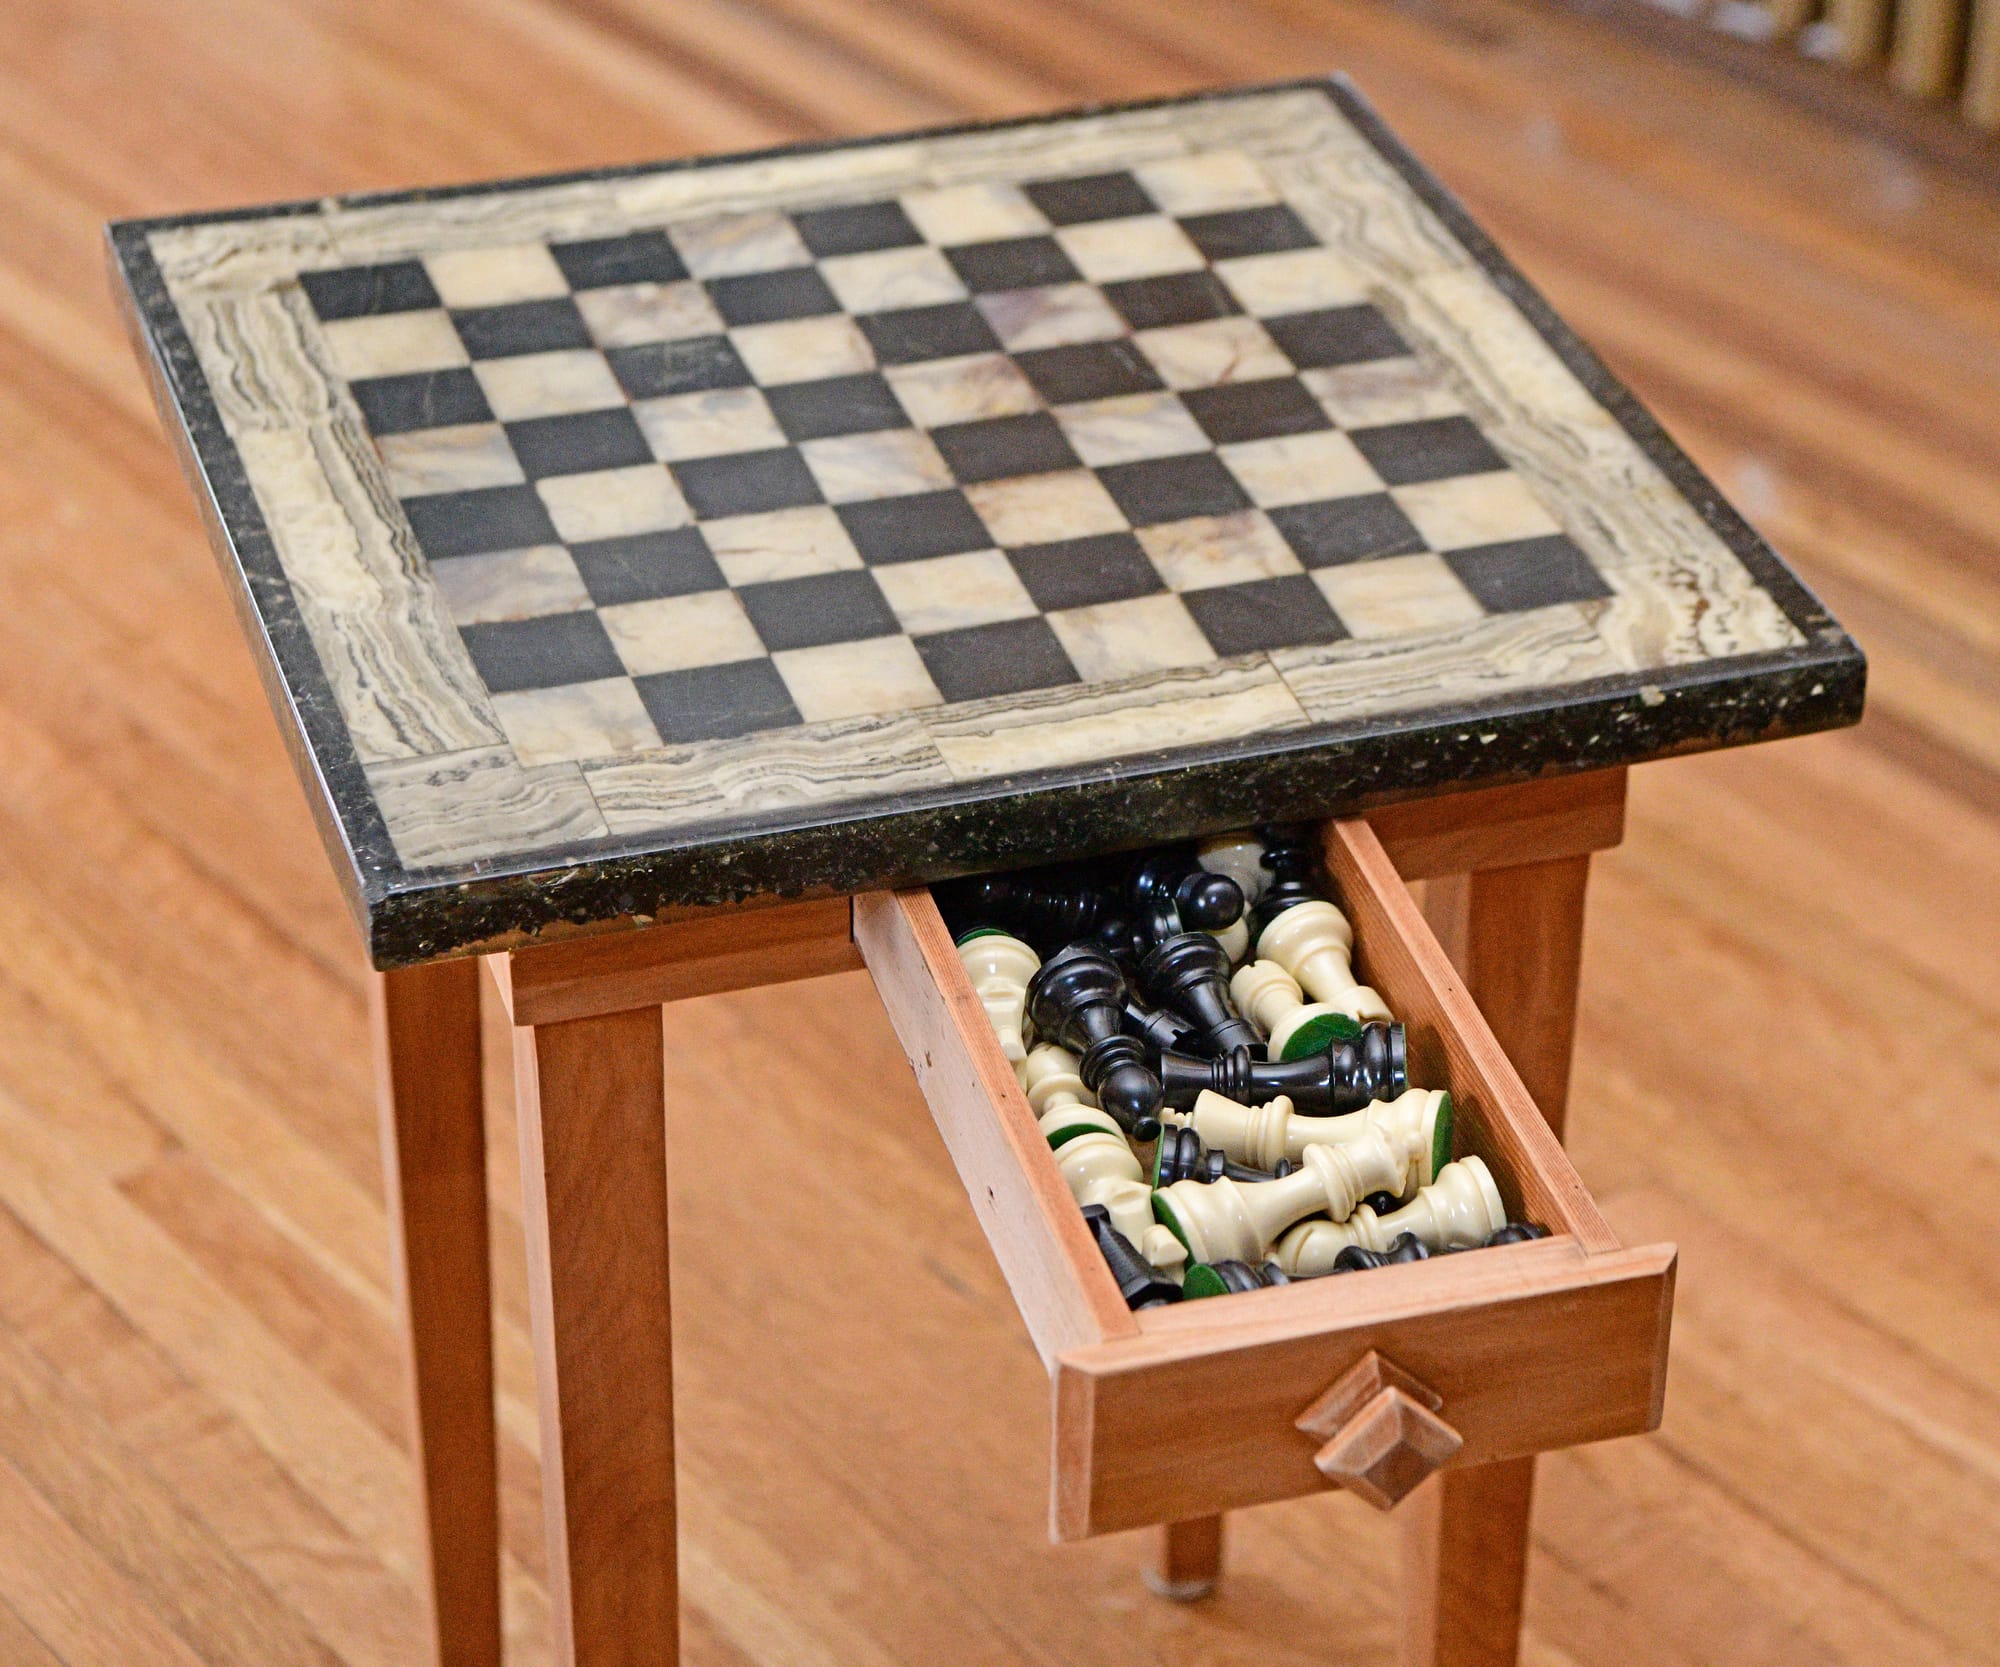
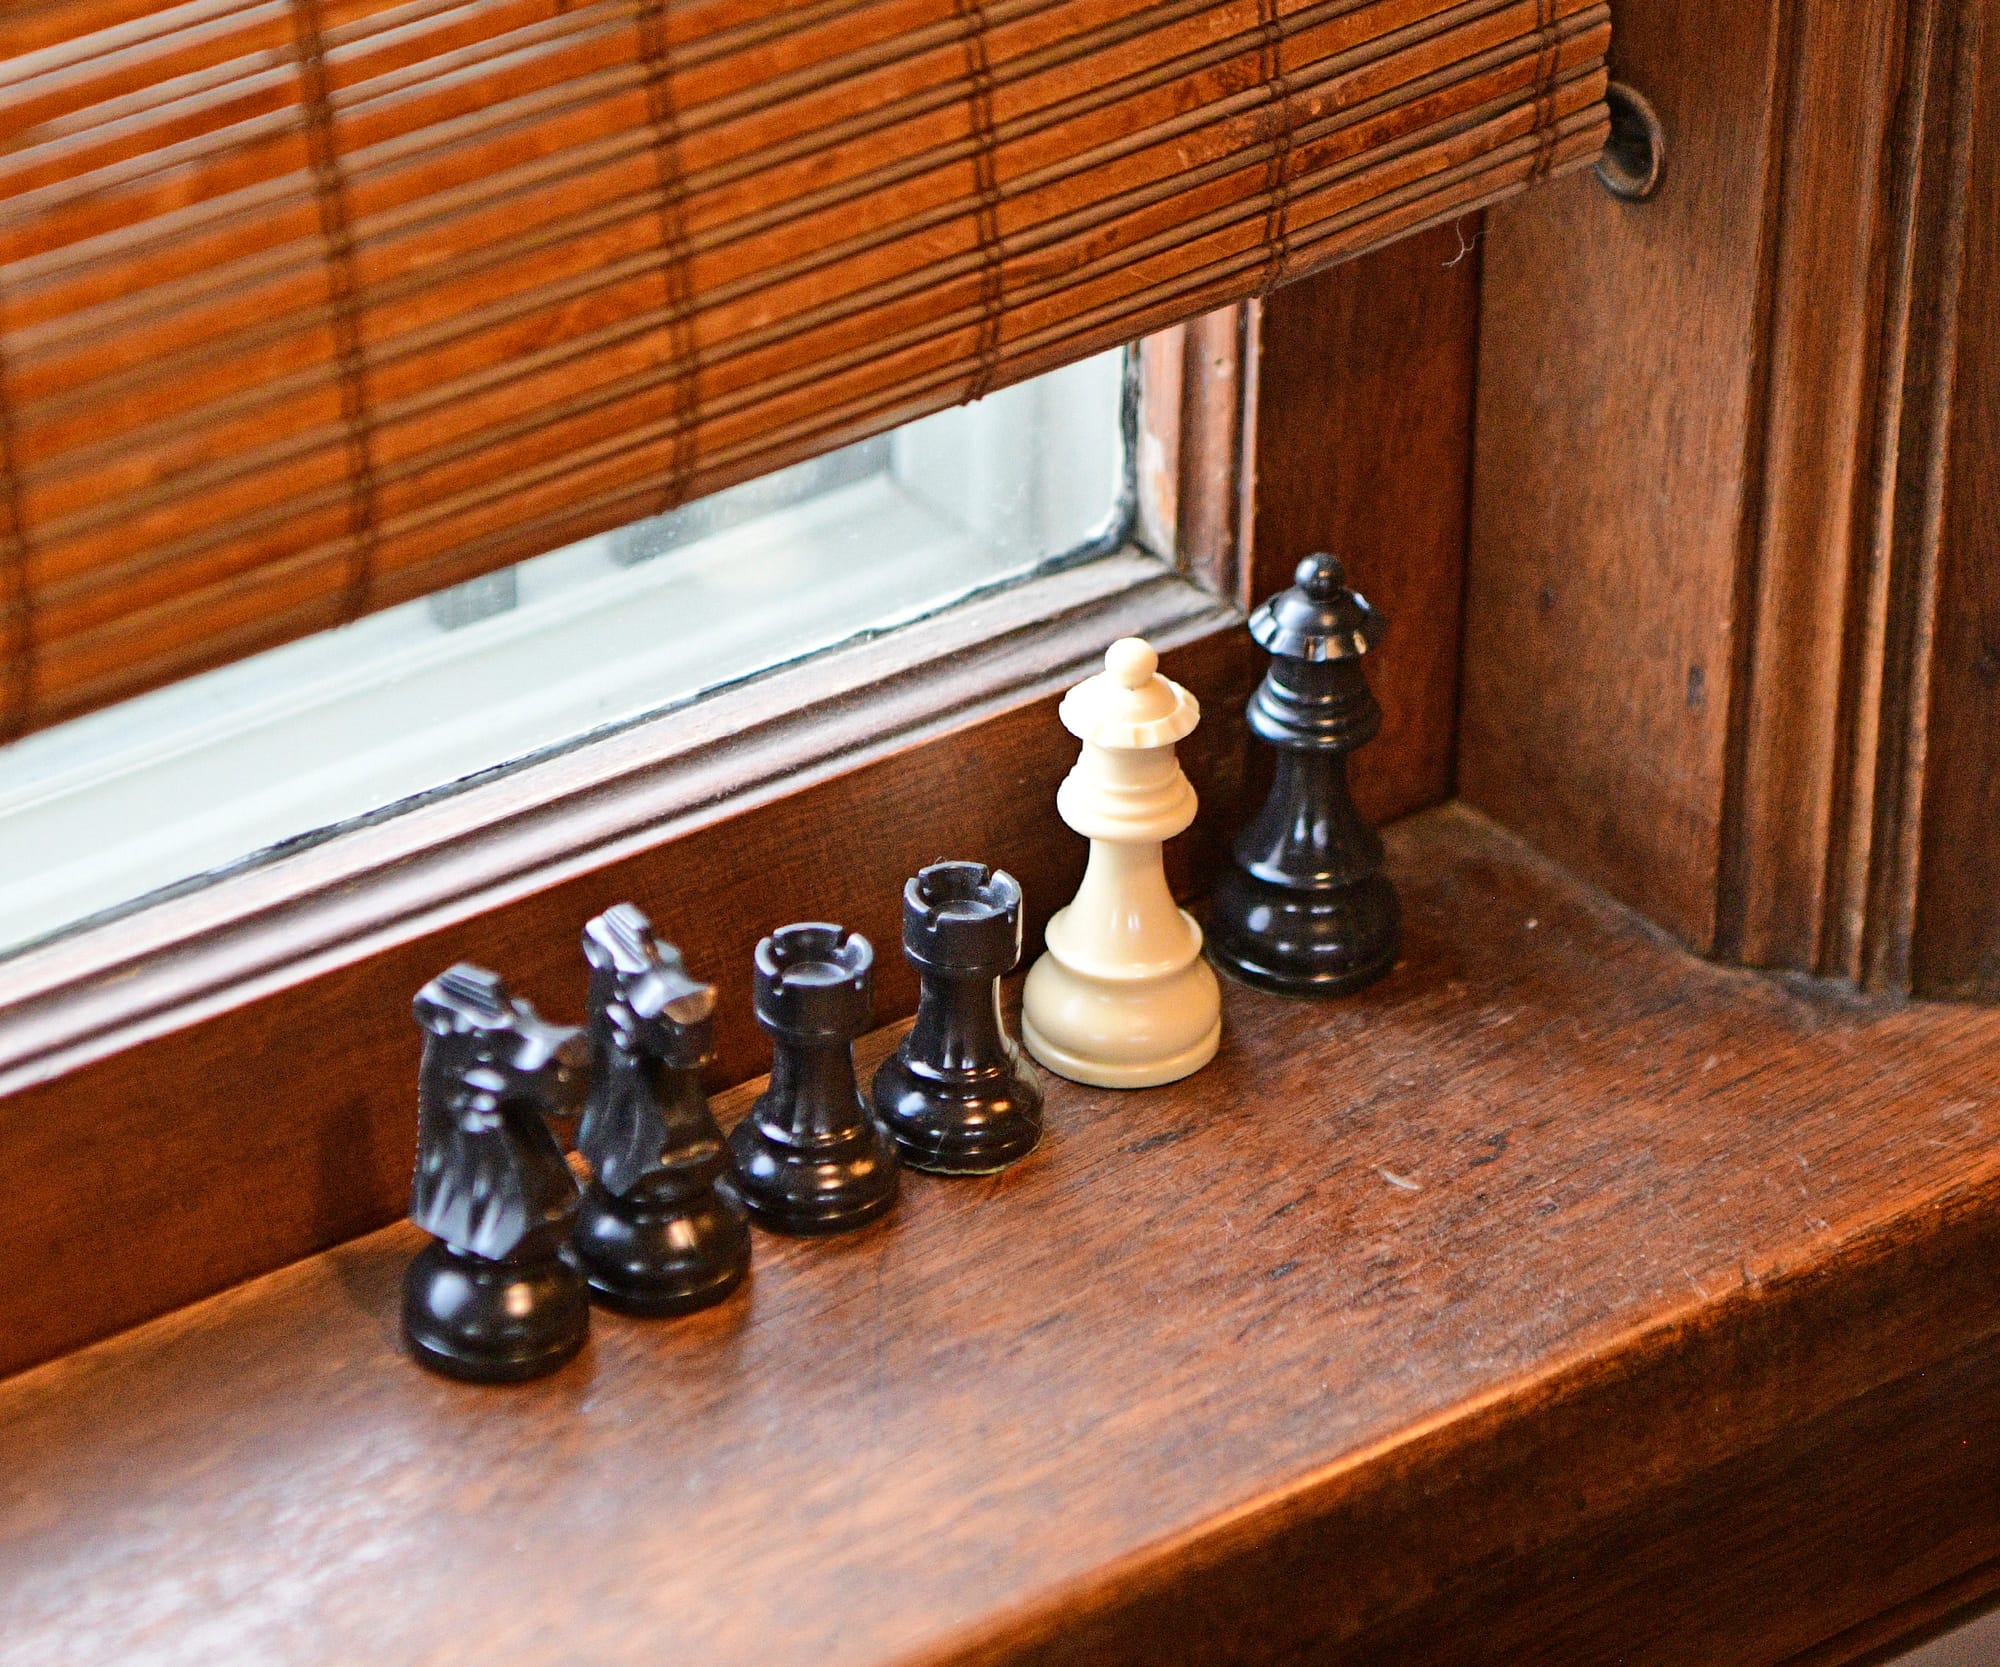
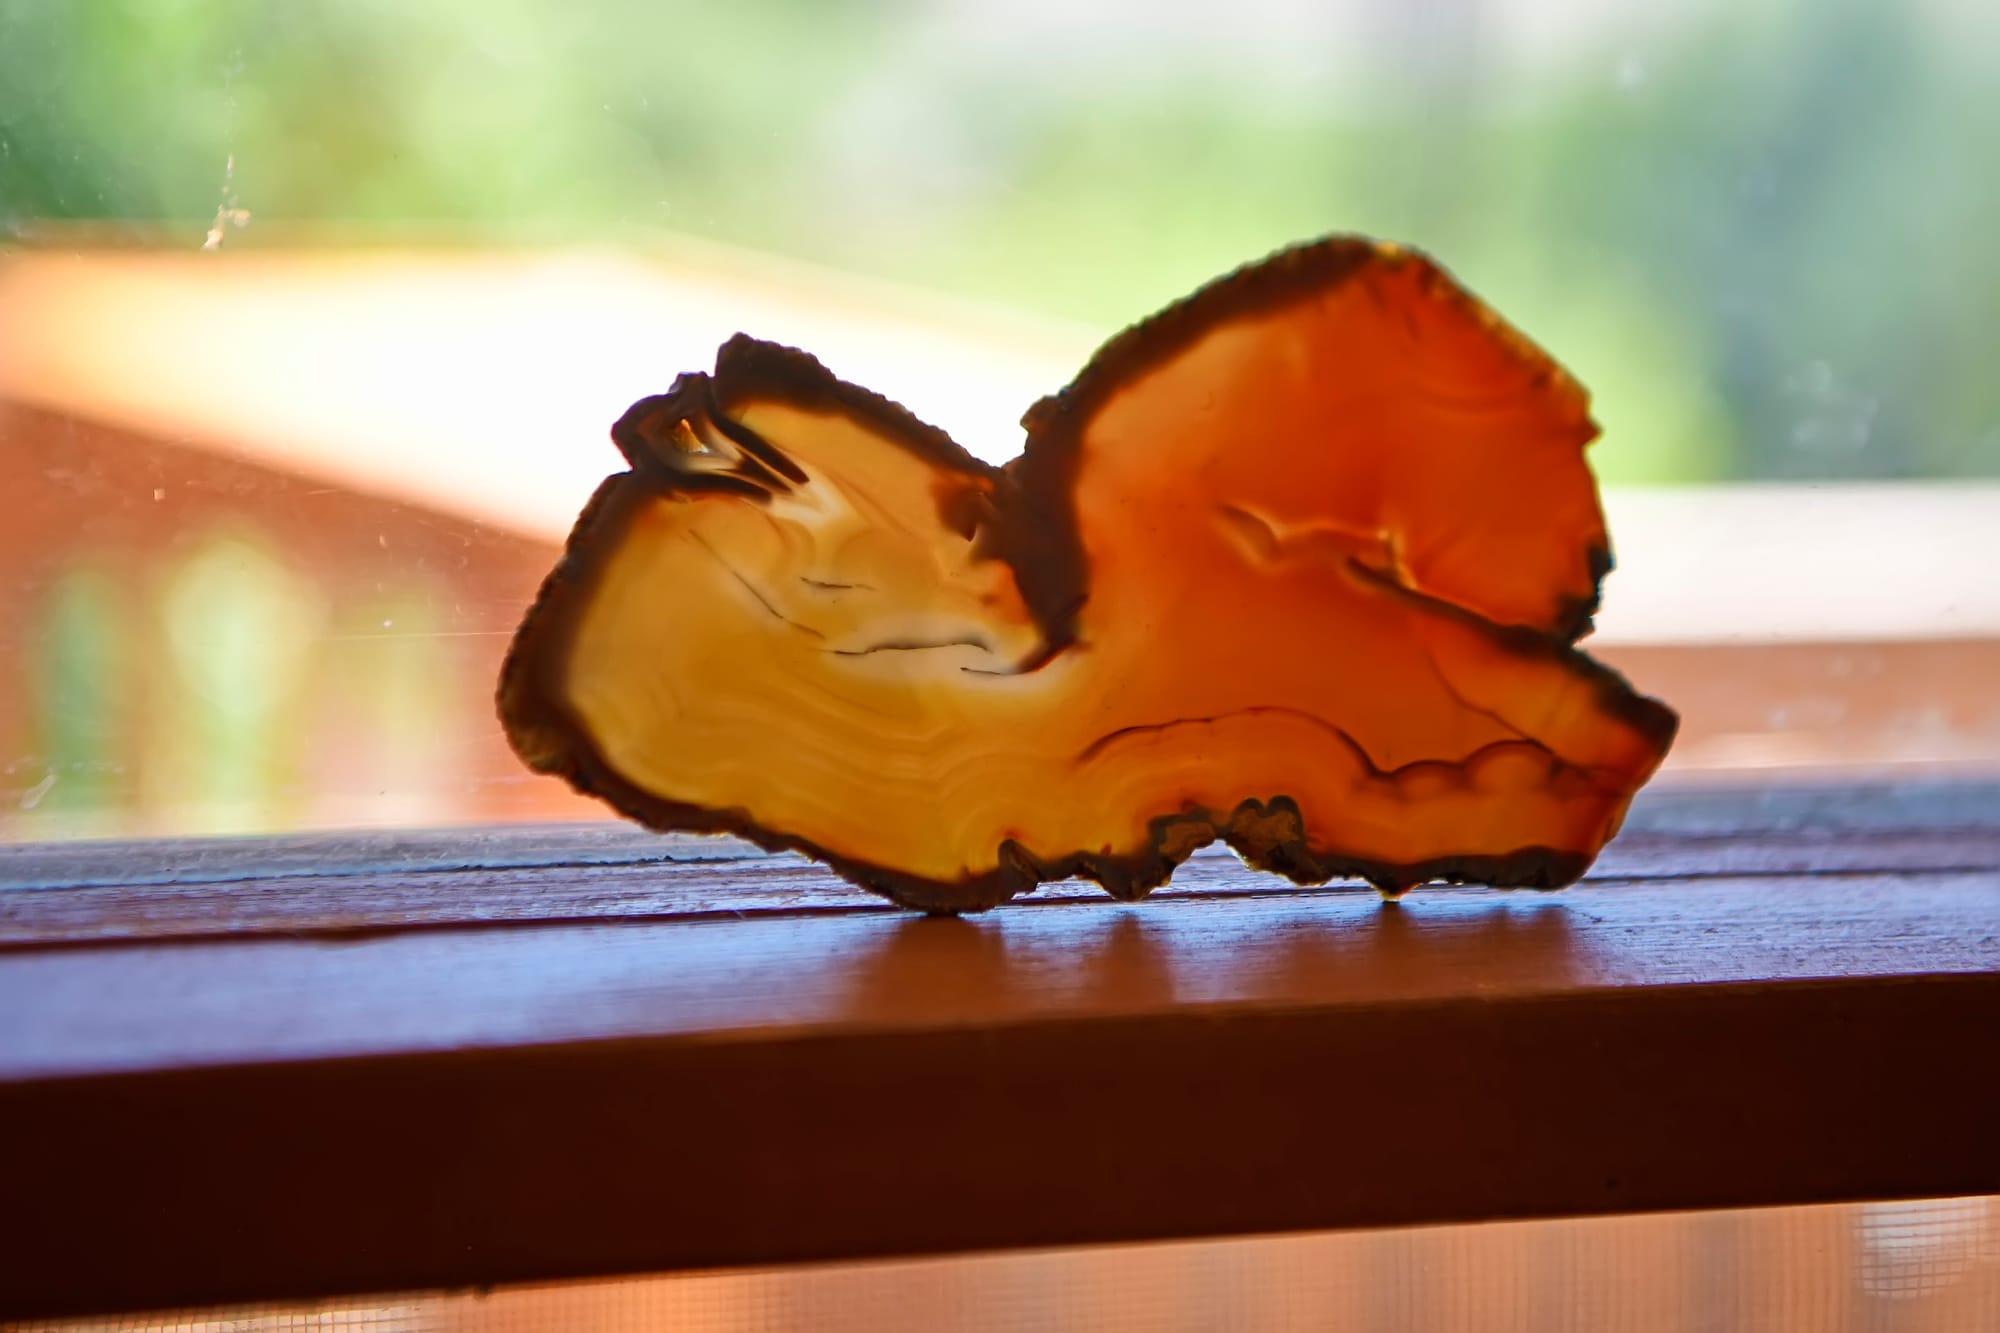
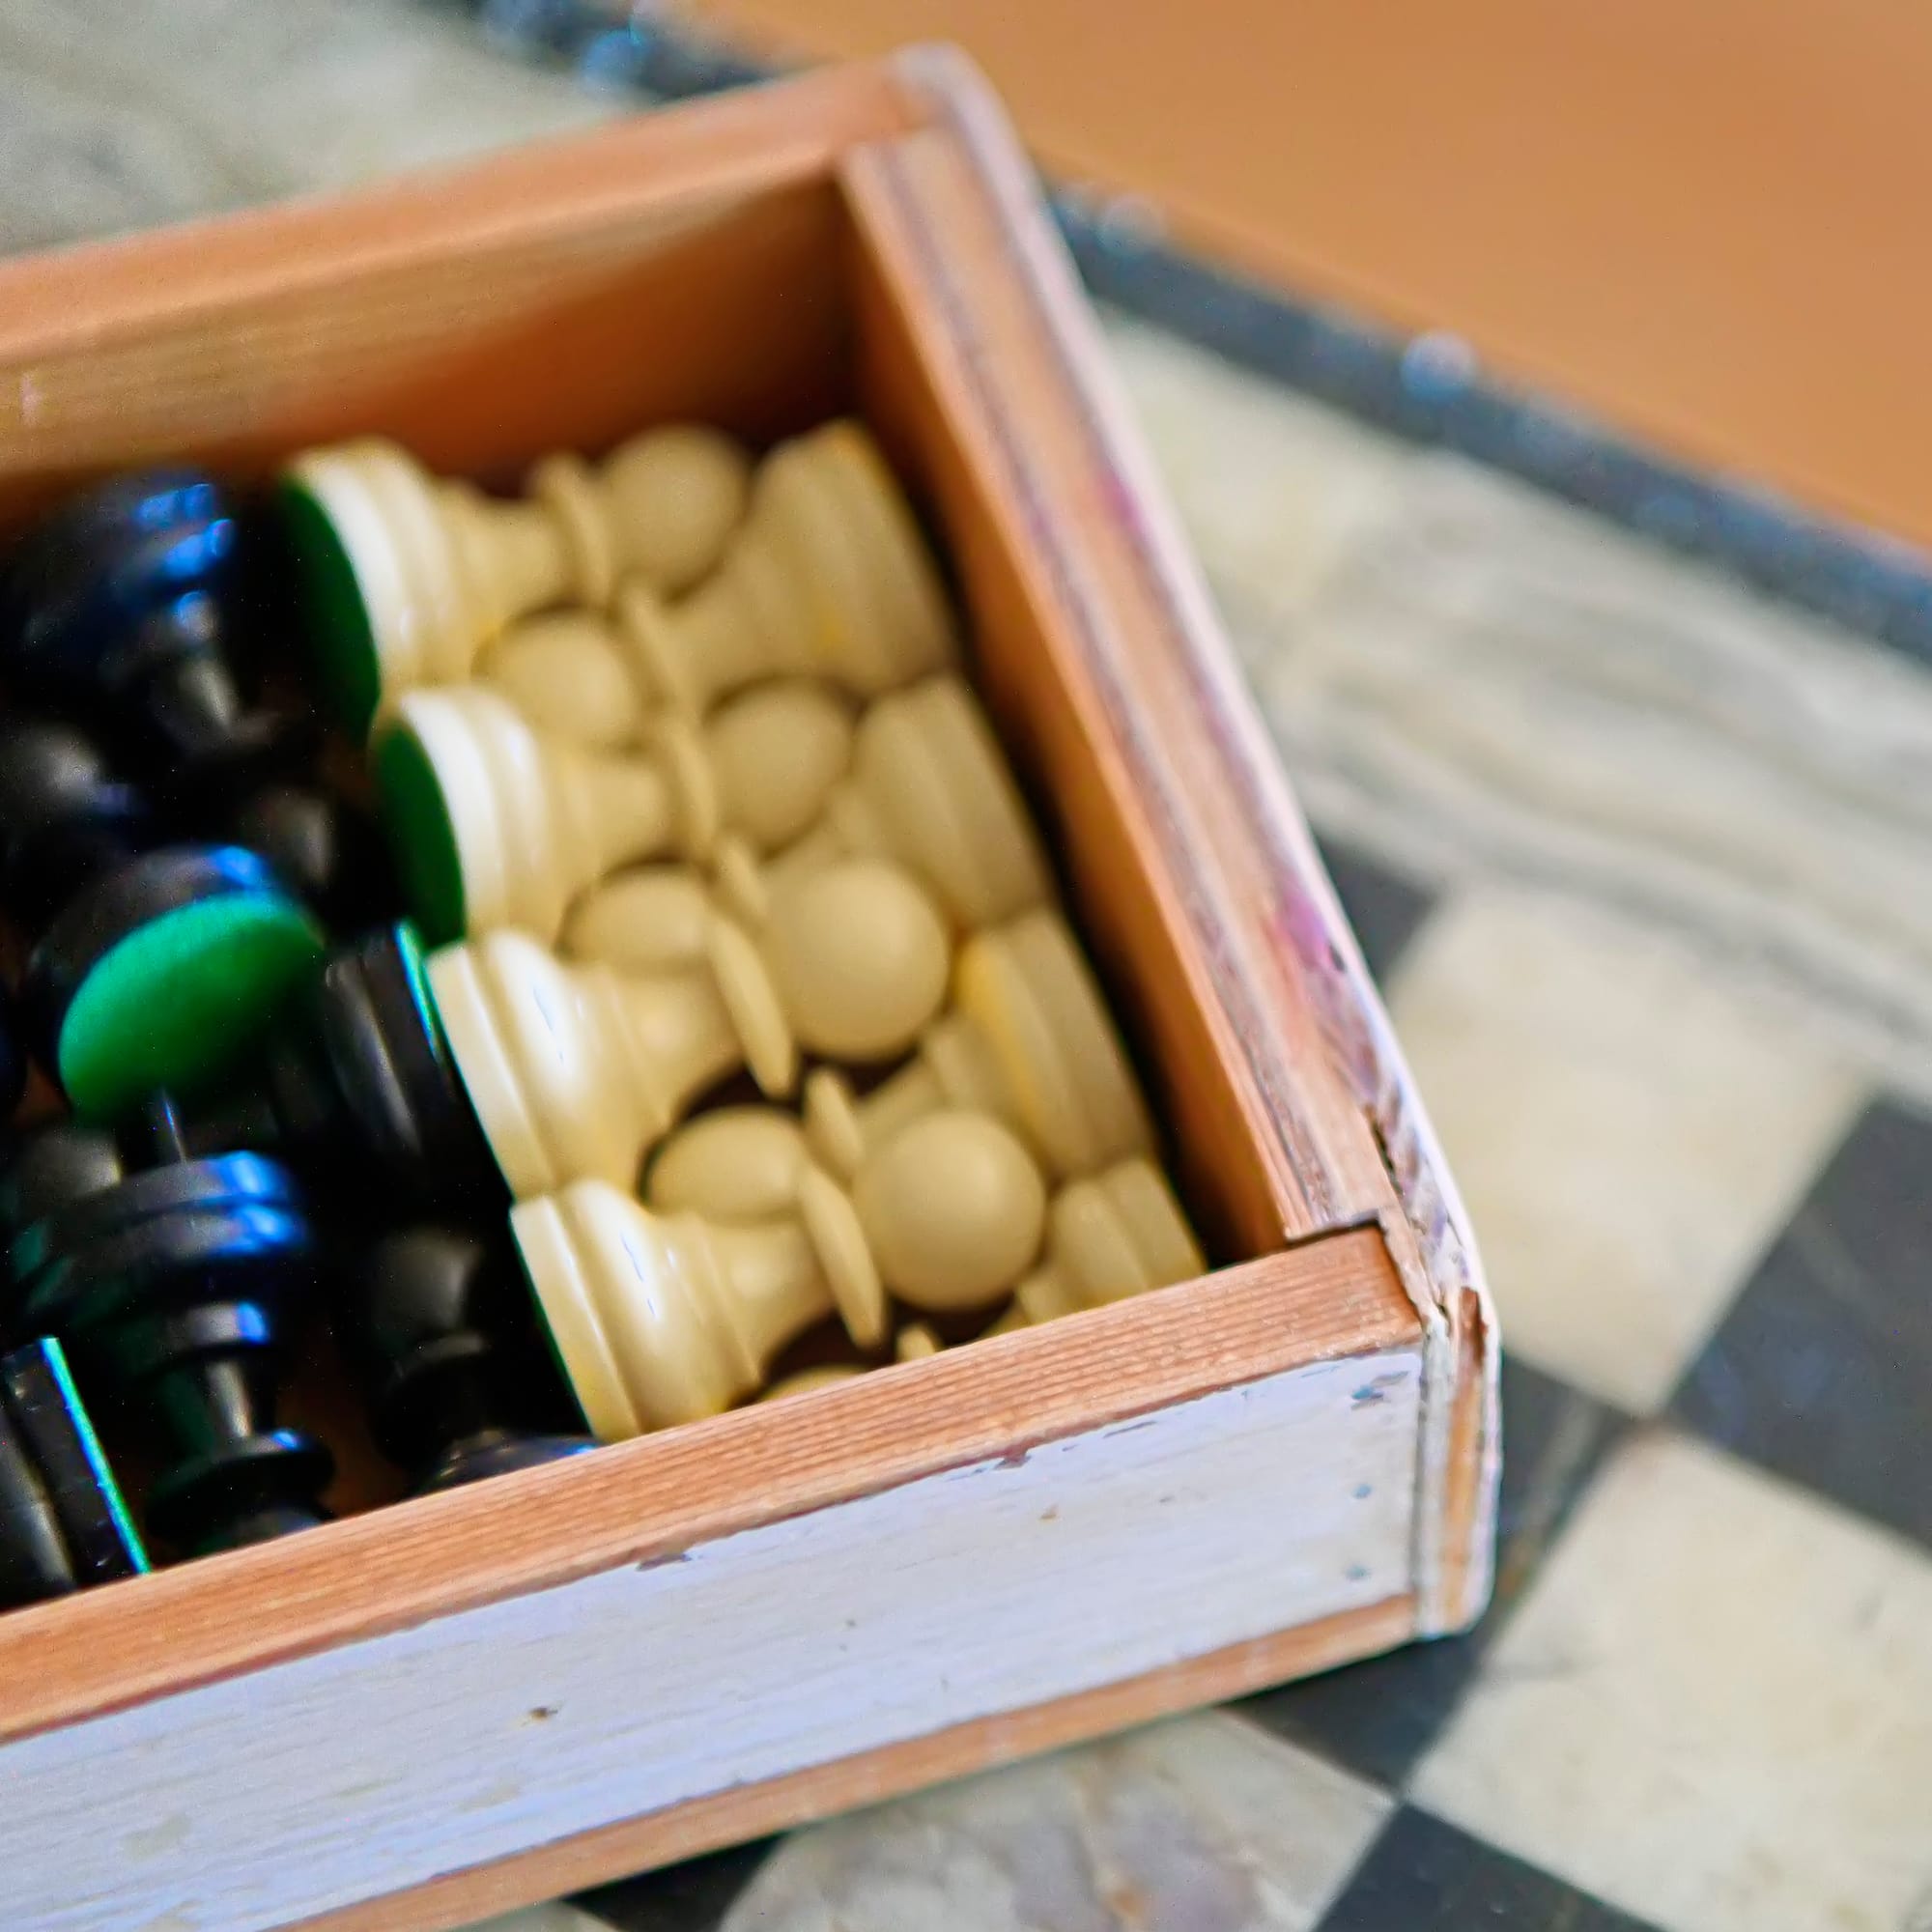
Because Grandpa built the table for checkers and not chess, the drawer is too small to hold a standard size chess set. I got a smaller size set, but it's still a challenge to fit all the pieces in well enough to close the drawer, so I'm keeping a few pieces out on the nearby windowsill.