Calibrating a new lens

My go-to telephoto lens is the Nikkor 70-200mm F/2.8 VR II. It's an amazing piece of equipment: sharp, fast, and sturdy enough to take a beating and keep on working. At $2400 it was (and still is) the most expensive lens I've ever bought, but after 11 years of using it heavily I feel like it was a great investment.
But ... it only goes up to 200mm. That's fine for photographing the dogs playing (which, I must admit, is a huge portion of the photographs I take), but it's not enough magnification for things like small birds and distant wildlife. So a couple of weeks ago I decided to get a new telephoto lens to cover those sort of scenes: the Sigma 150-600mm F5-6.3 DG OS HSM "Contemporary" lens.
Sigma has become a major player in DSLR lenses, with a variety of high-quality lenses that deliver the same performance as Nikon and Canon's pro lenses but at around half the price. And they've come up with some innovative features and tools, such as the Sigma USB Dock and their Optimization Pro software. With this software, you can update the firmware on many of their lenses, and you can fine-tune the autofocus for maximum sharpness.
This post covers a few things I learned today while calibrating my new lens. I'm not actually done yet – it's an iterative process, and I've improved the autofocus performance but there's still room for more improvement. It's a time-consuming process, so I've covered some details here mostly as a "note to self" for when I get back to finishing up the calibration process.
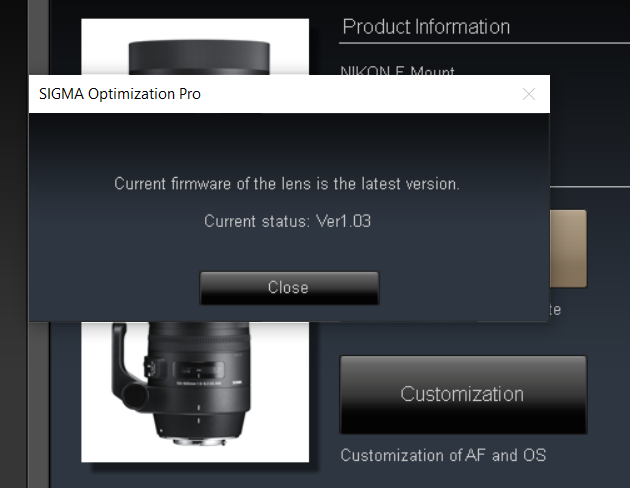
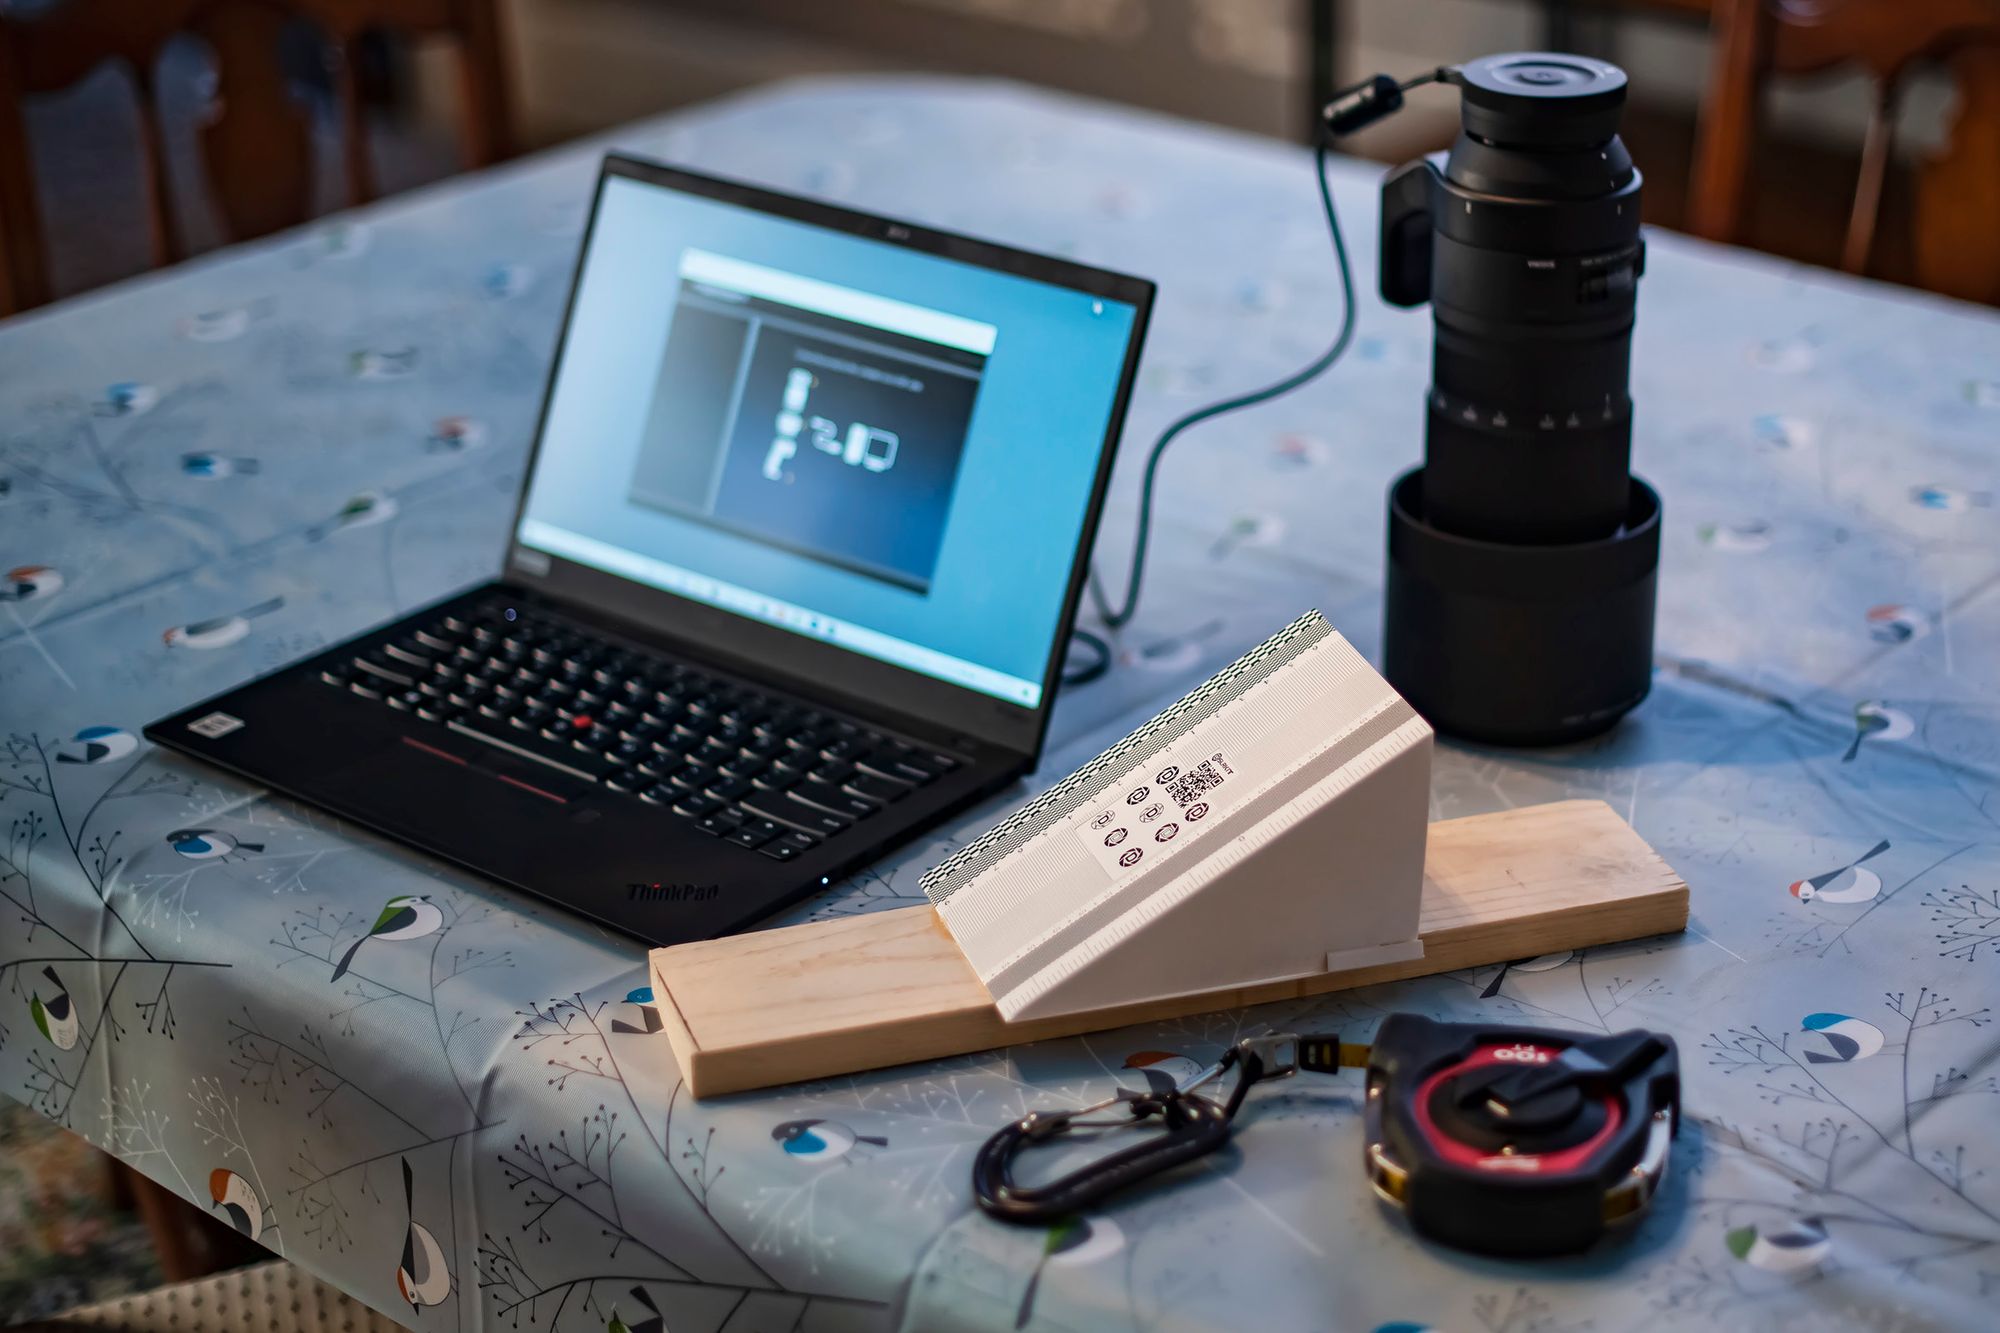
The first step is to download, install, and run the Optimization Pro software. When you launch the program it guides you through connecting the lens and offers to check for firmware upgrades.
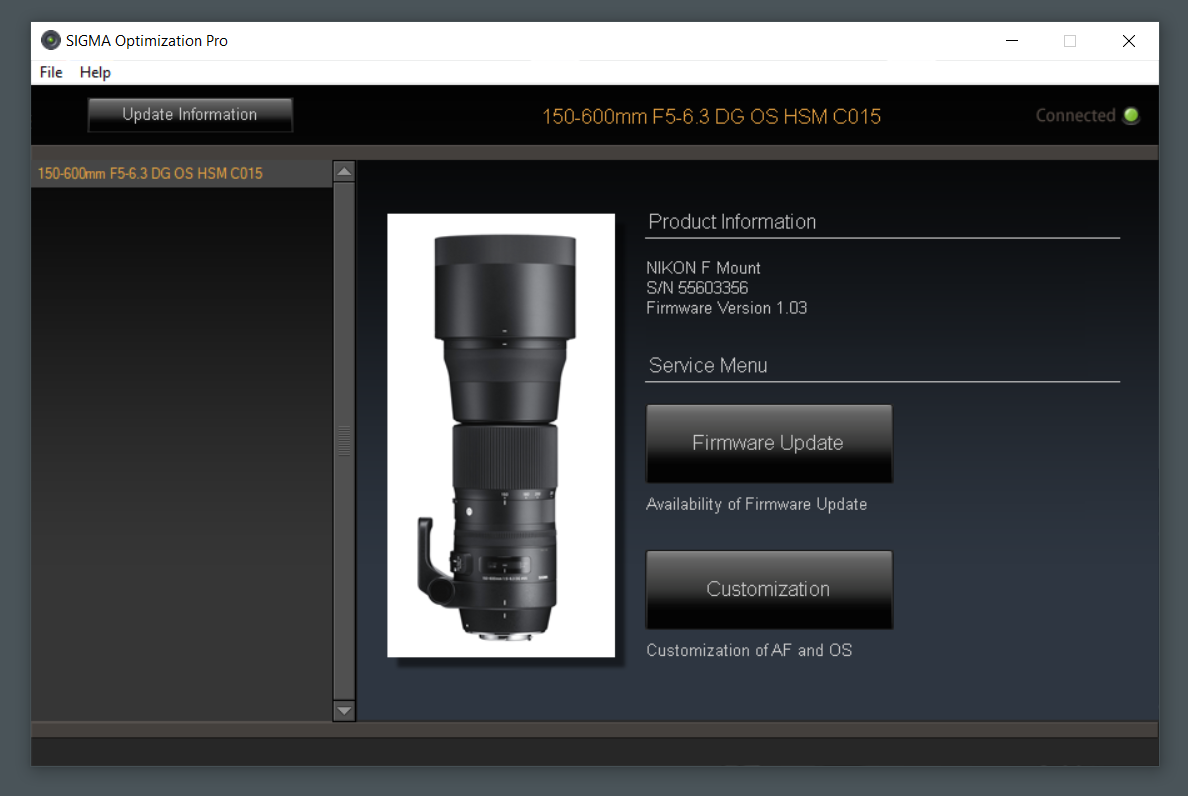
Then you go into the Customization section and select the Focus Setting option. The basic concept here is that you can adjust the lens's focusing performance at various distances and various focal lengths.
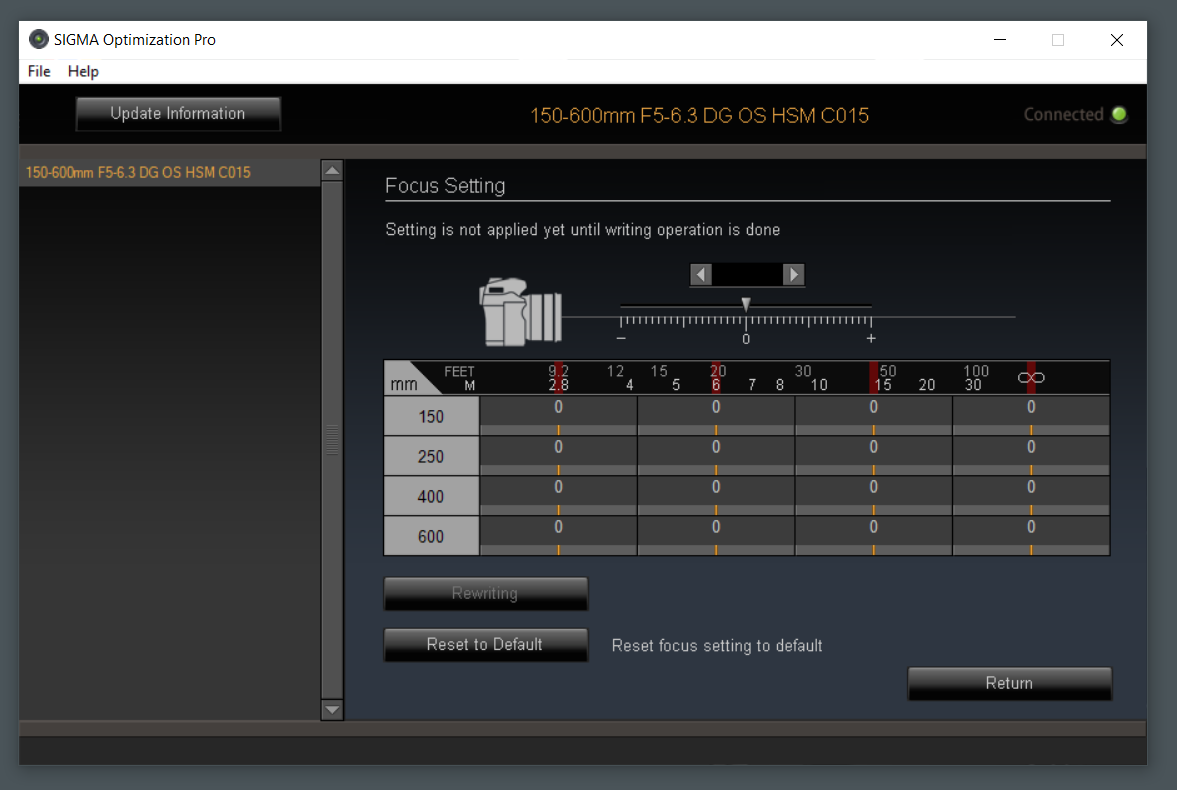
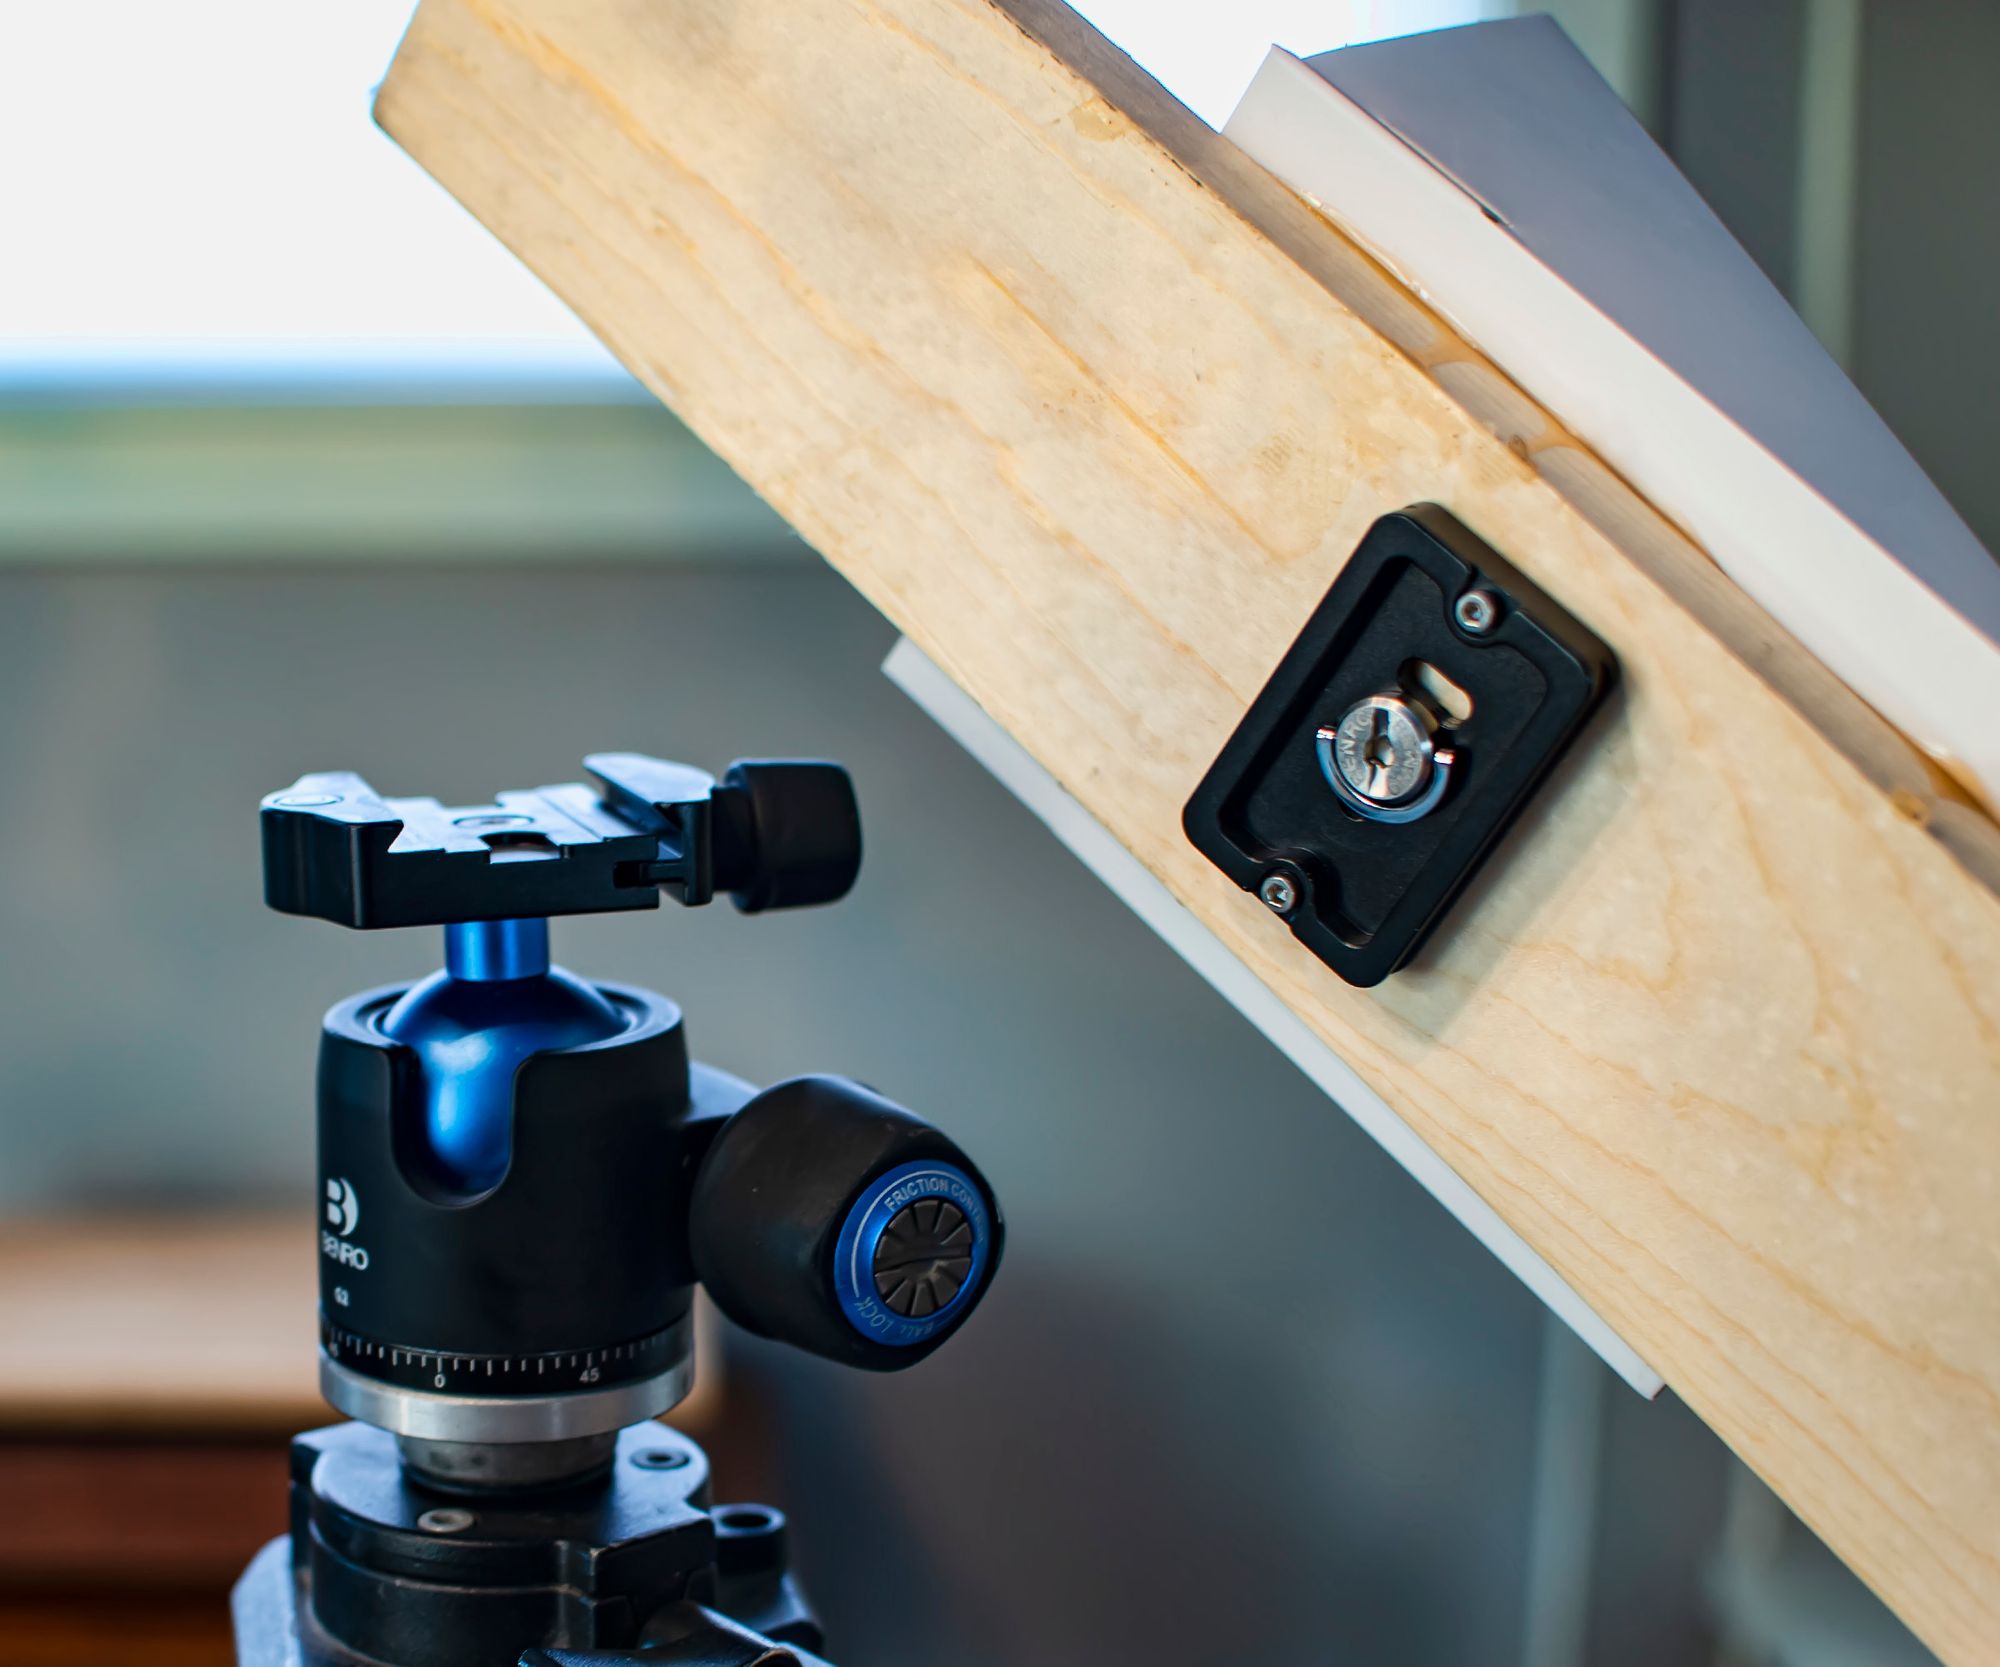
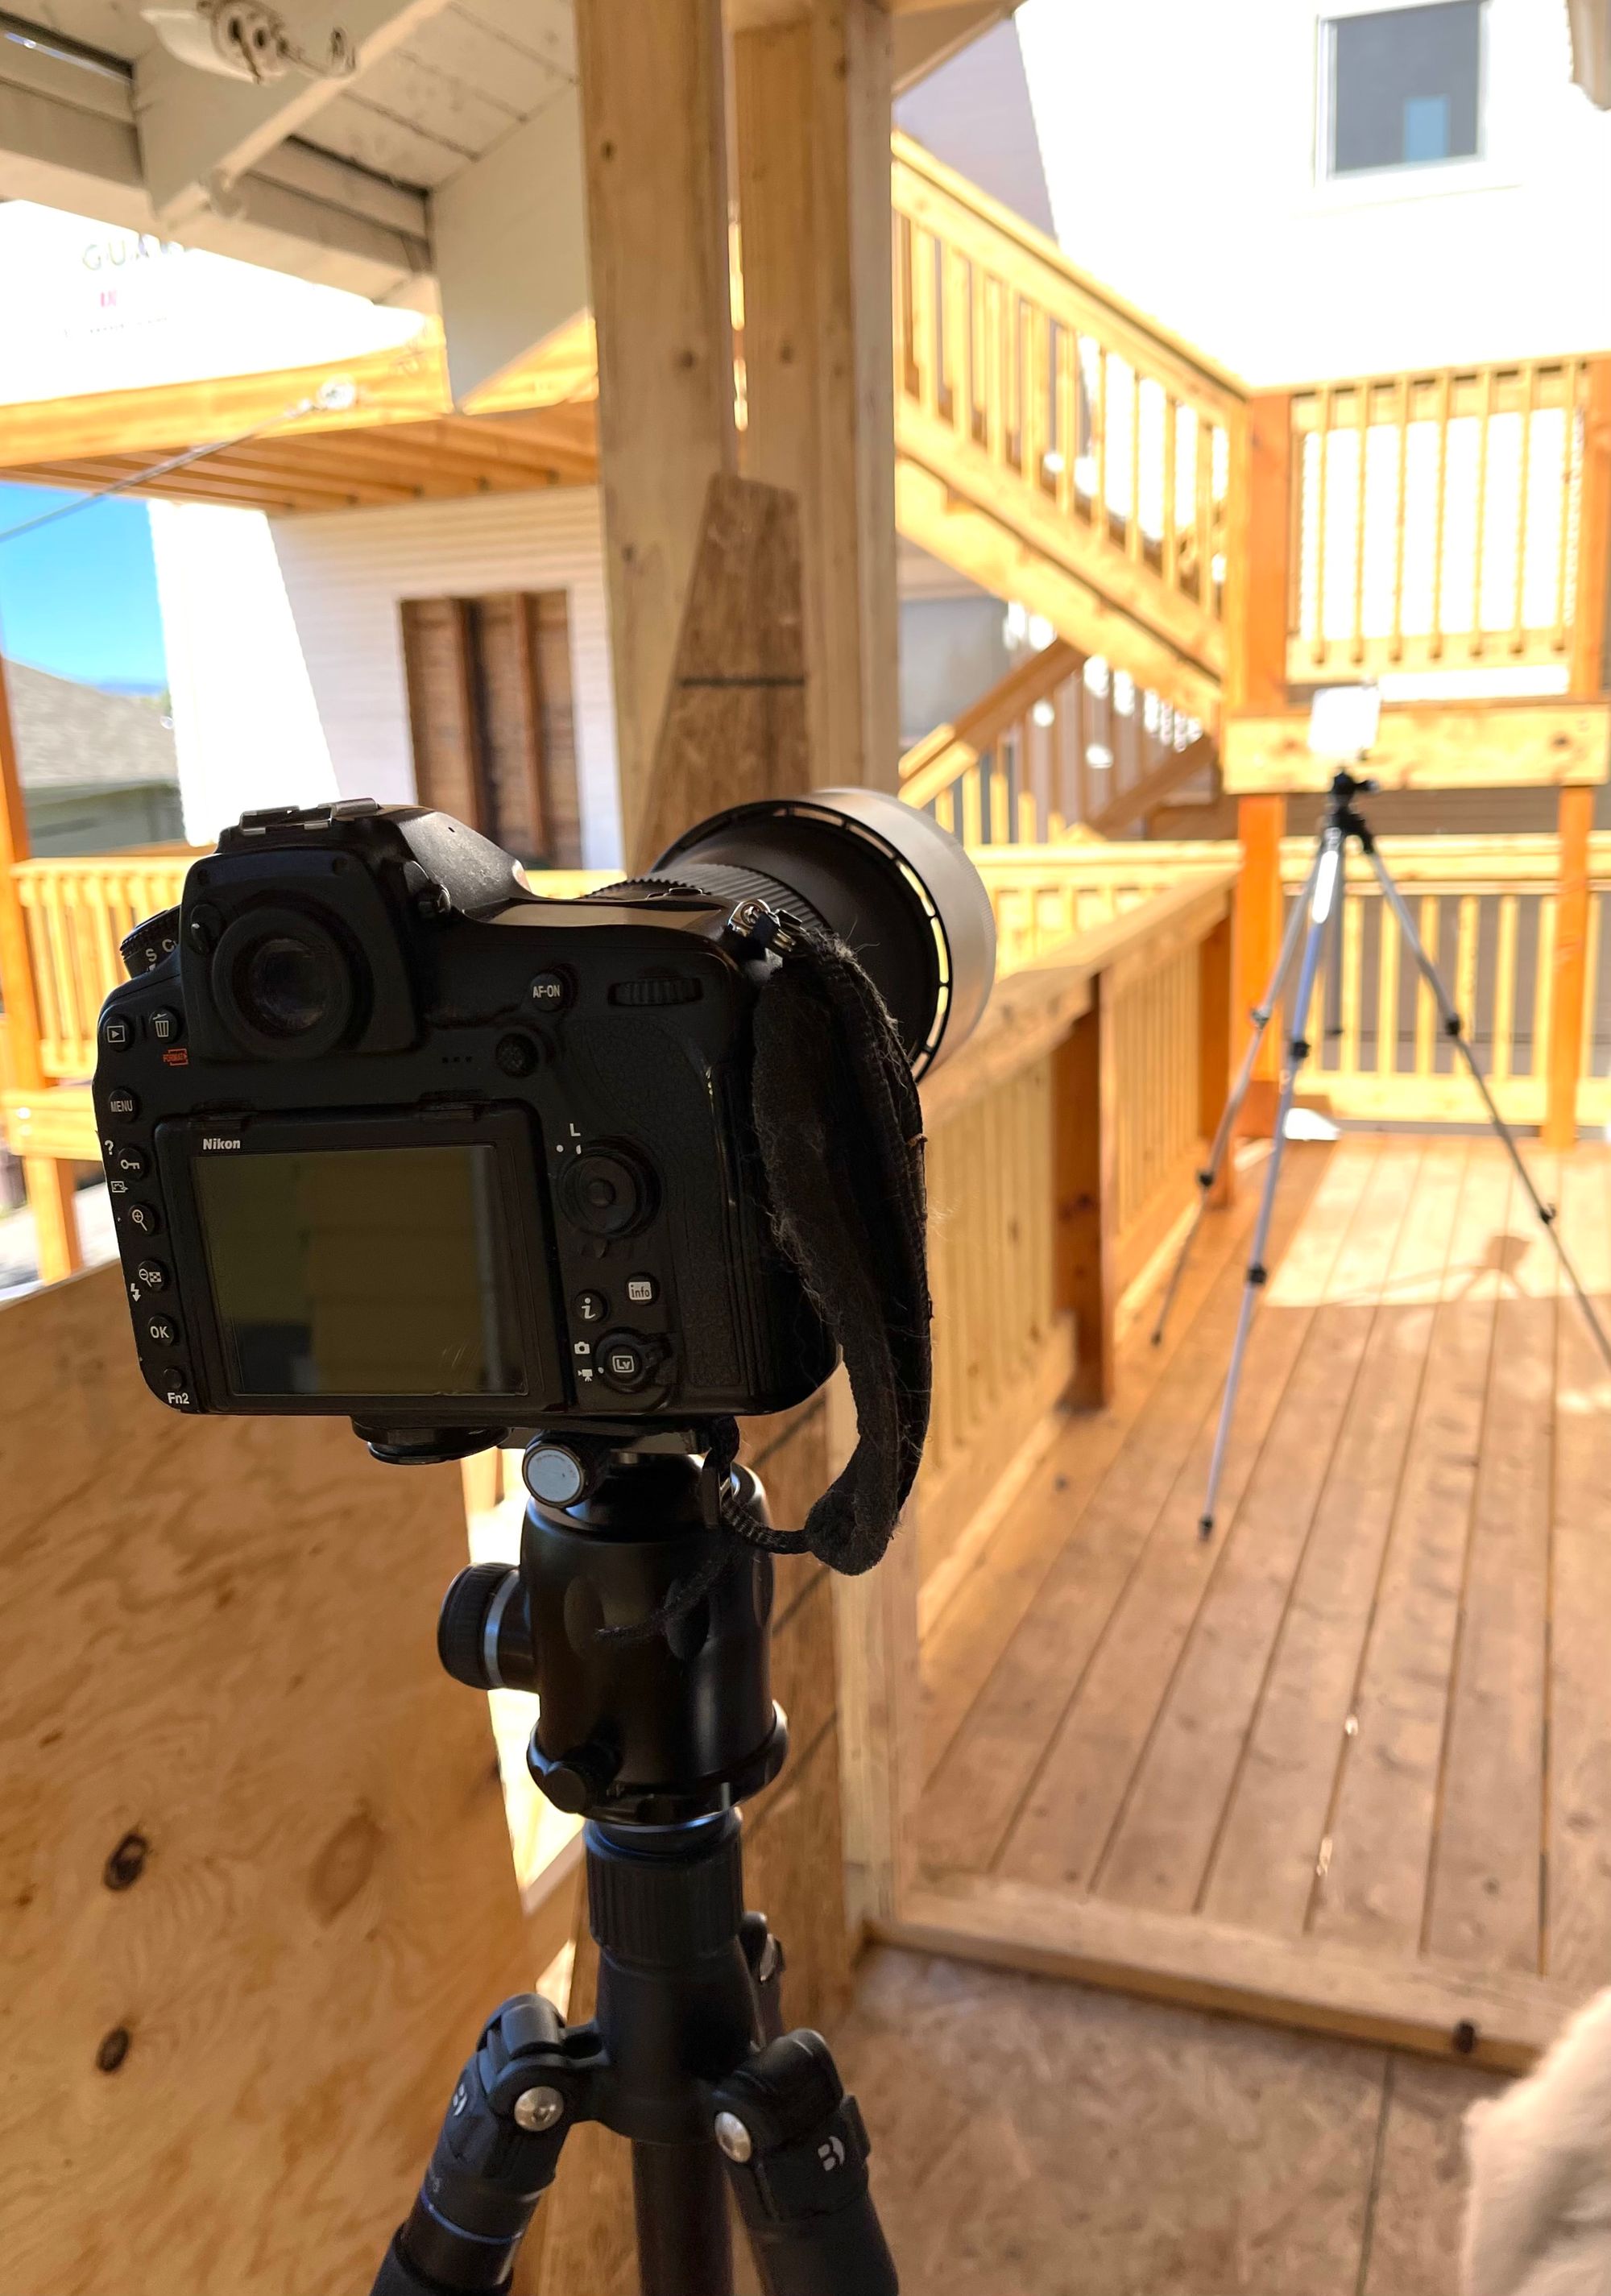
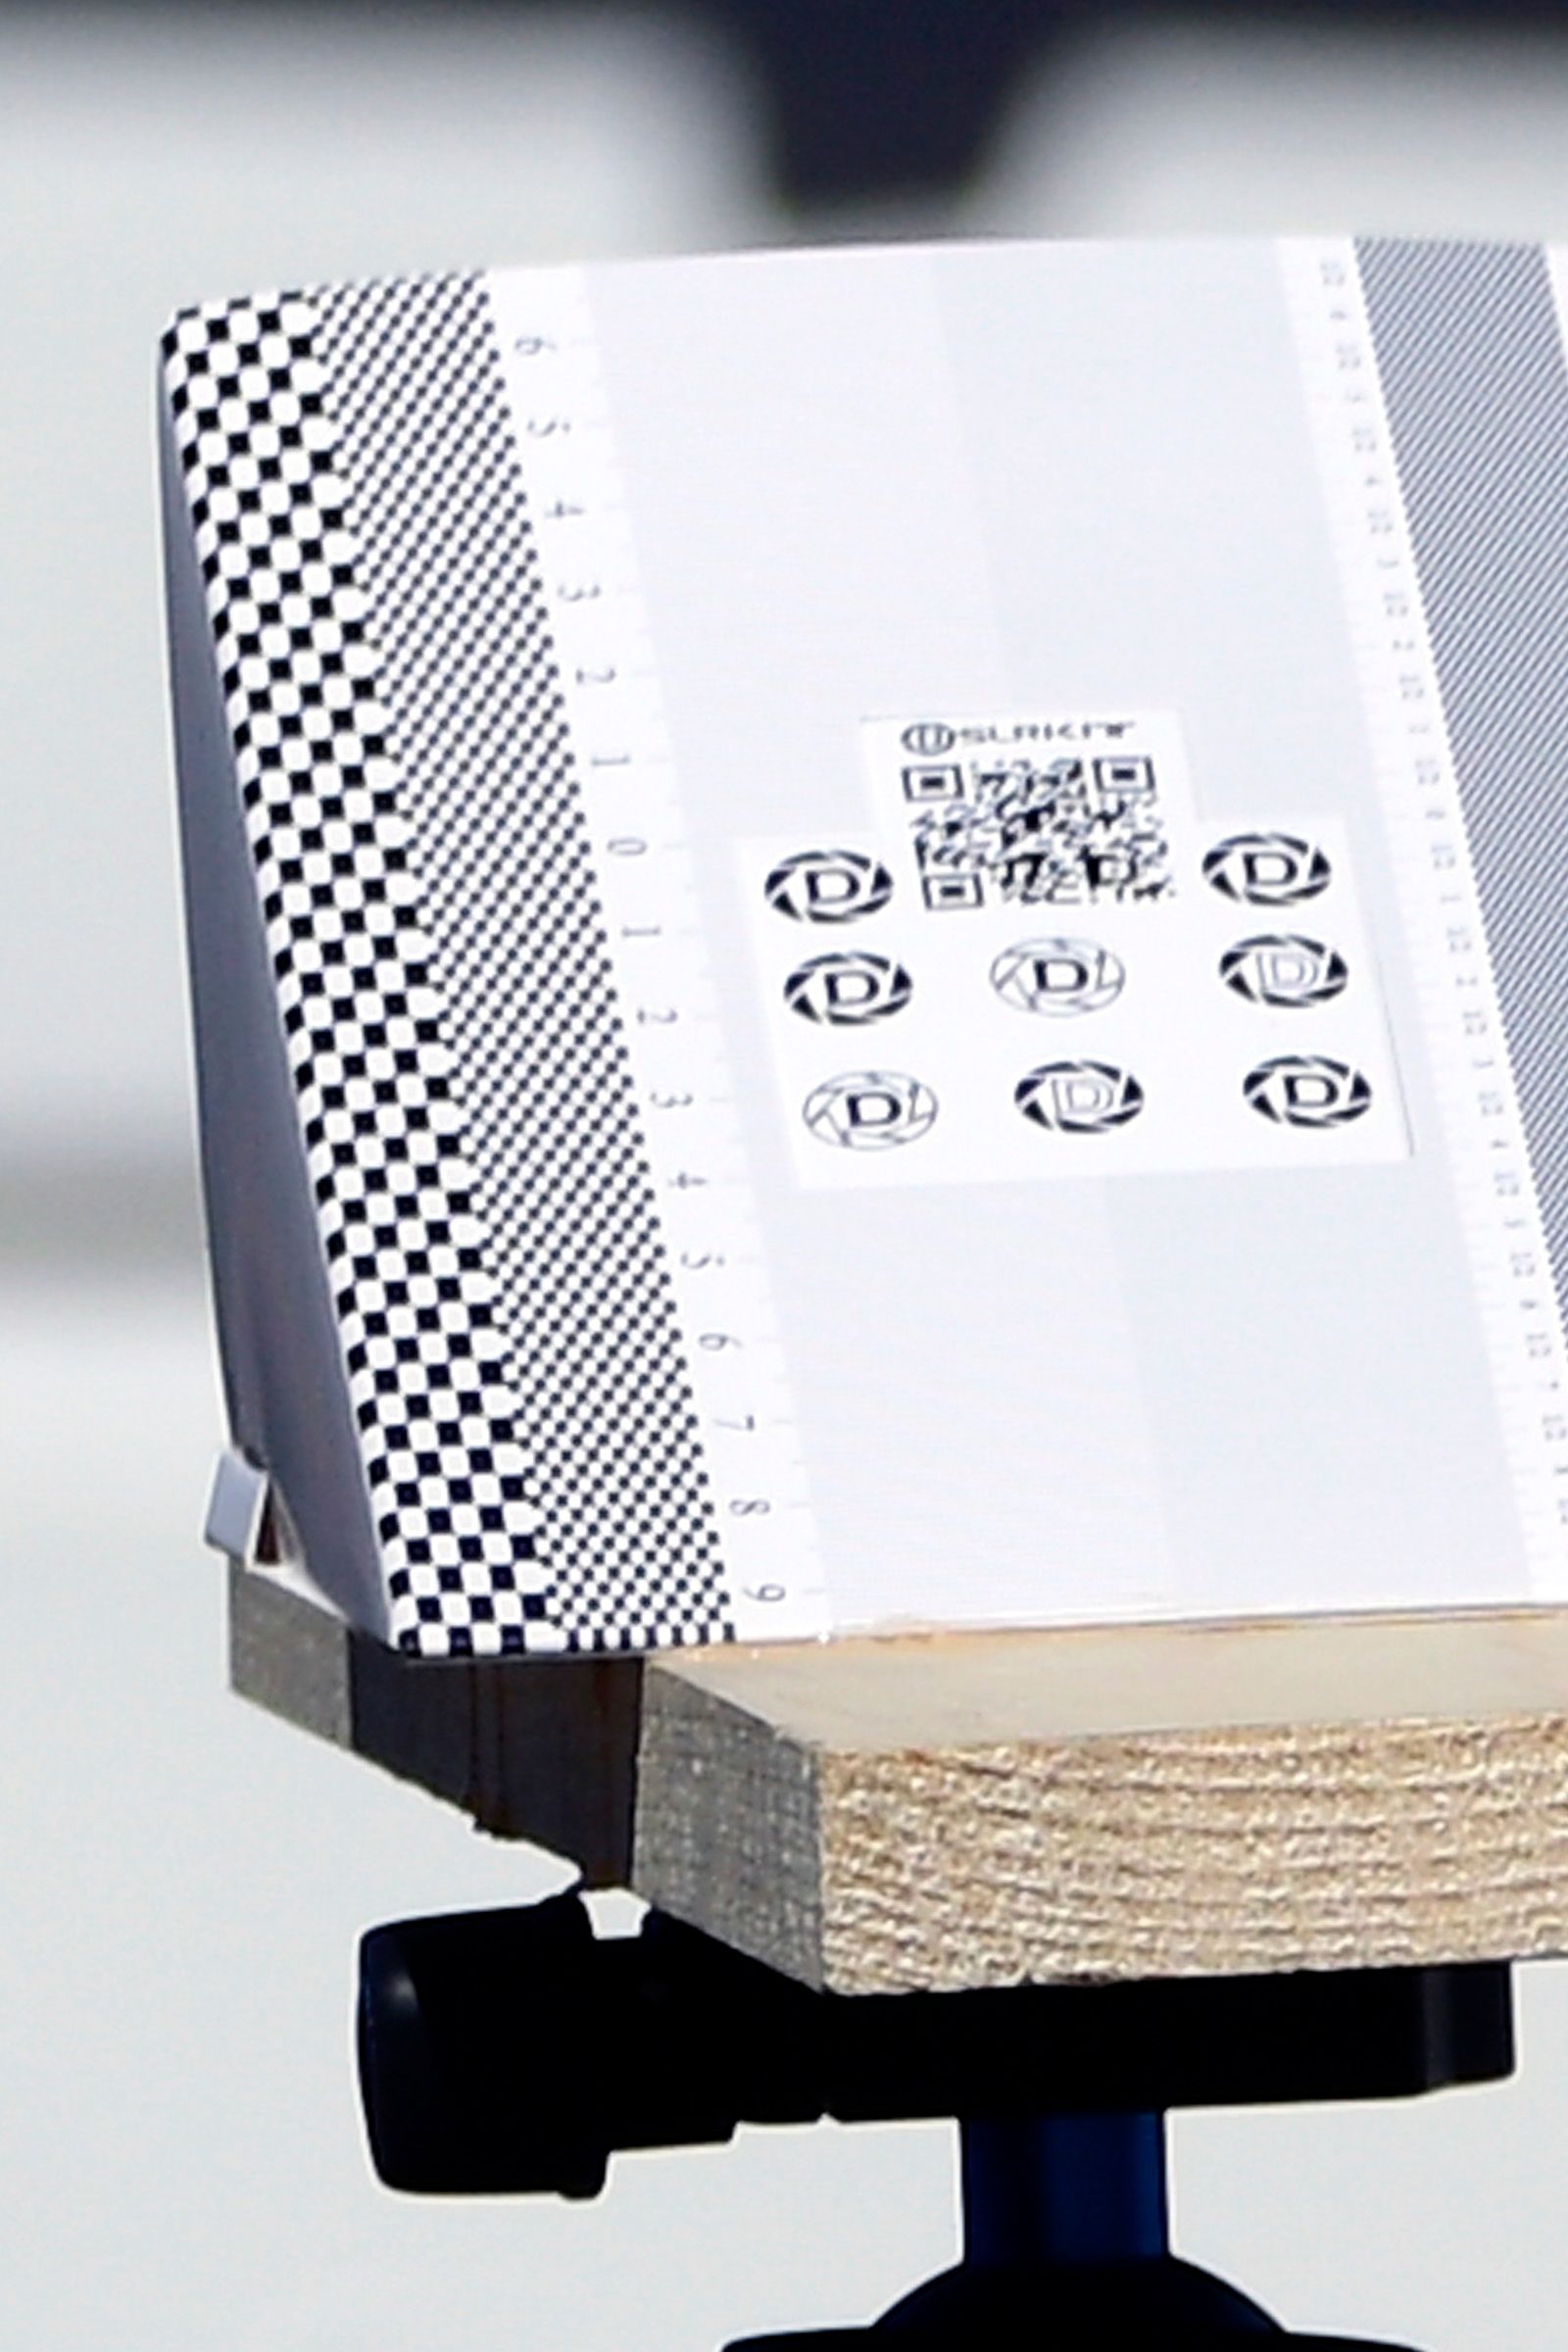
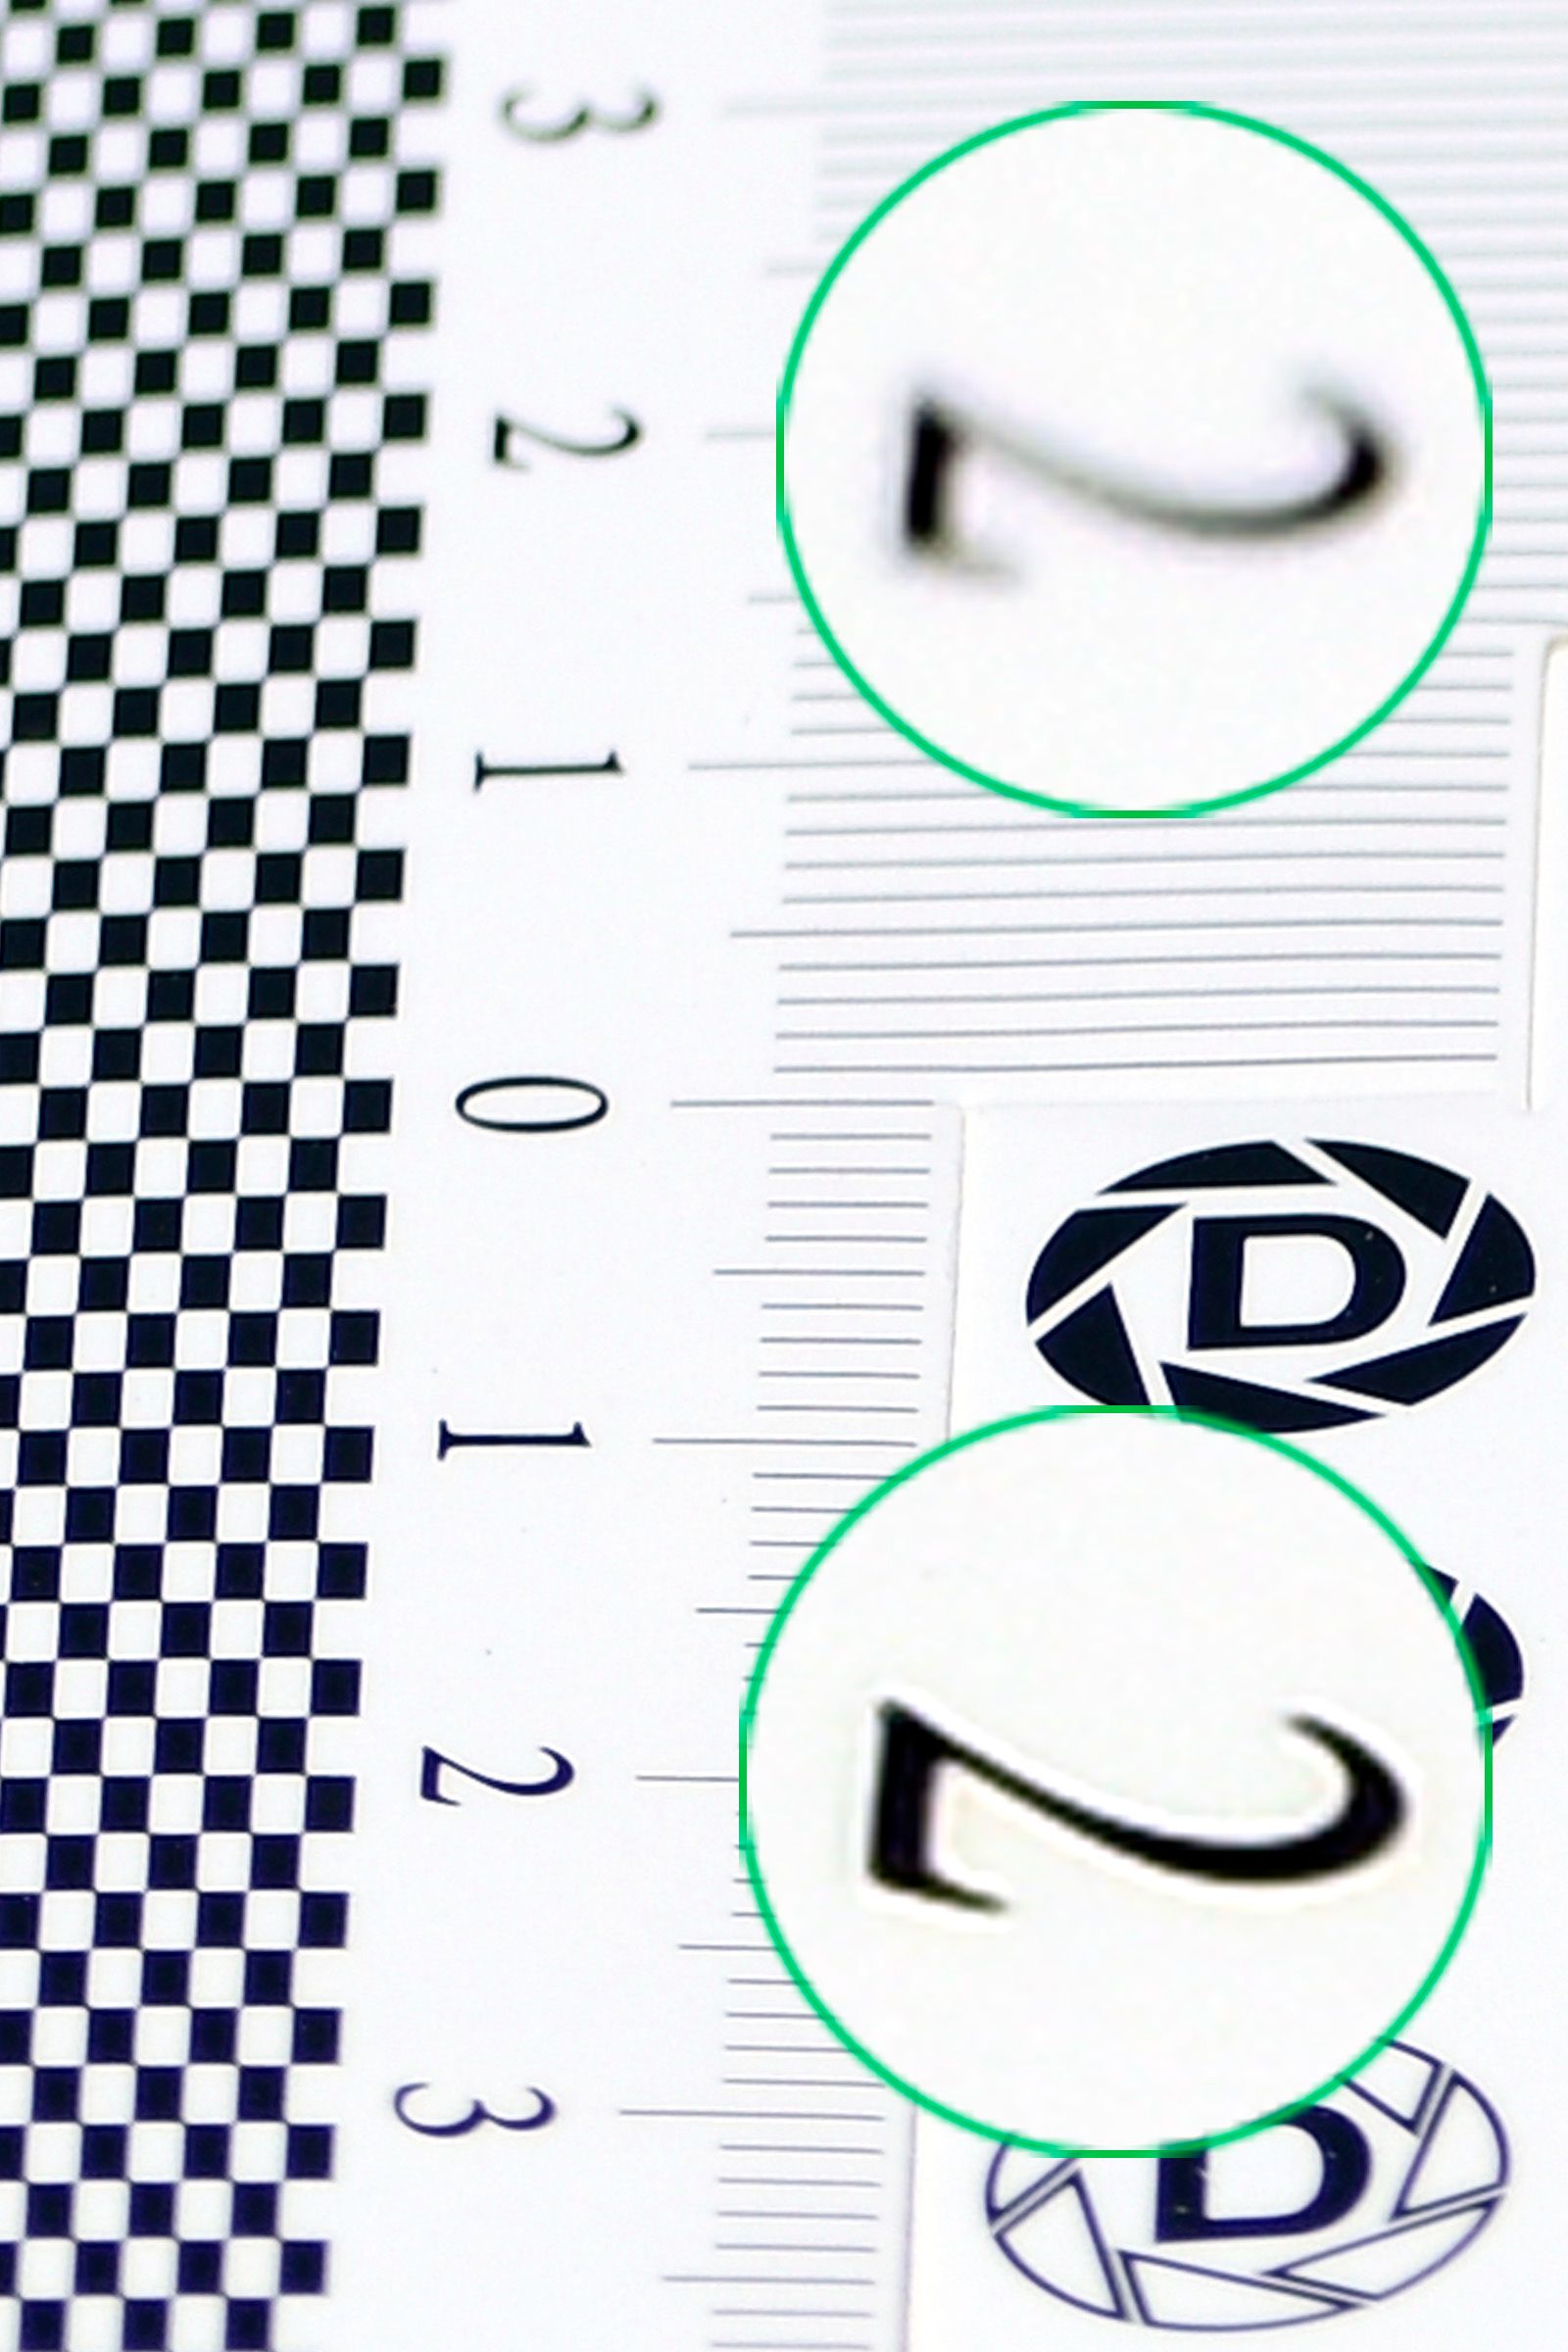
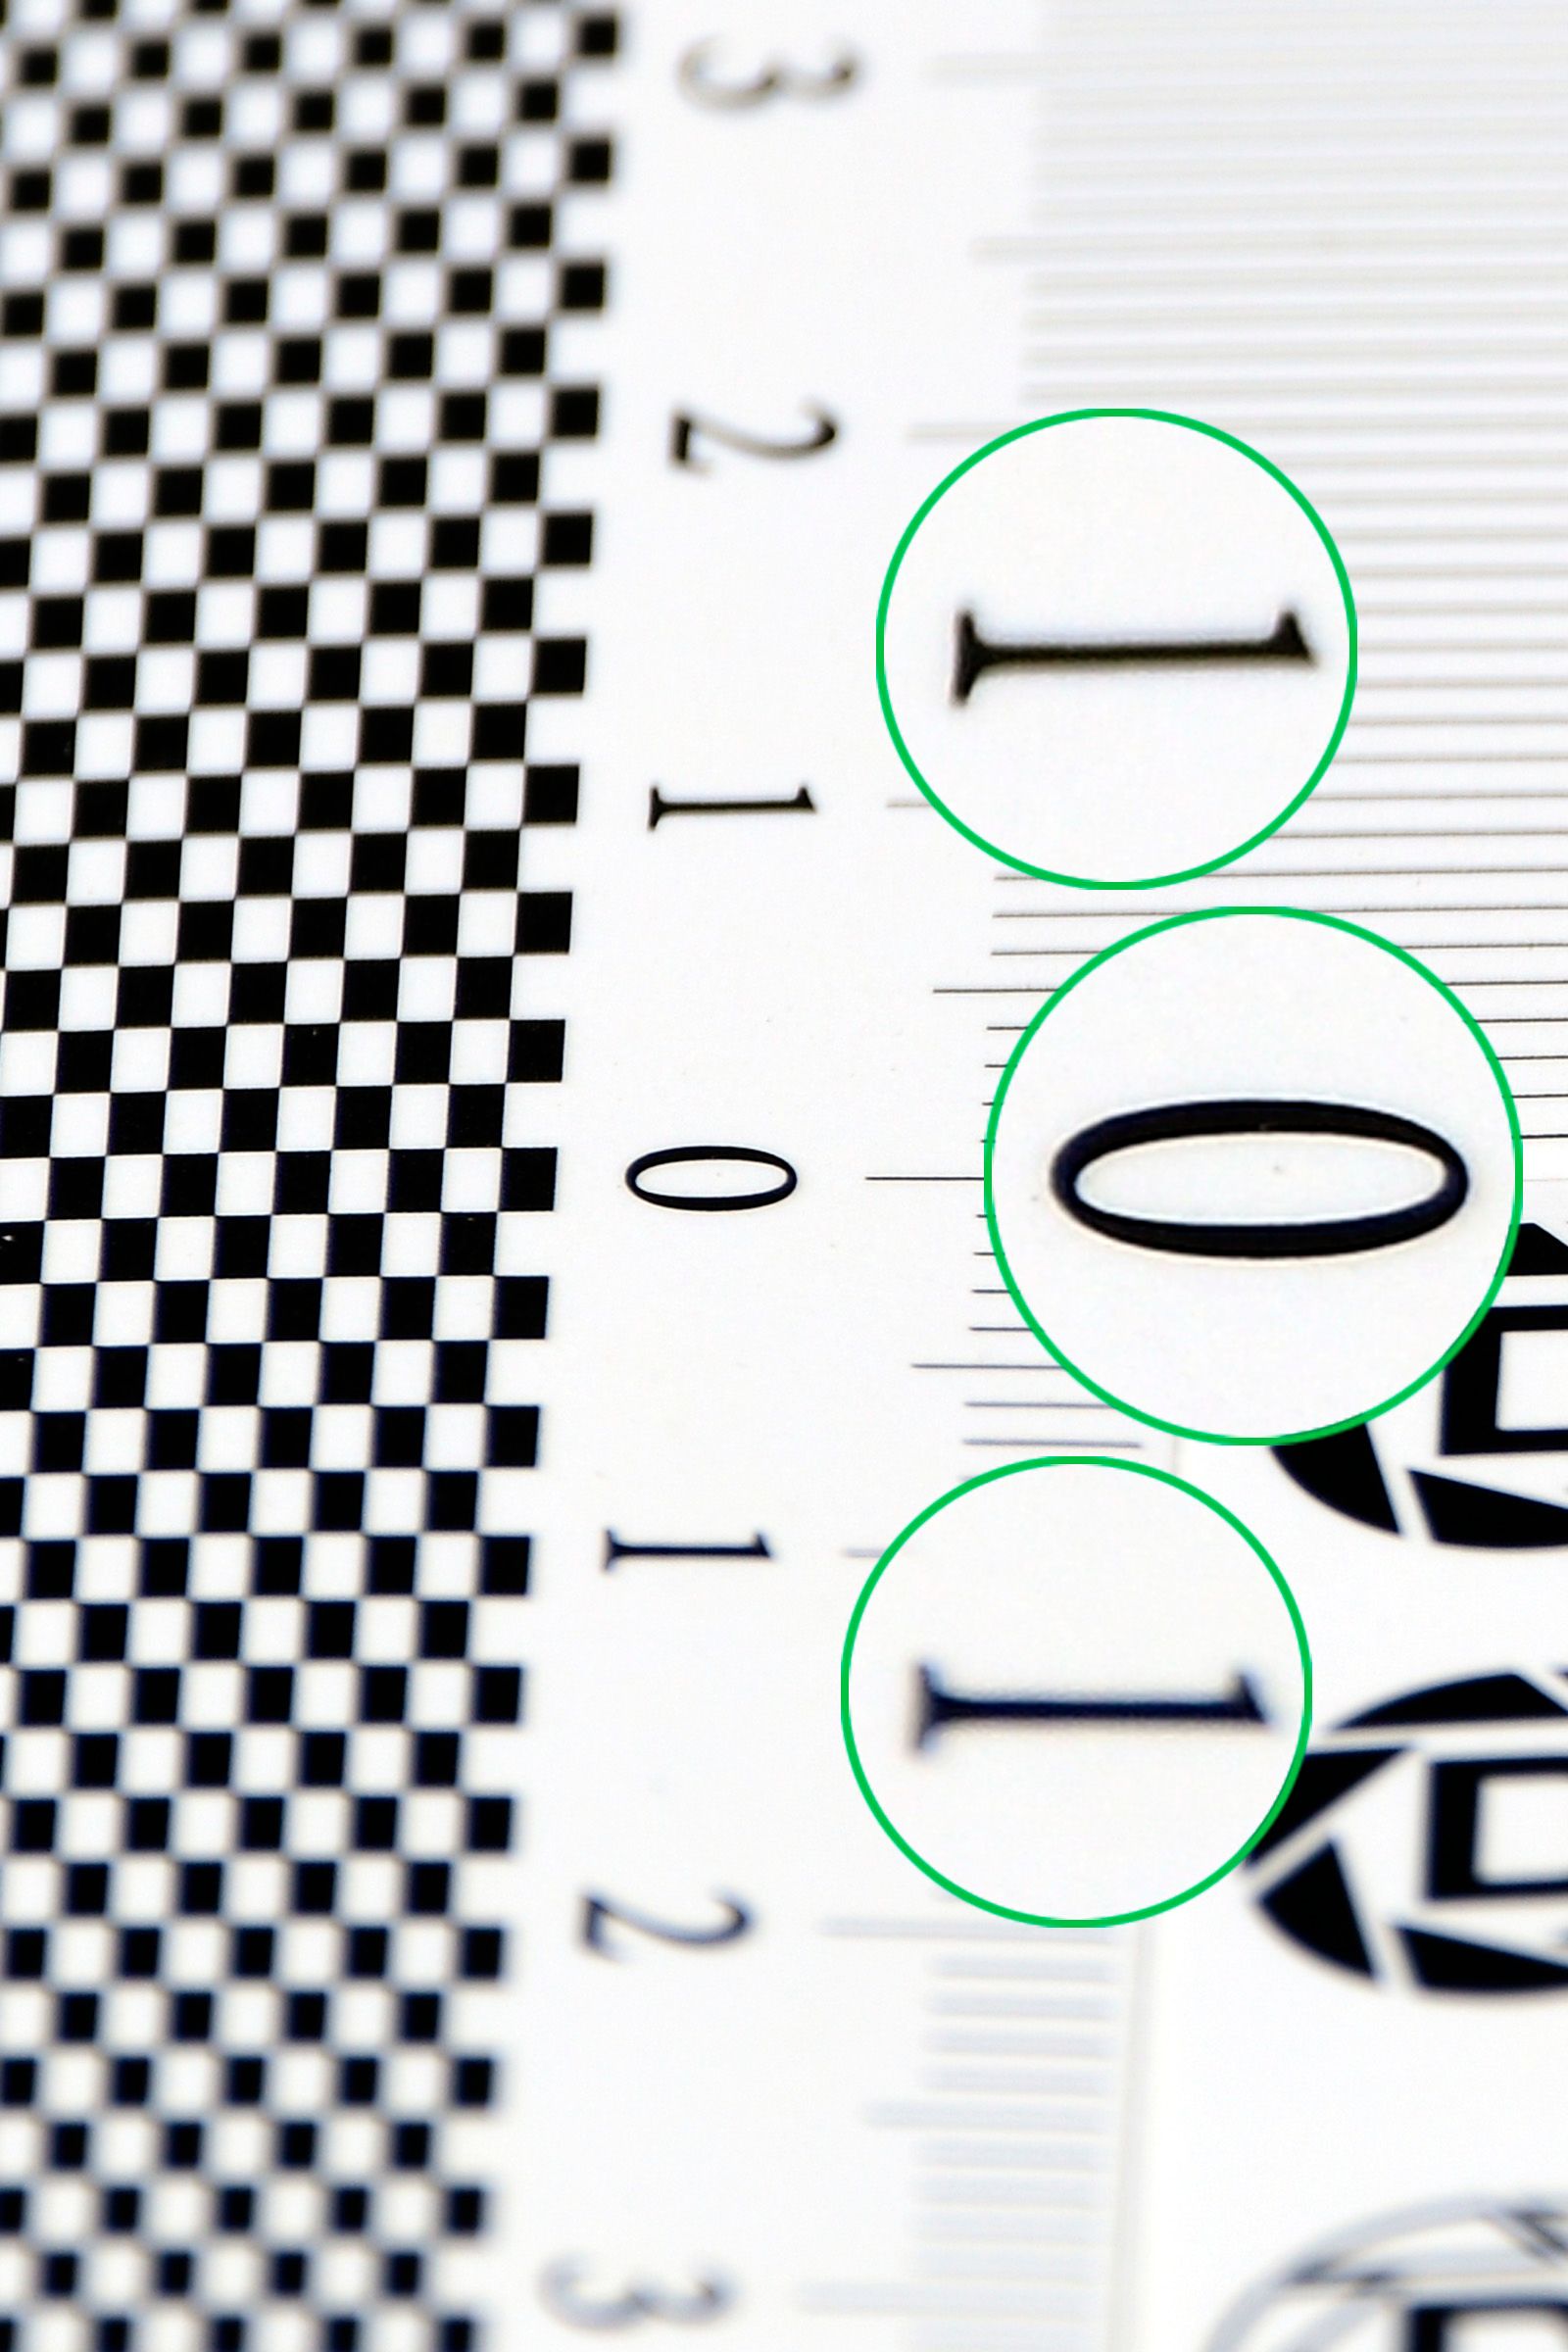
Next comes the time-consuming part. You have to take a photo of a calibration card at each distance/focal length combination, with your autofocus set on the "0" mark. You'll zoom in and study each of these photos to determine whether your particular camera/lens combination is frontfocusing, backfocusing, or just right at that combination.
A note on camera settings: use ISO 100 and the widest aperture you can, and don't use any form of image stabilization or vibration reduction.

Once you've looked through the photos and determined which combinations need adjustment, you can use the Optimization Pro software to make the settings.
- If the sharpest area is in back of (above) the 0 mark, that's backfocusing, and you'll enter negative values in Optimization Pro to compensate for it.
- If the sharpest area is in front of (below) the 0 mark, that's frontfocusing, and you'll enter positive values in Optimization Pro to compensate for it.
They key thing is to identify whether you have backfocusing or frontfocusing to correct. Then adjust the setting for that spot in the grid, and re-test and see whether you need more correction or less to make it perfect. I'm using increments of +/- 5 to adjust, then smaller adjustments for the final fine tuning at each spot in the grid.
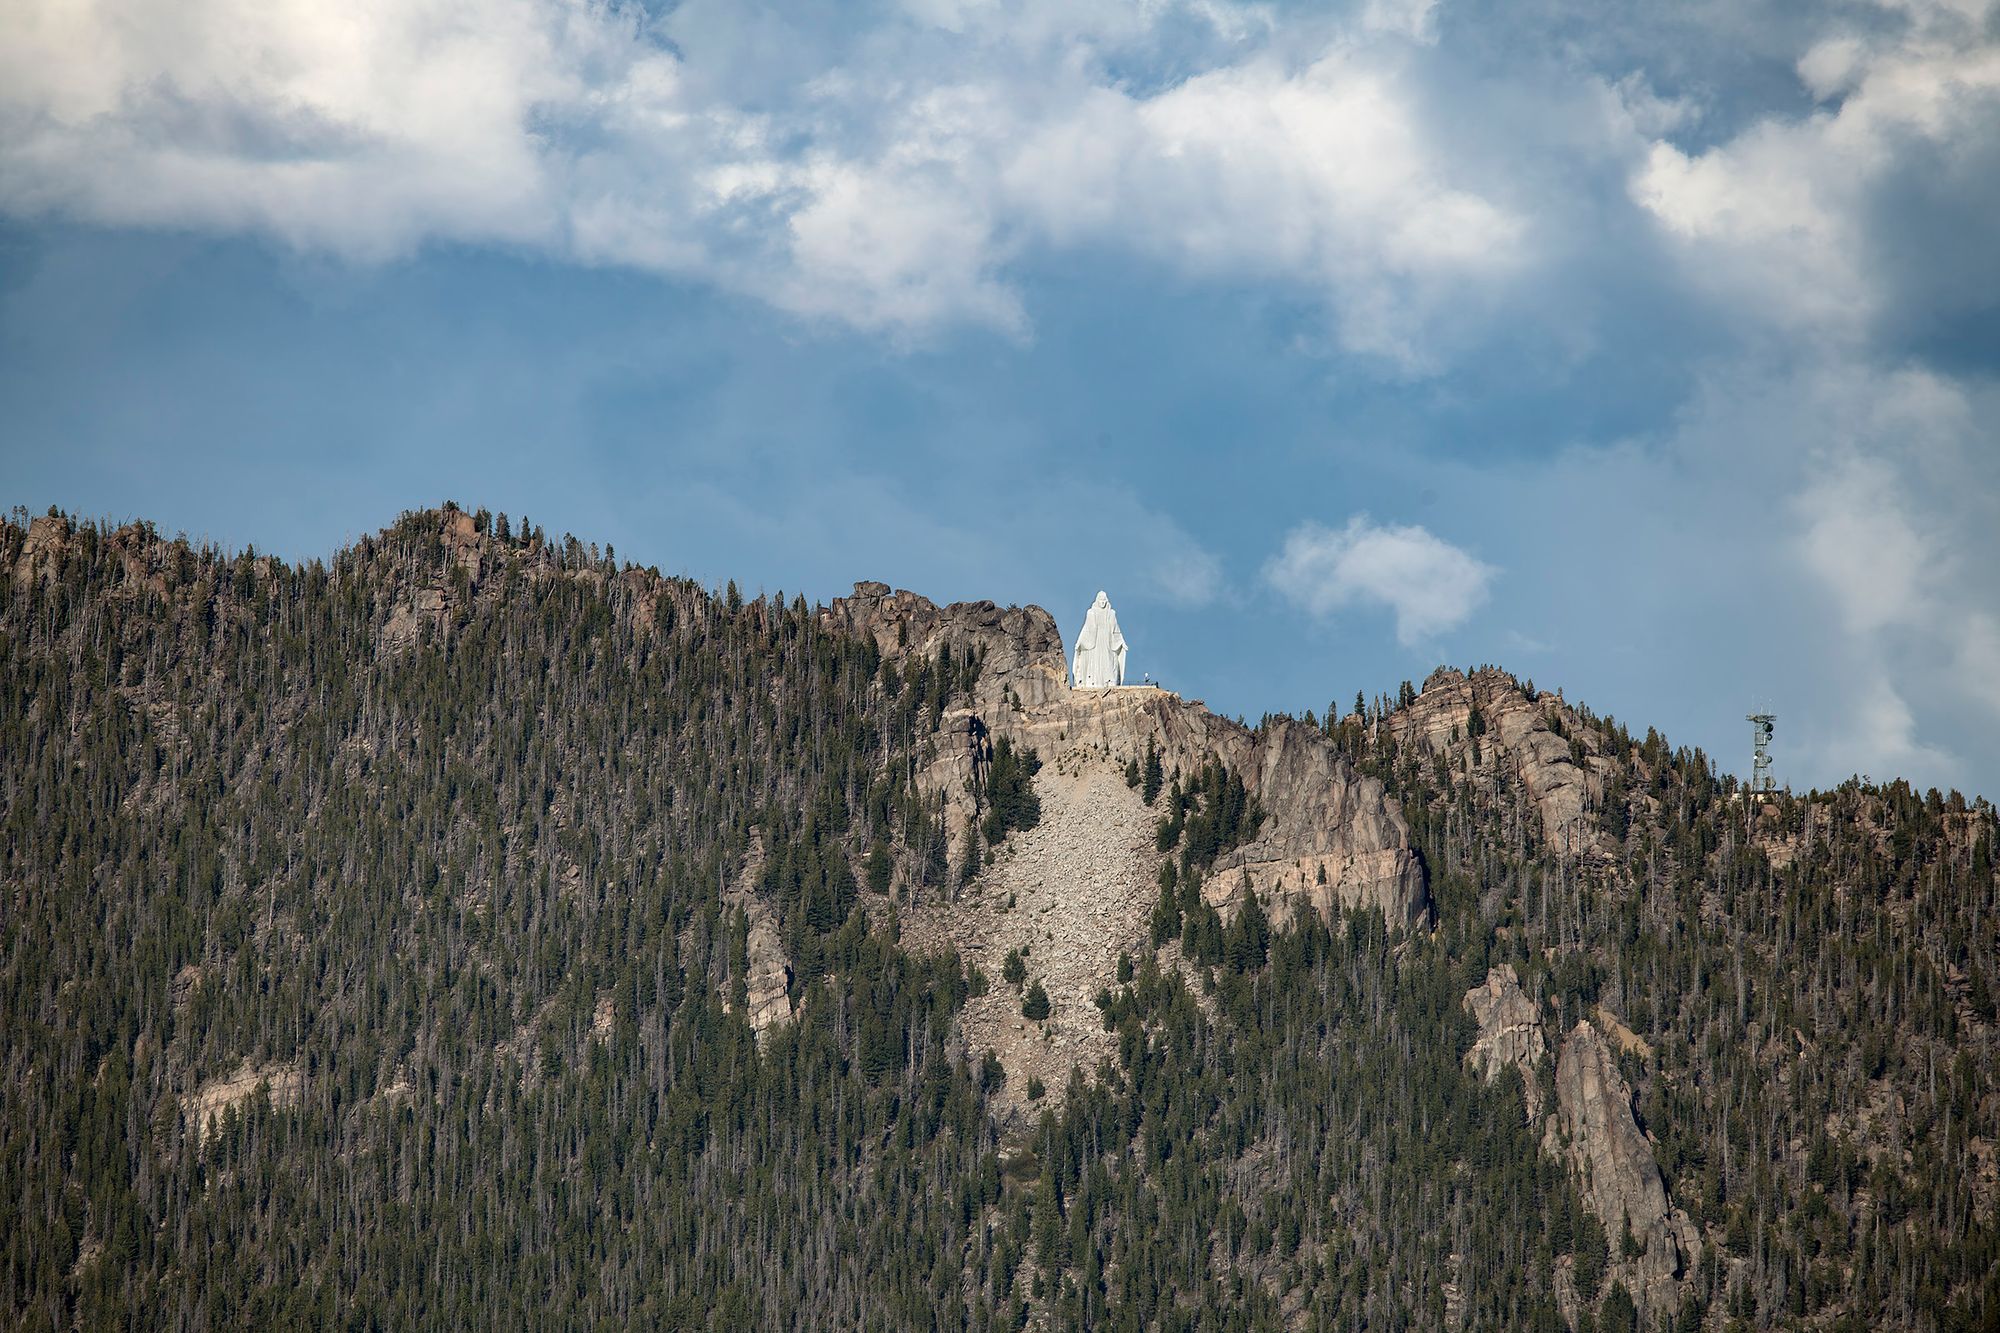
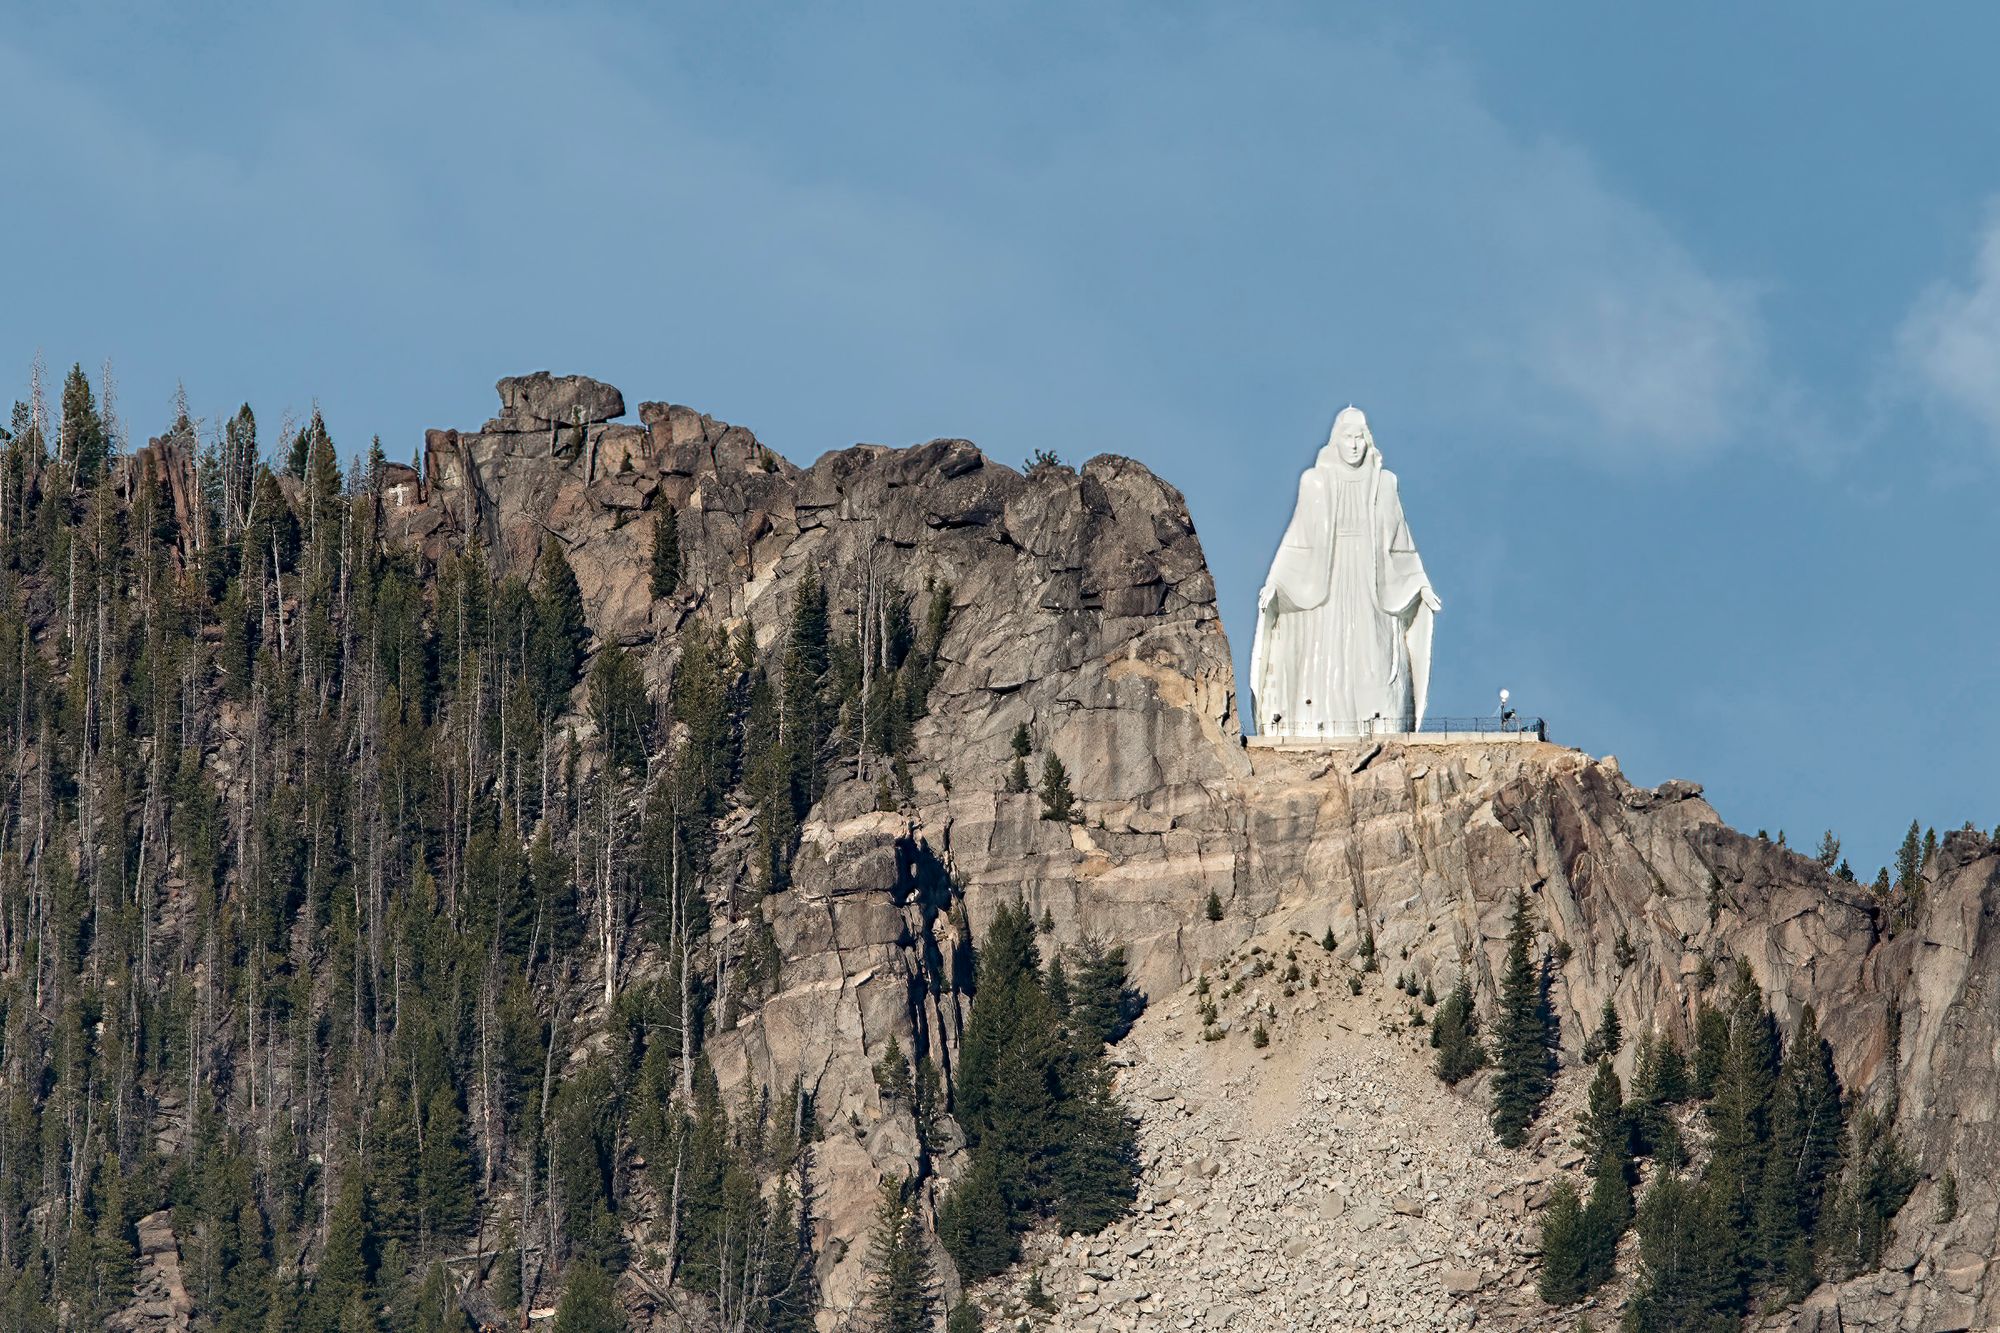
After making some adjustments, I decided to see how it's going. Below is a photo taken with Sigma's OS image stabilization, handheld at 1/400th second, F10, and ISO 100.